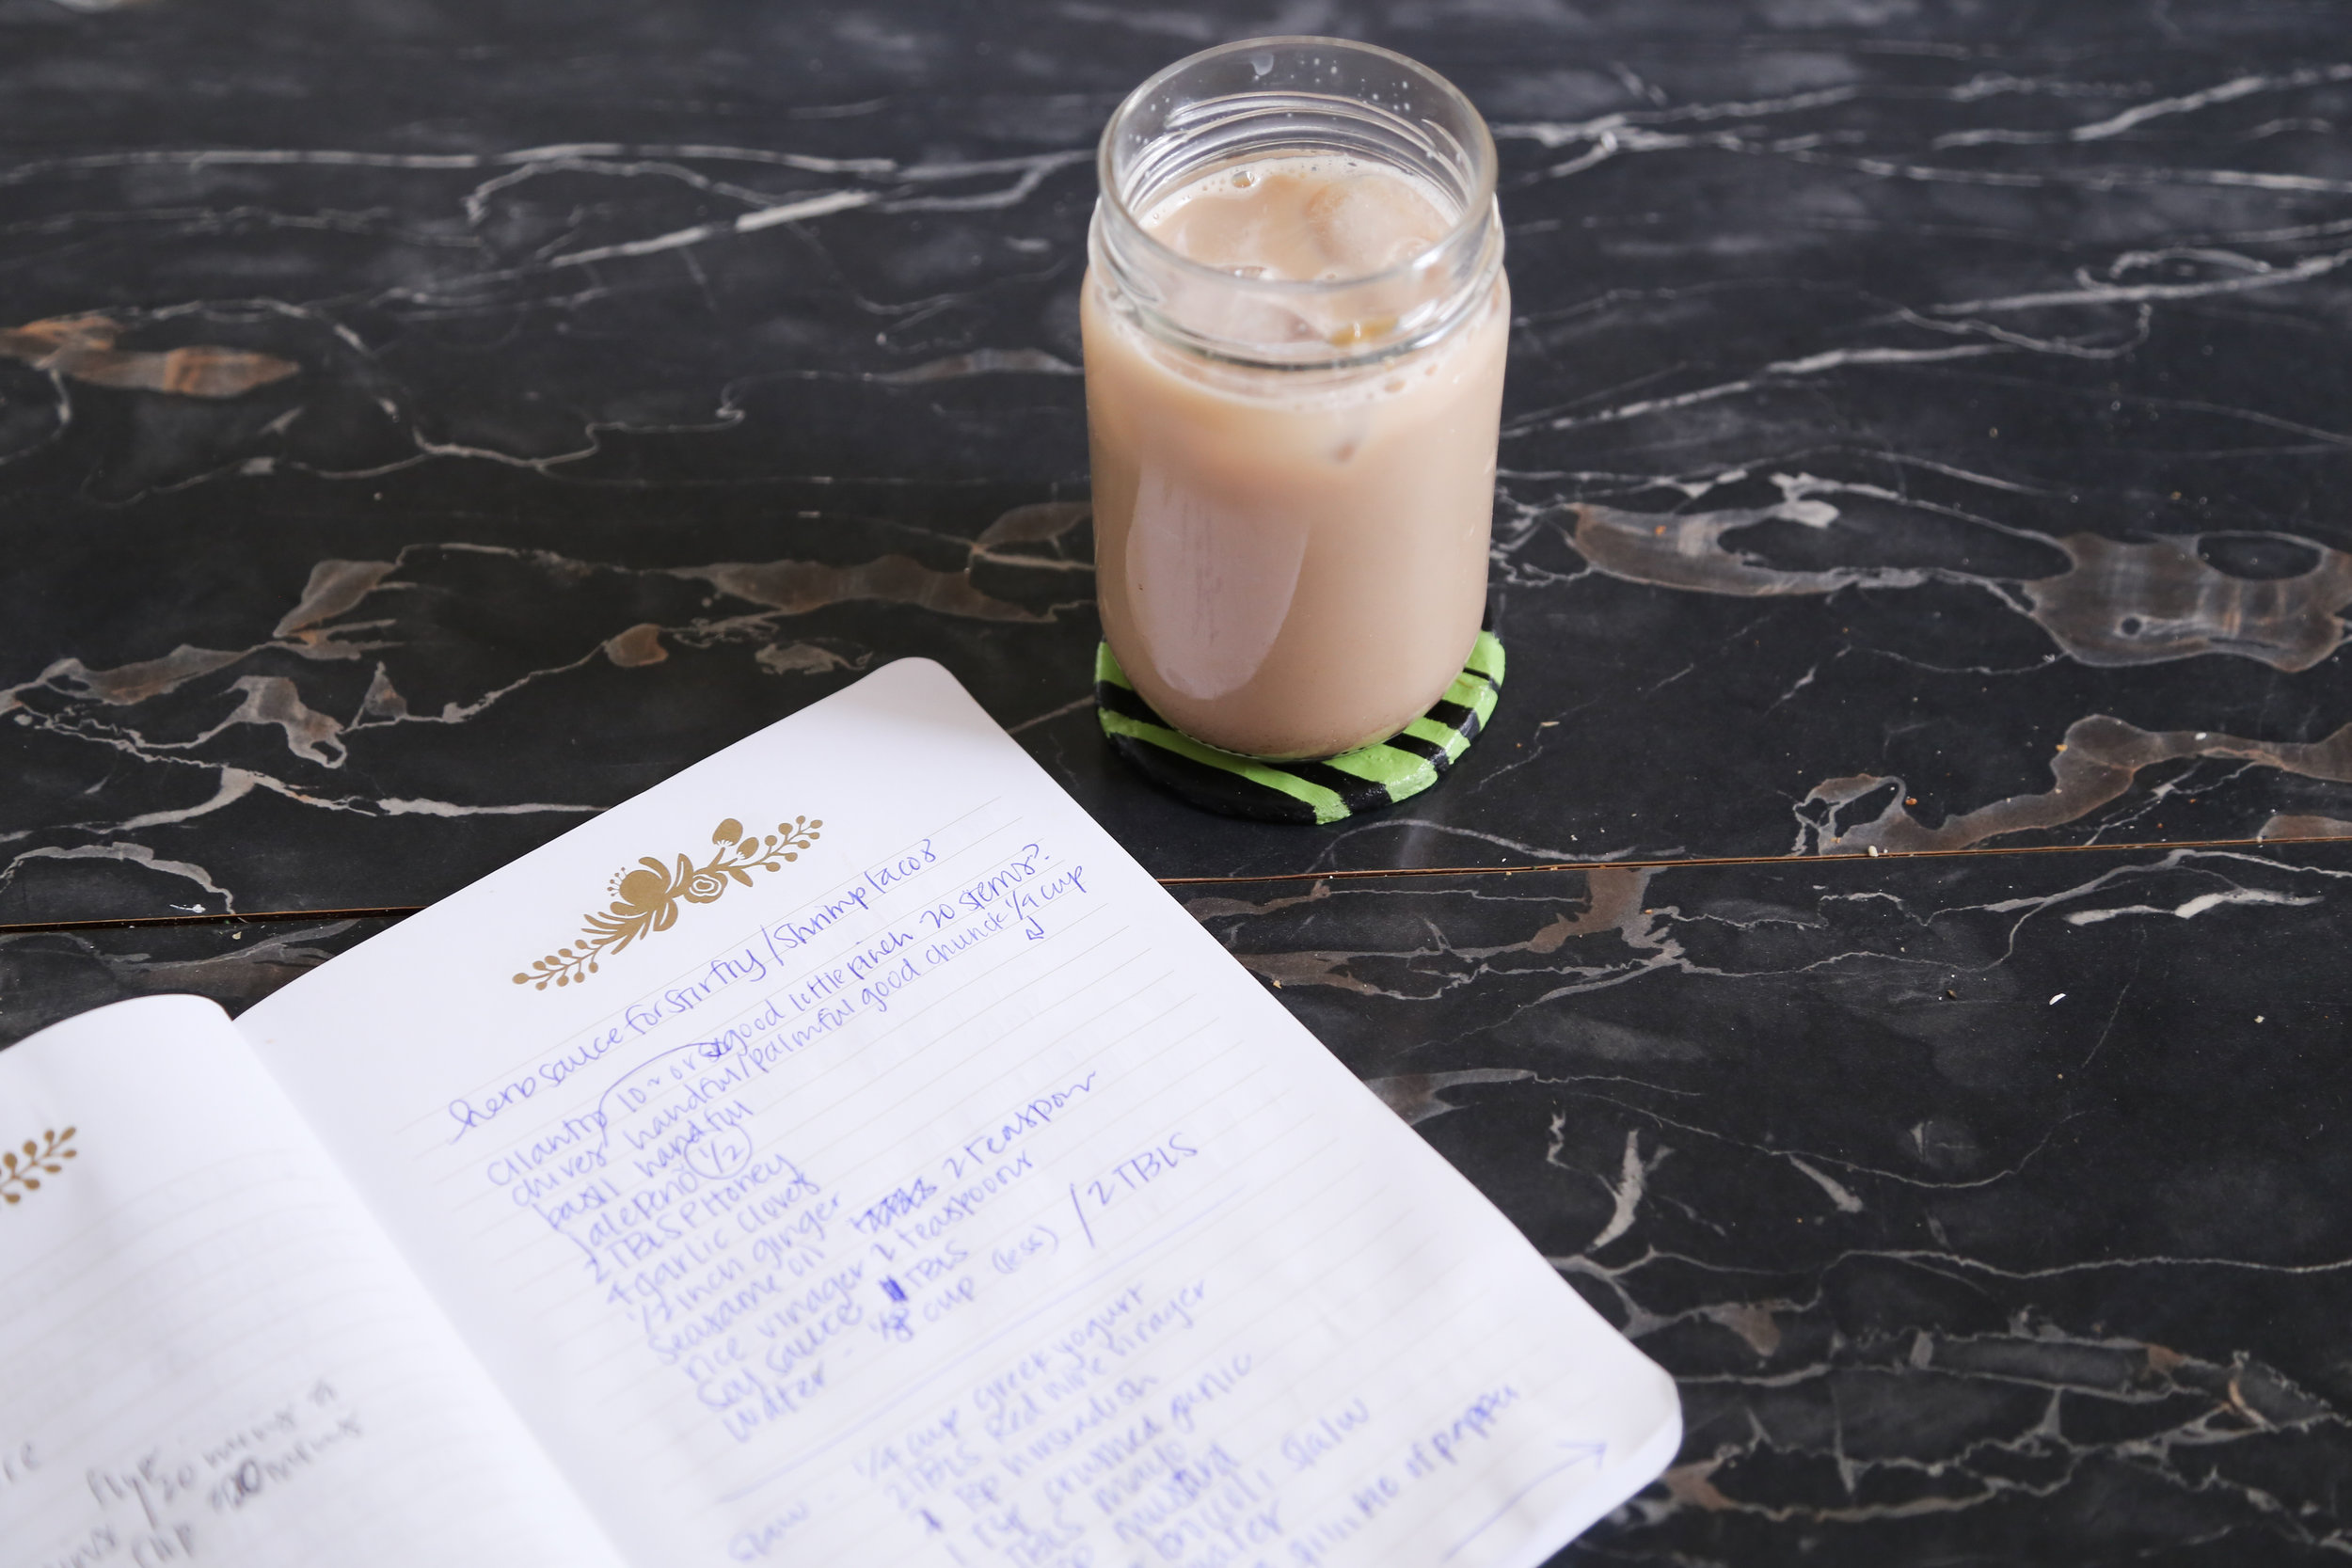
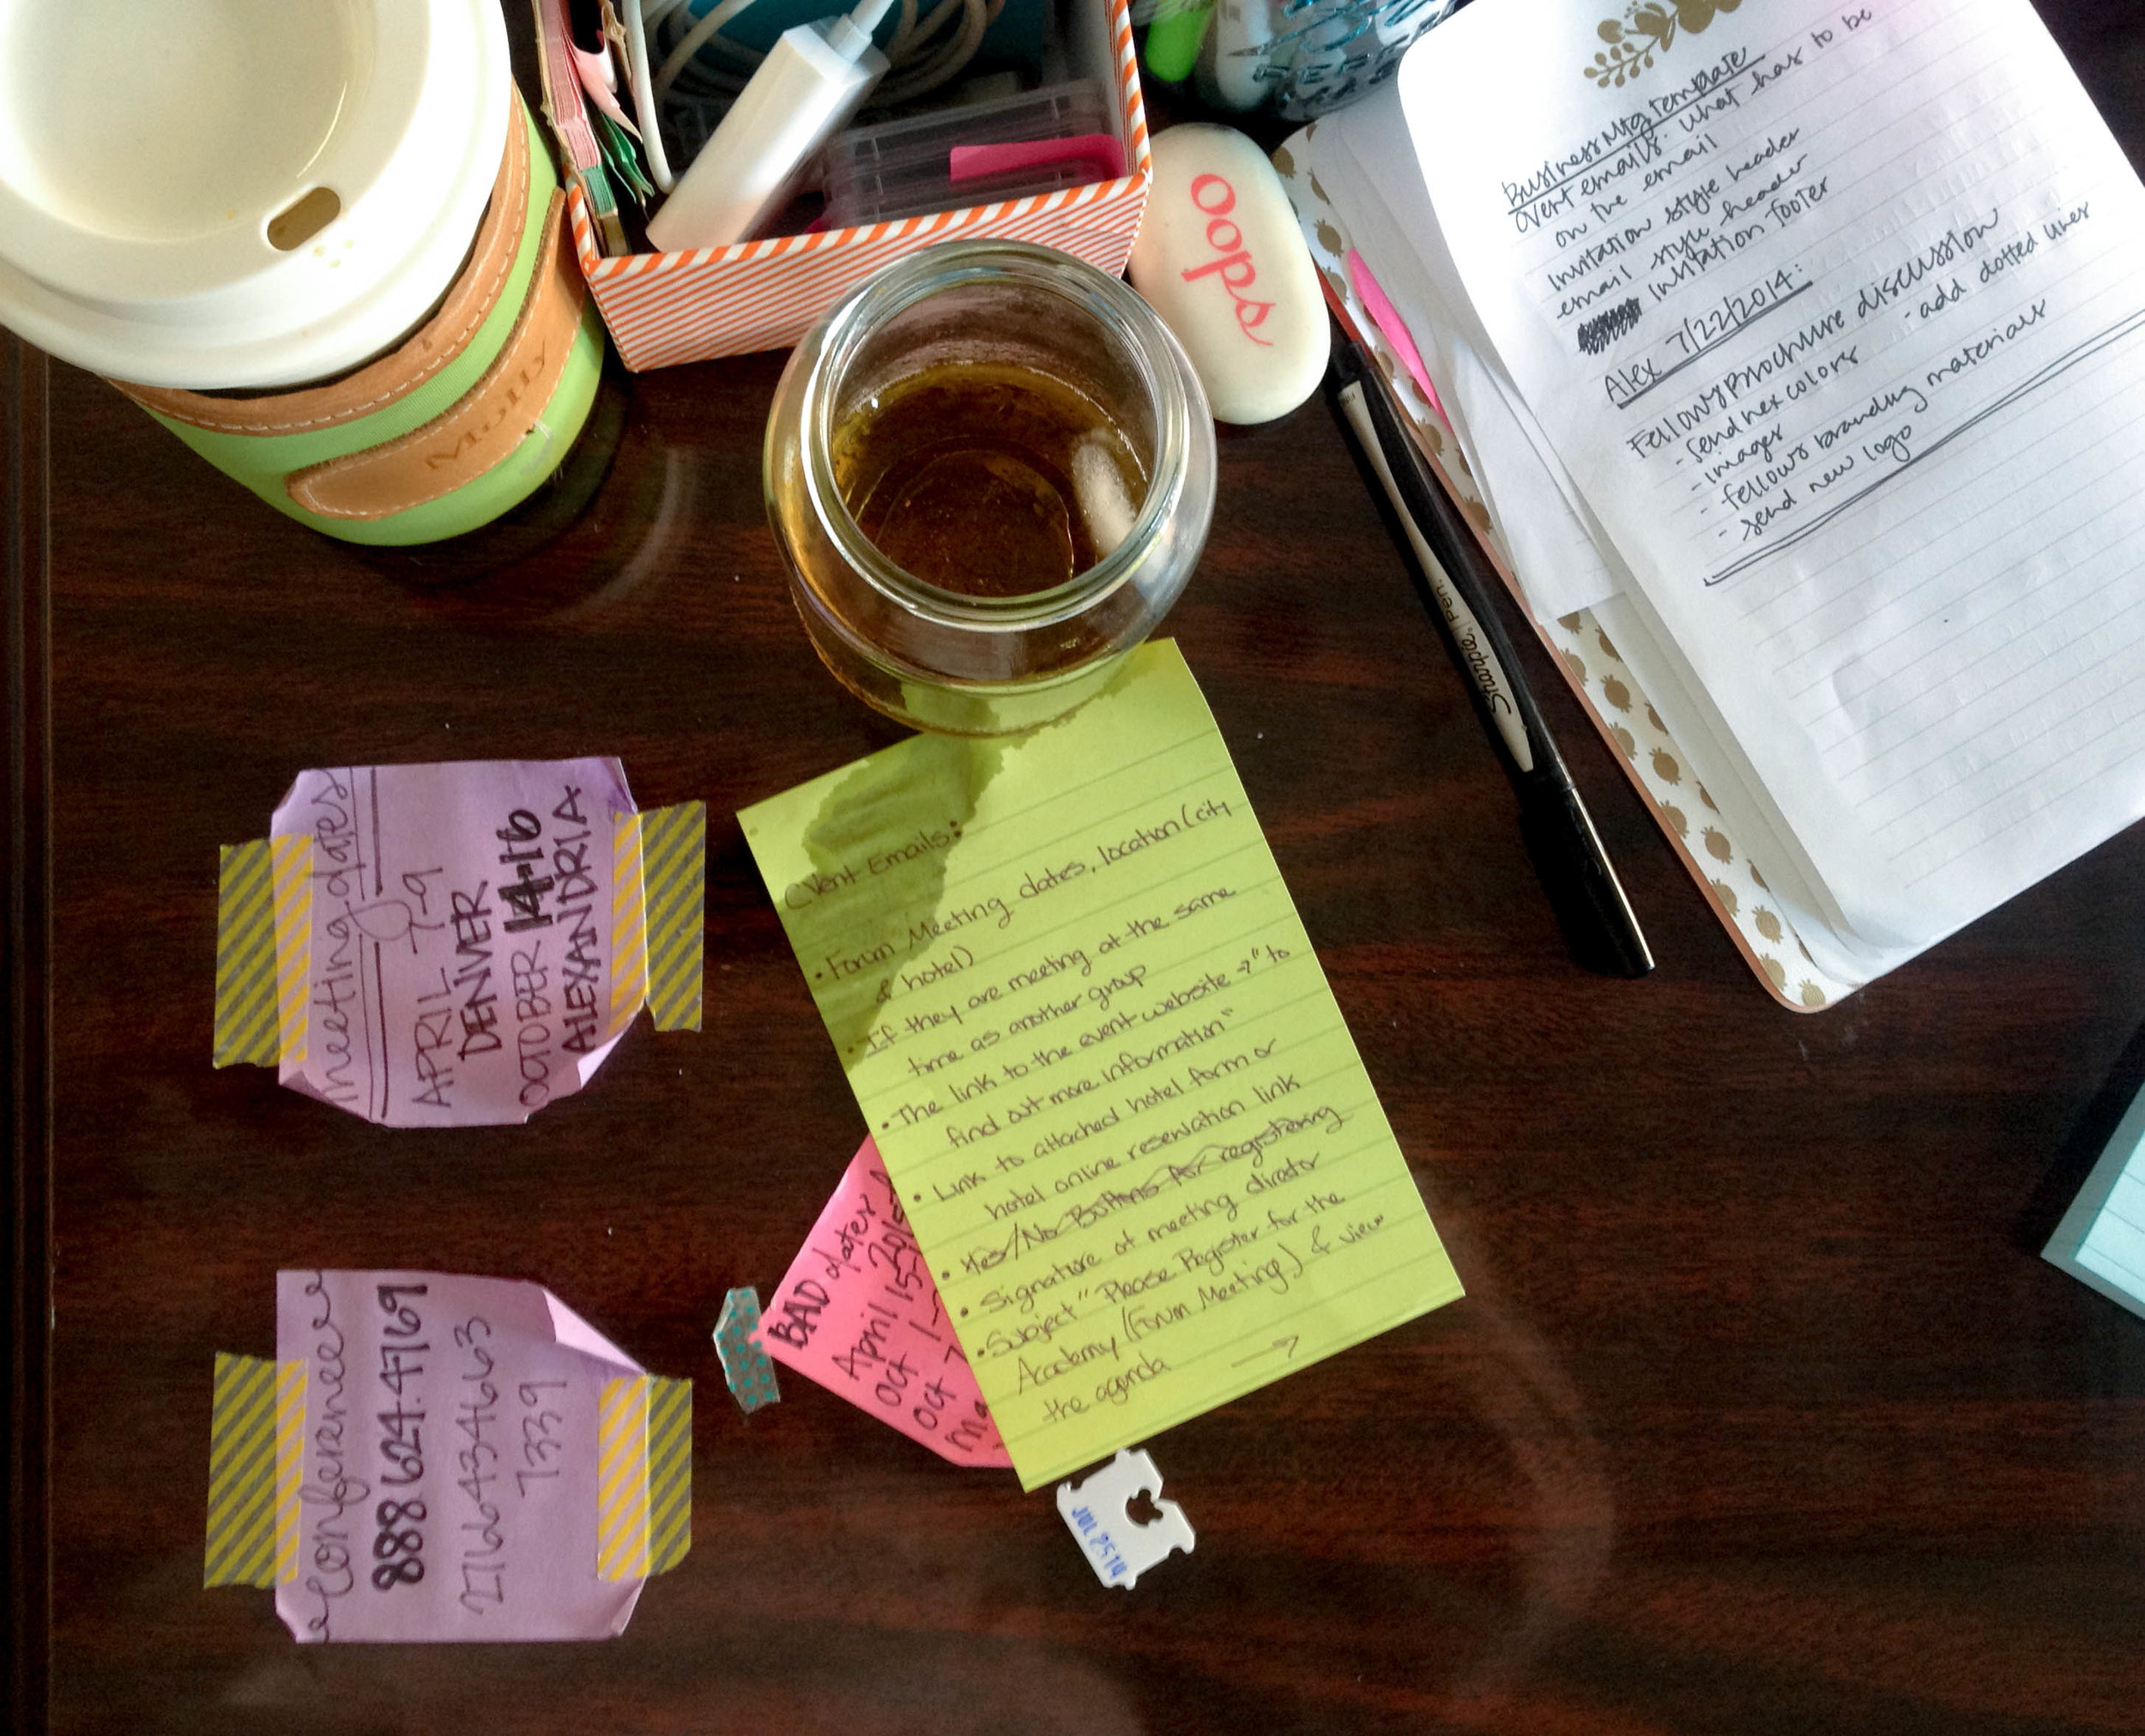
Water Stains Are Not My Friend
So... I was really getting tired of THIS happening...
I know I should just start using a Tervis cup or go buy cheap coasters or something, but my solution was way more fun and dare I say adorable?!
After the 2nd stack of notes got ruined, I decided I needed some coasters in the office, and I thought why not just make some... I like to get crafty every once in a while, so why not? Introducing Salt Dough Coasters! Tyler and I had a great time making these and painting them... okay, so I only let him paint the ornament we made from left-over dough, but still it was some fun bonding. Couples who craft together, stay together.
Salt dough seems a lot easier than it is, and by that I mean the first batch didn't come out. Don't believe everything you read on pinterest. Not to worry, I messed up, soooo you won't have to! Salt dough really is easy to make and you need three ingredients that you definitely have in your kitchen at home and you can make almost anything. It's the baking that can get a little tricky, if you're not in a rush it's way better to par-bake then let them sit out and air dry the rest of the way, and then paint, but we'll get to that in a minute.
Step One: Make the salt dough
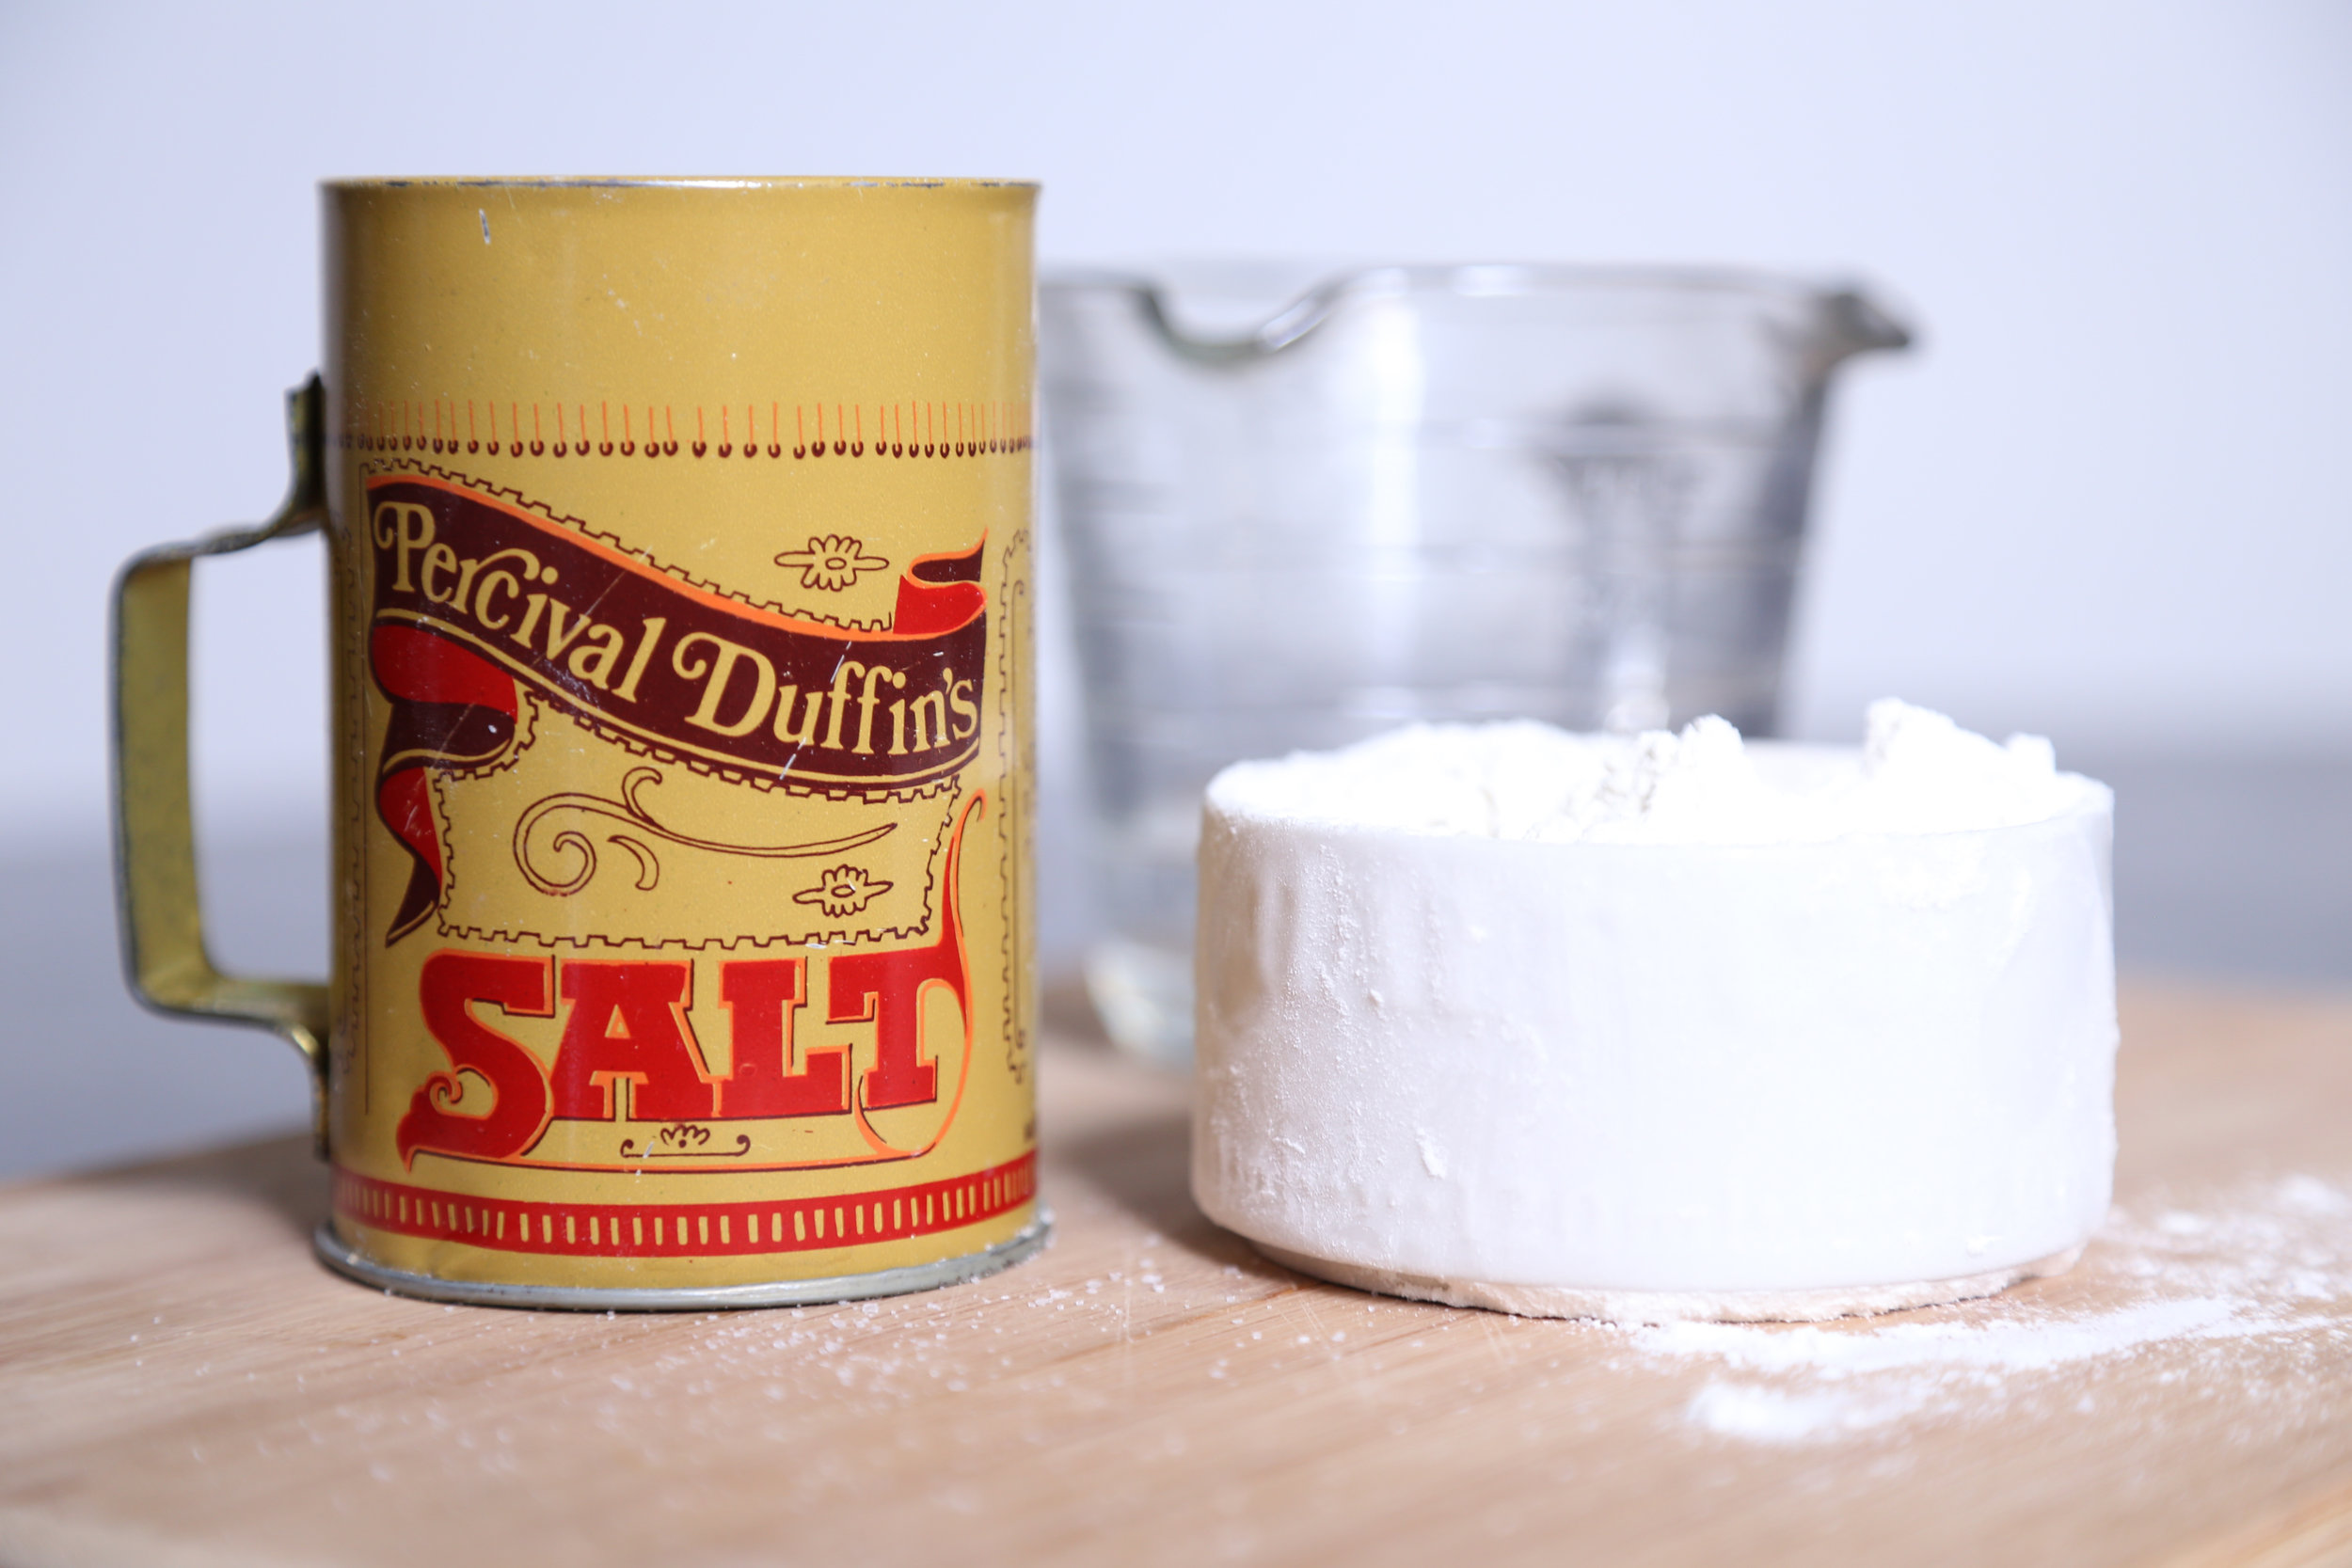
What You'll Need:
- 1/4 cup salt
- 1/2 cup flour
- 1/3 cup water
- acrylic paints in various colors
- paint pens if you want to add detail
- clear coat
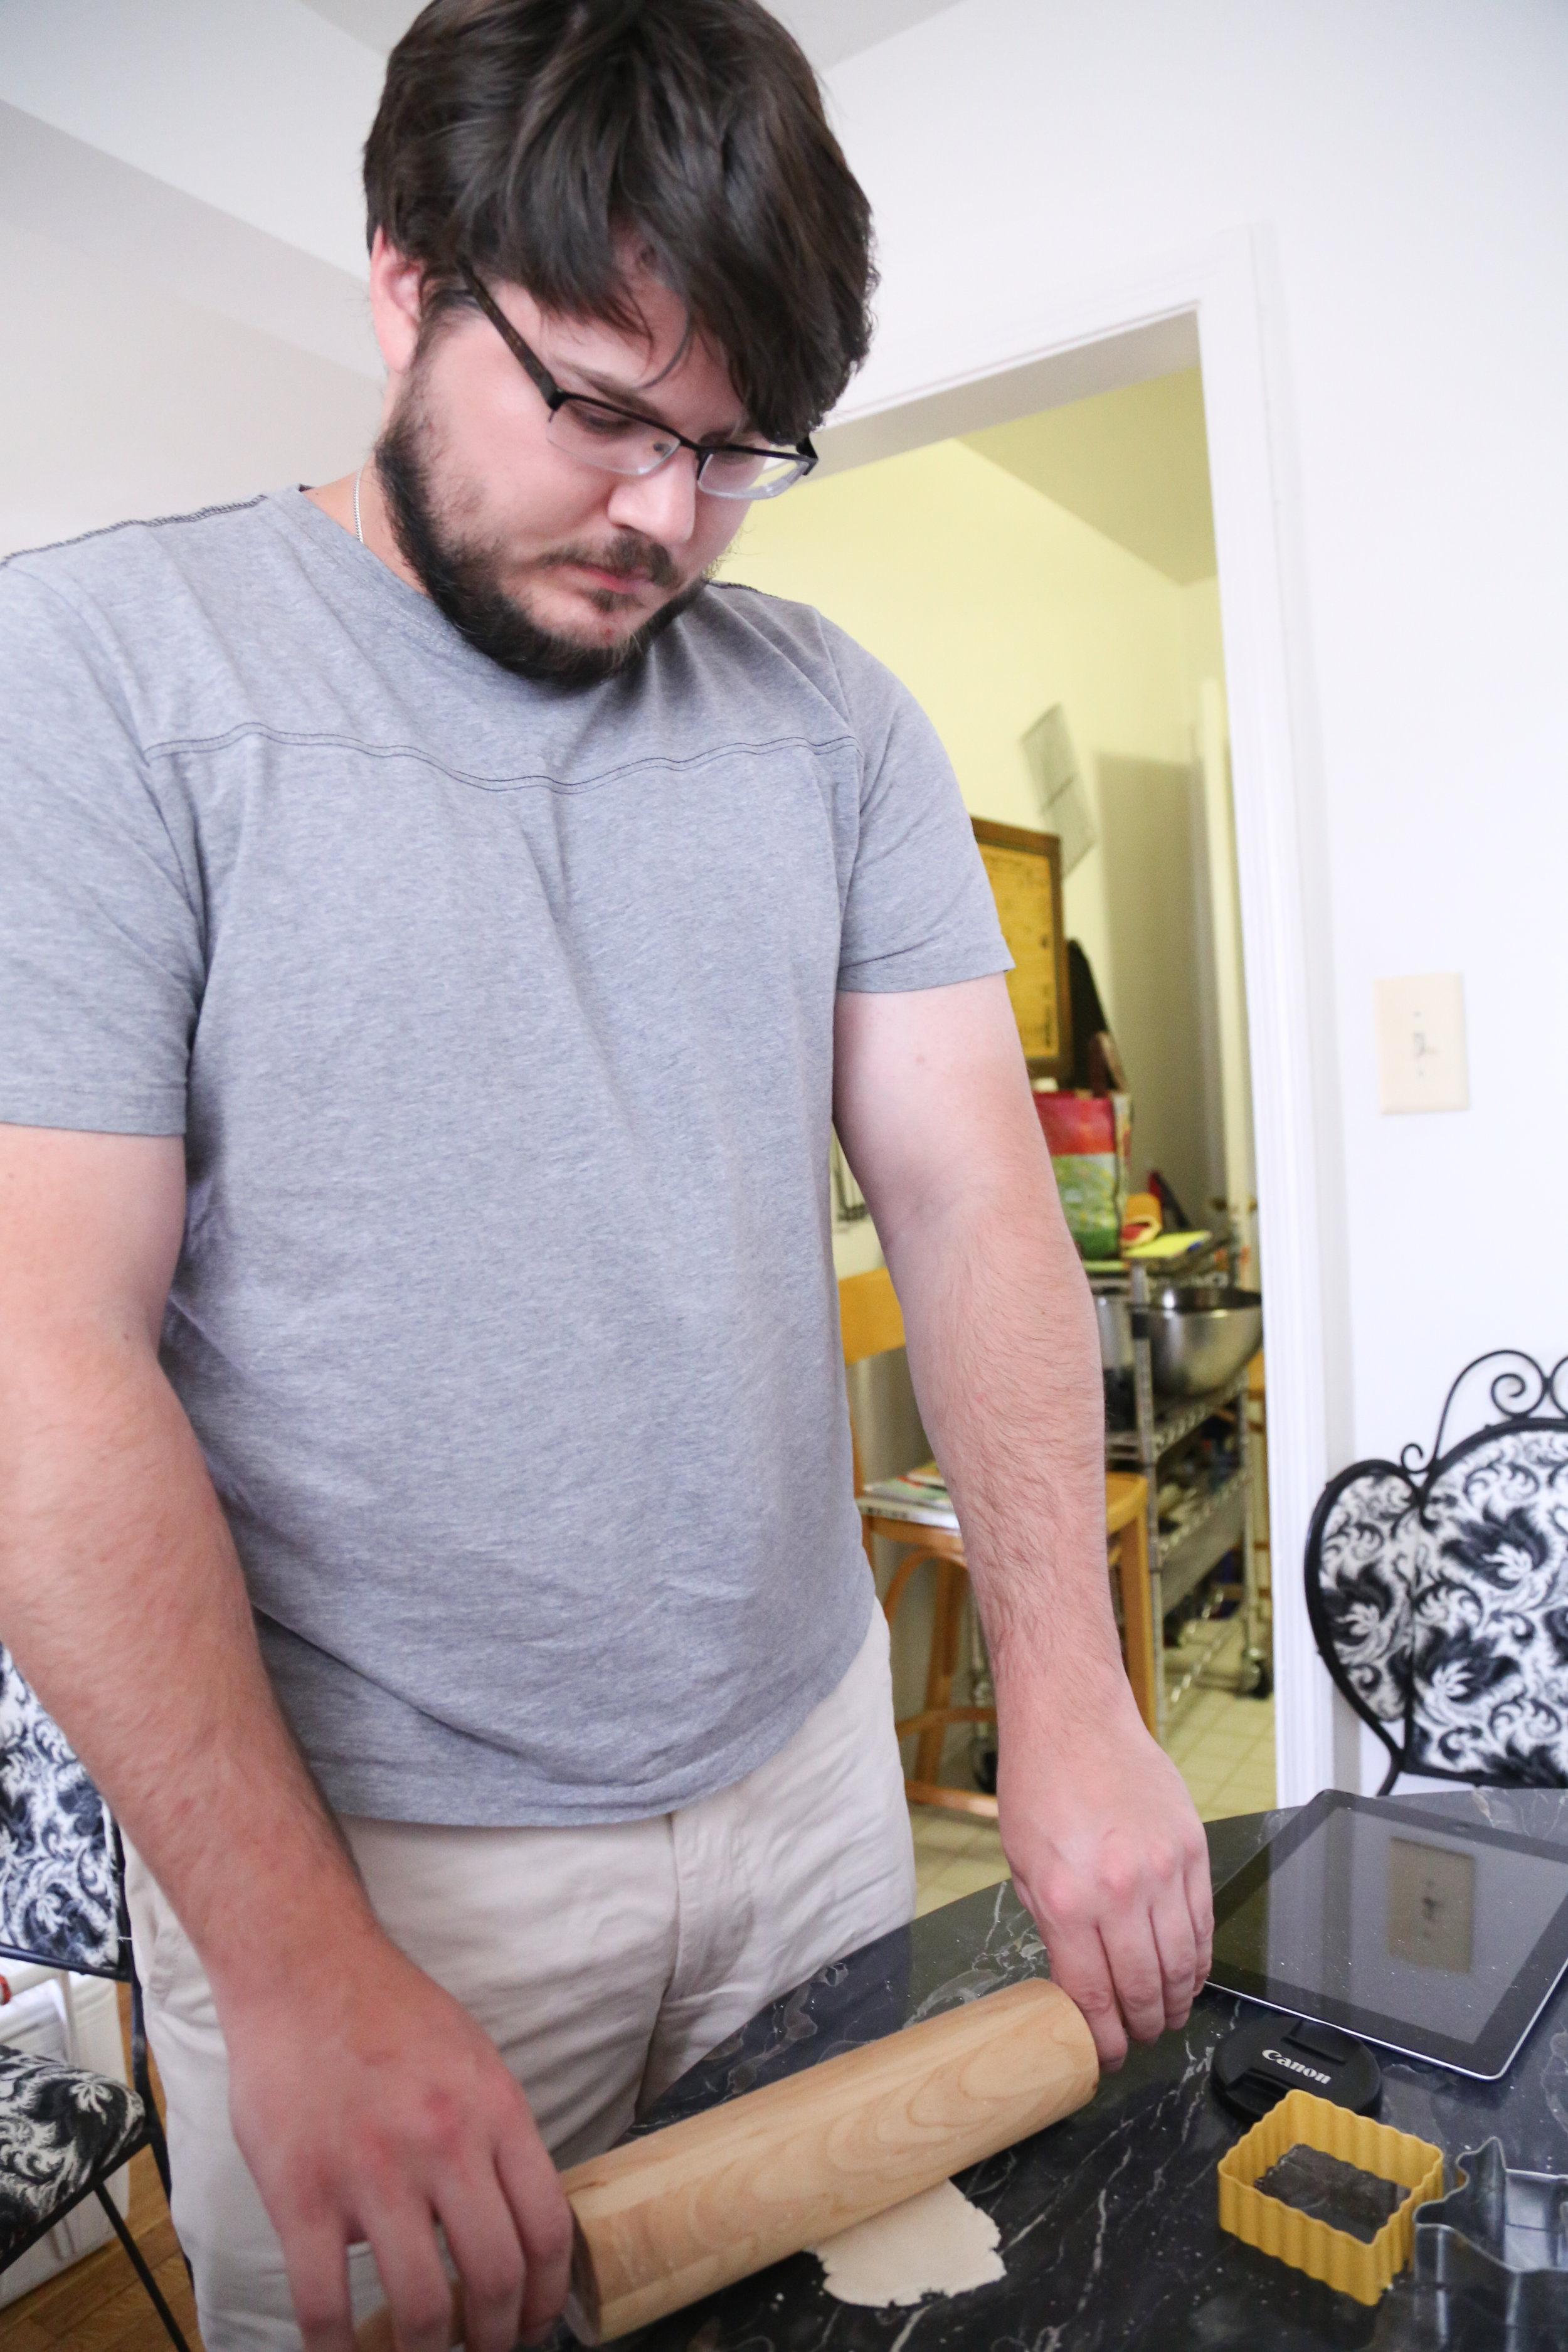
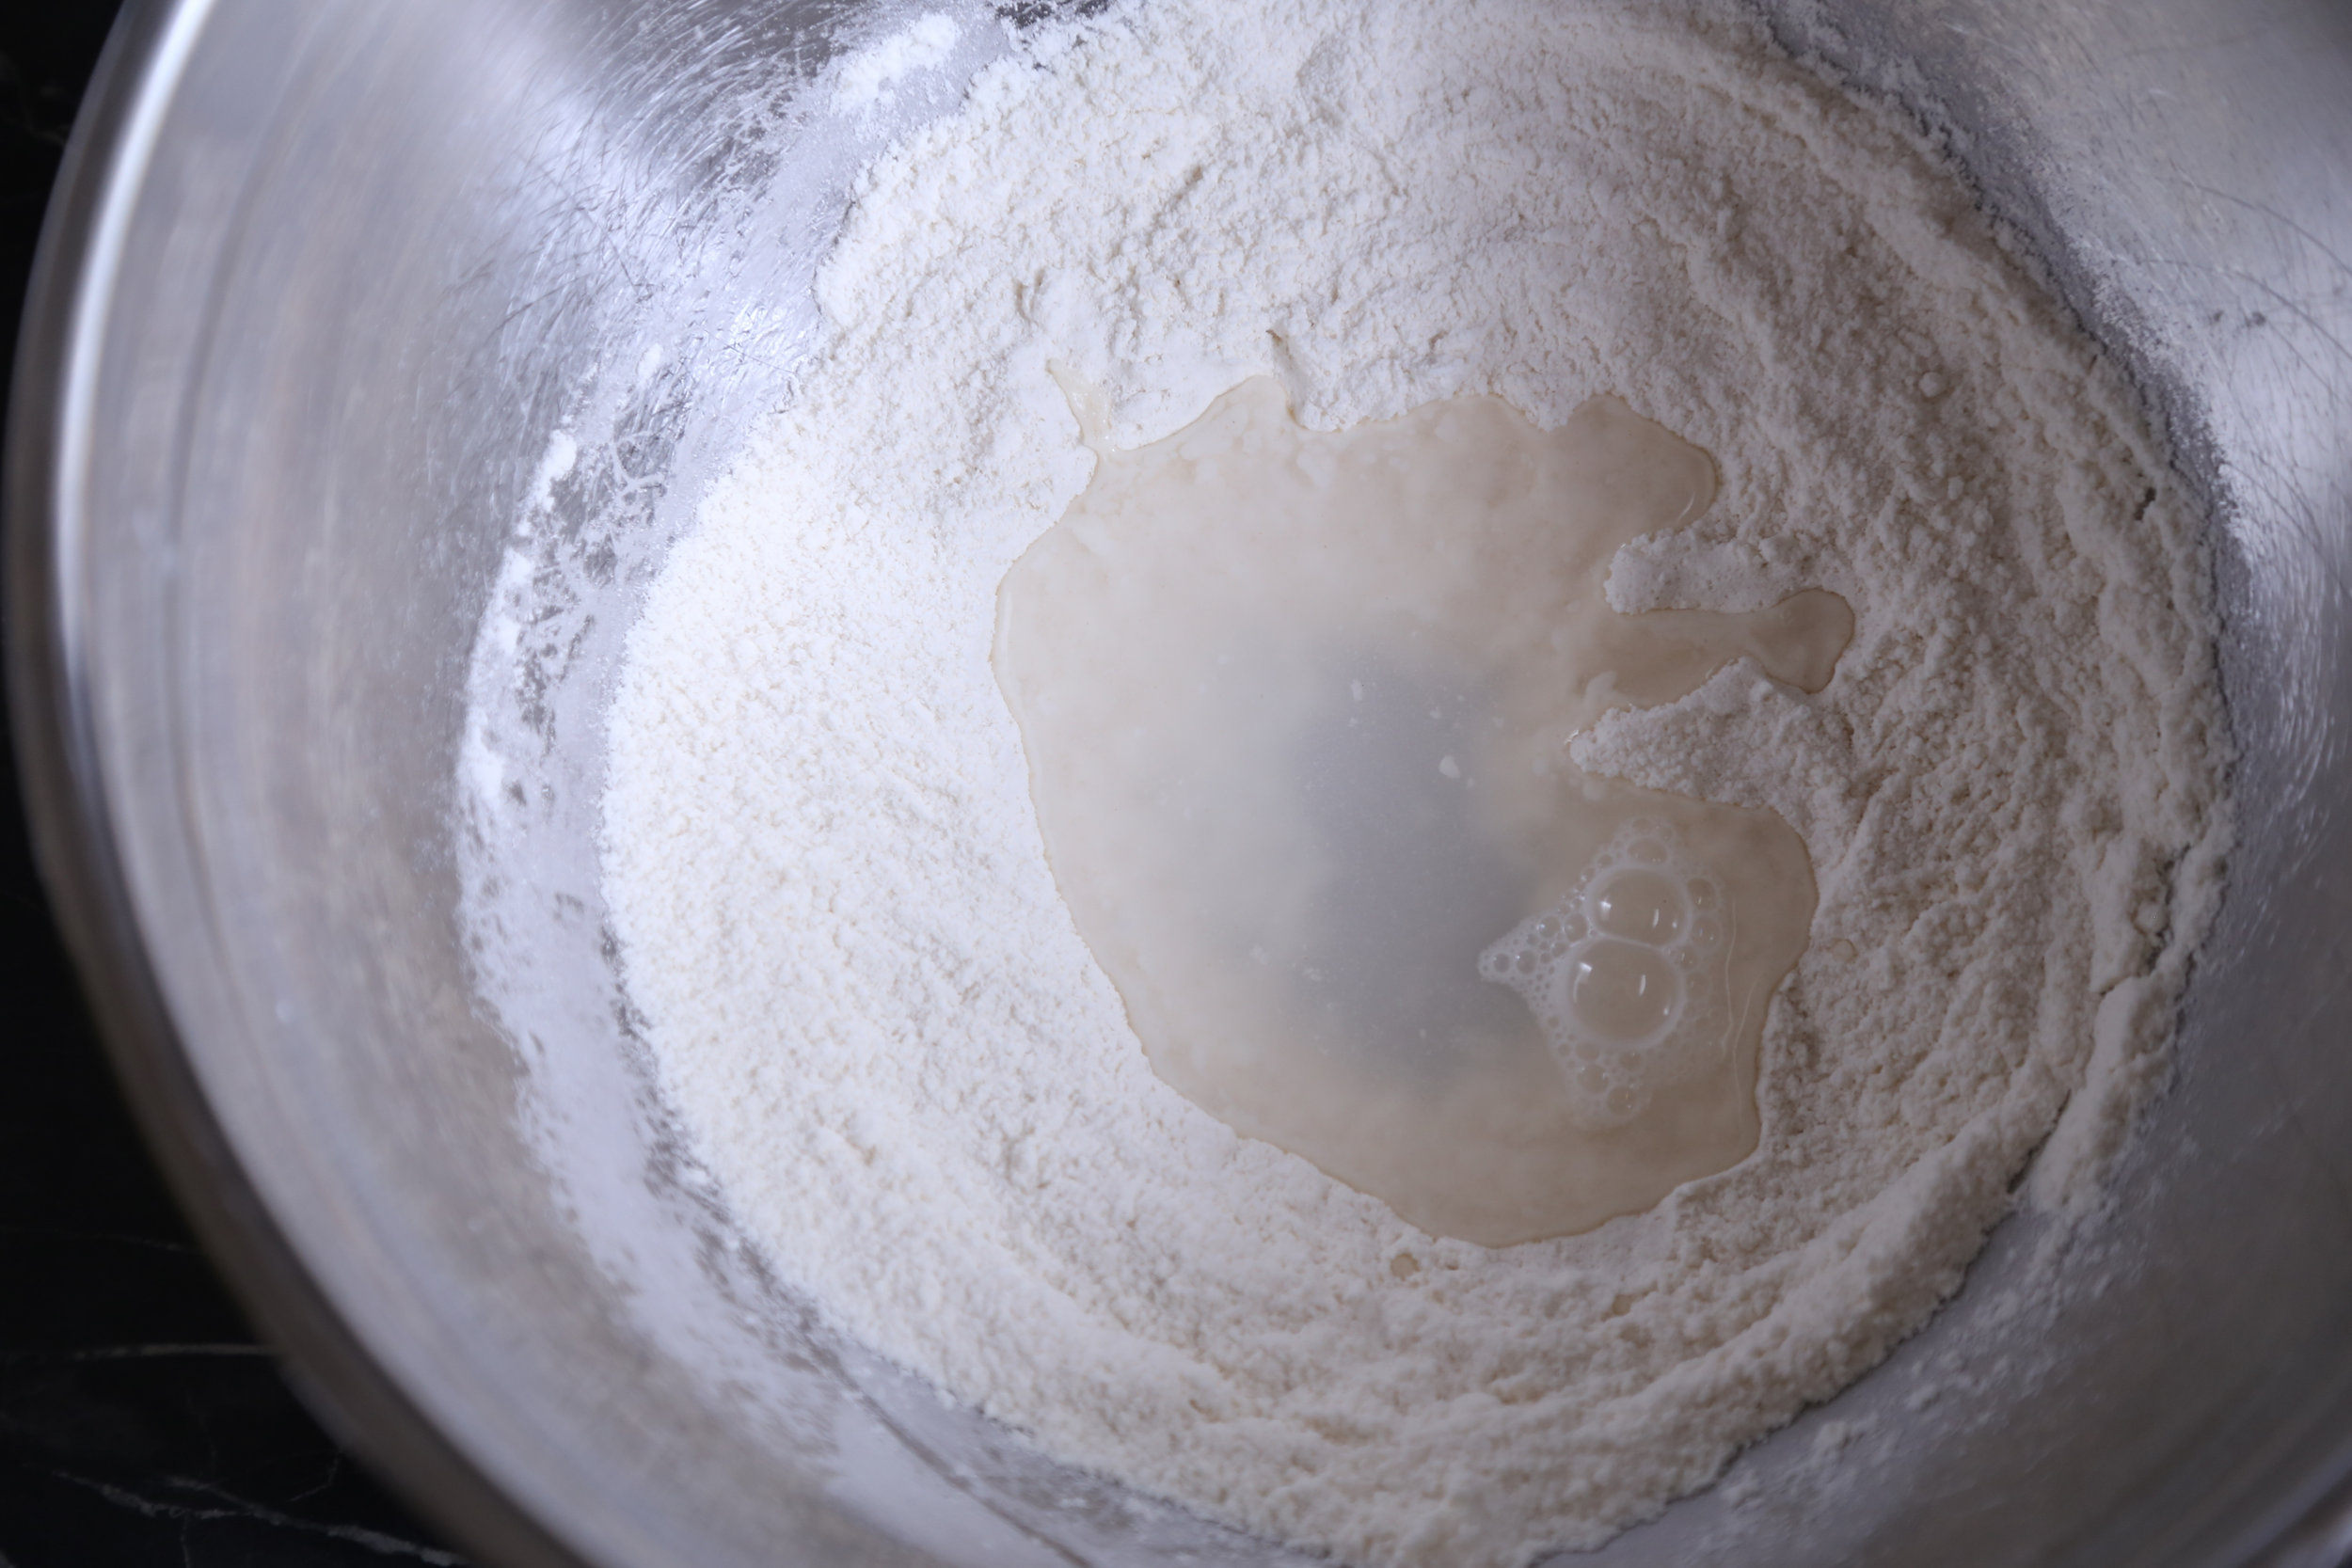
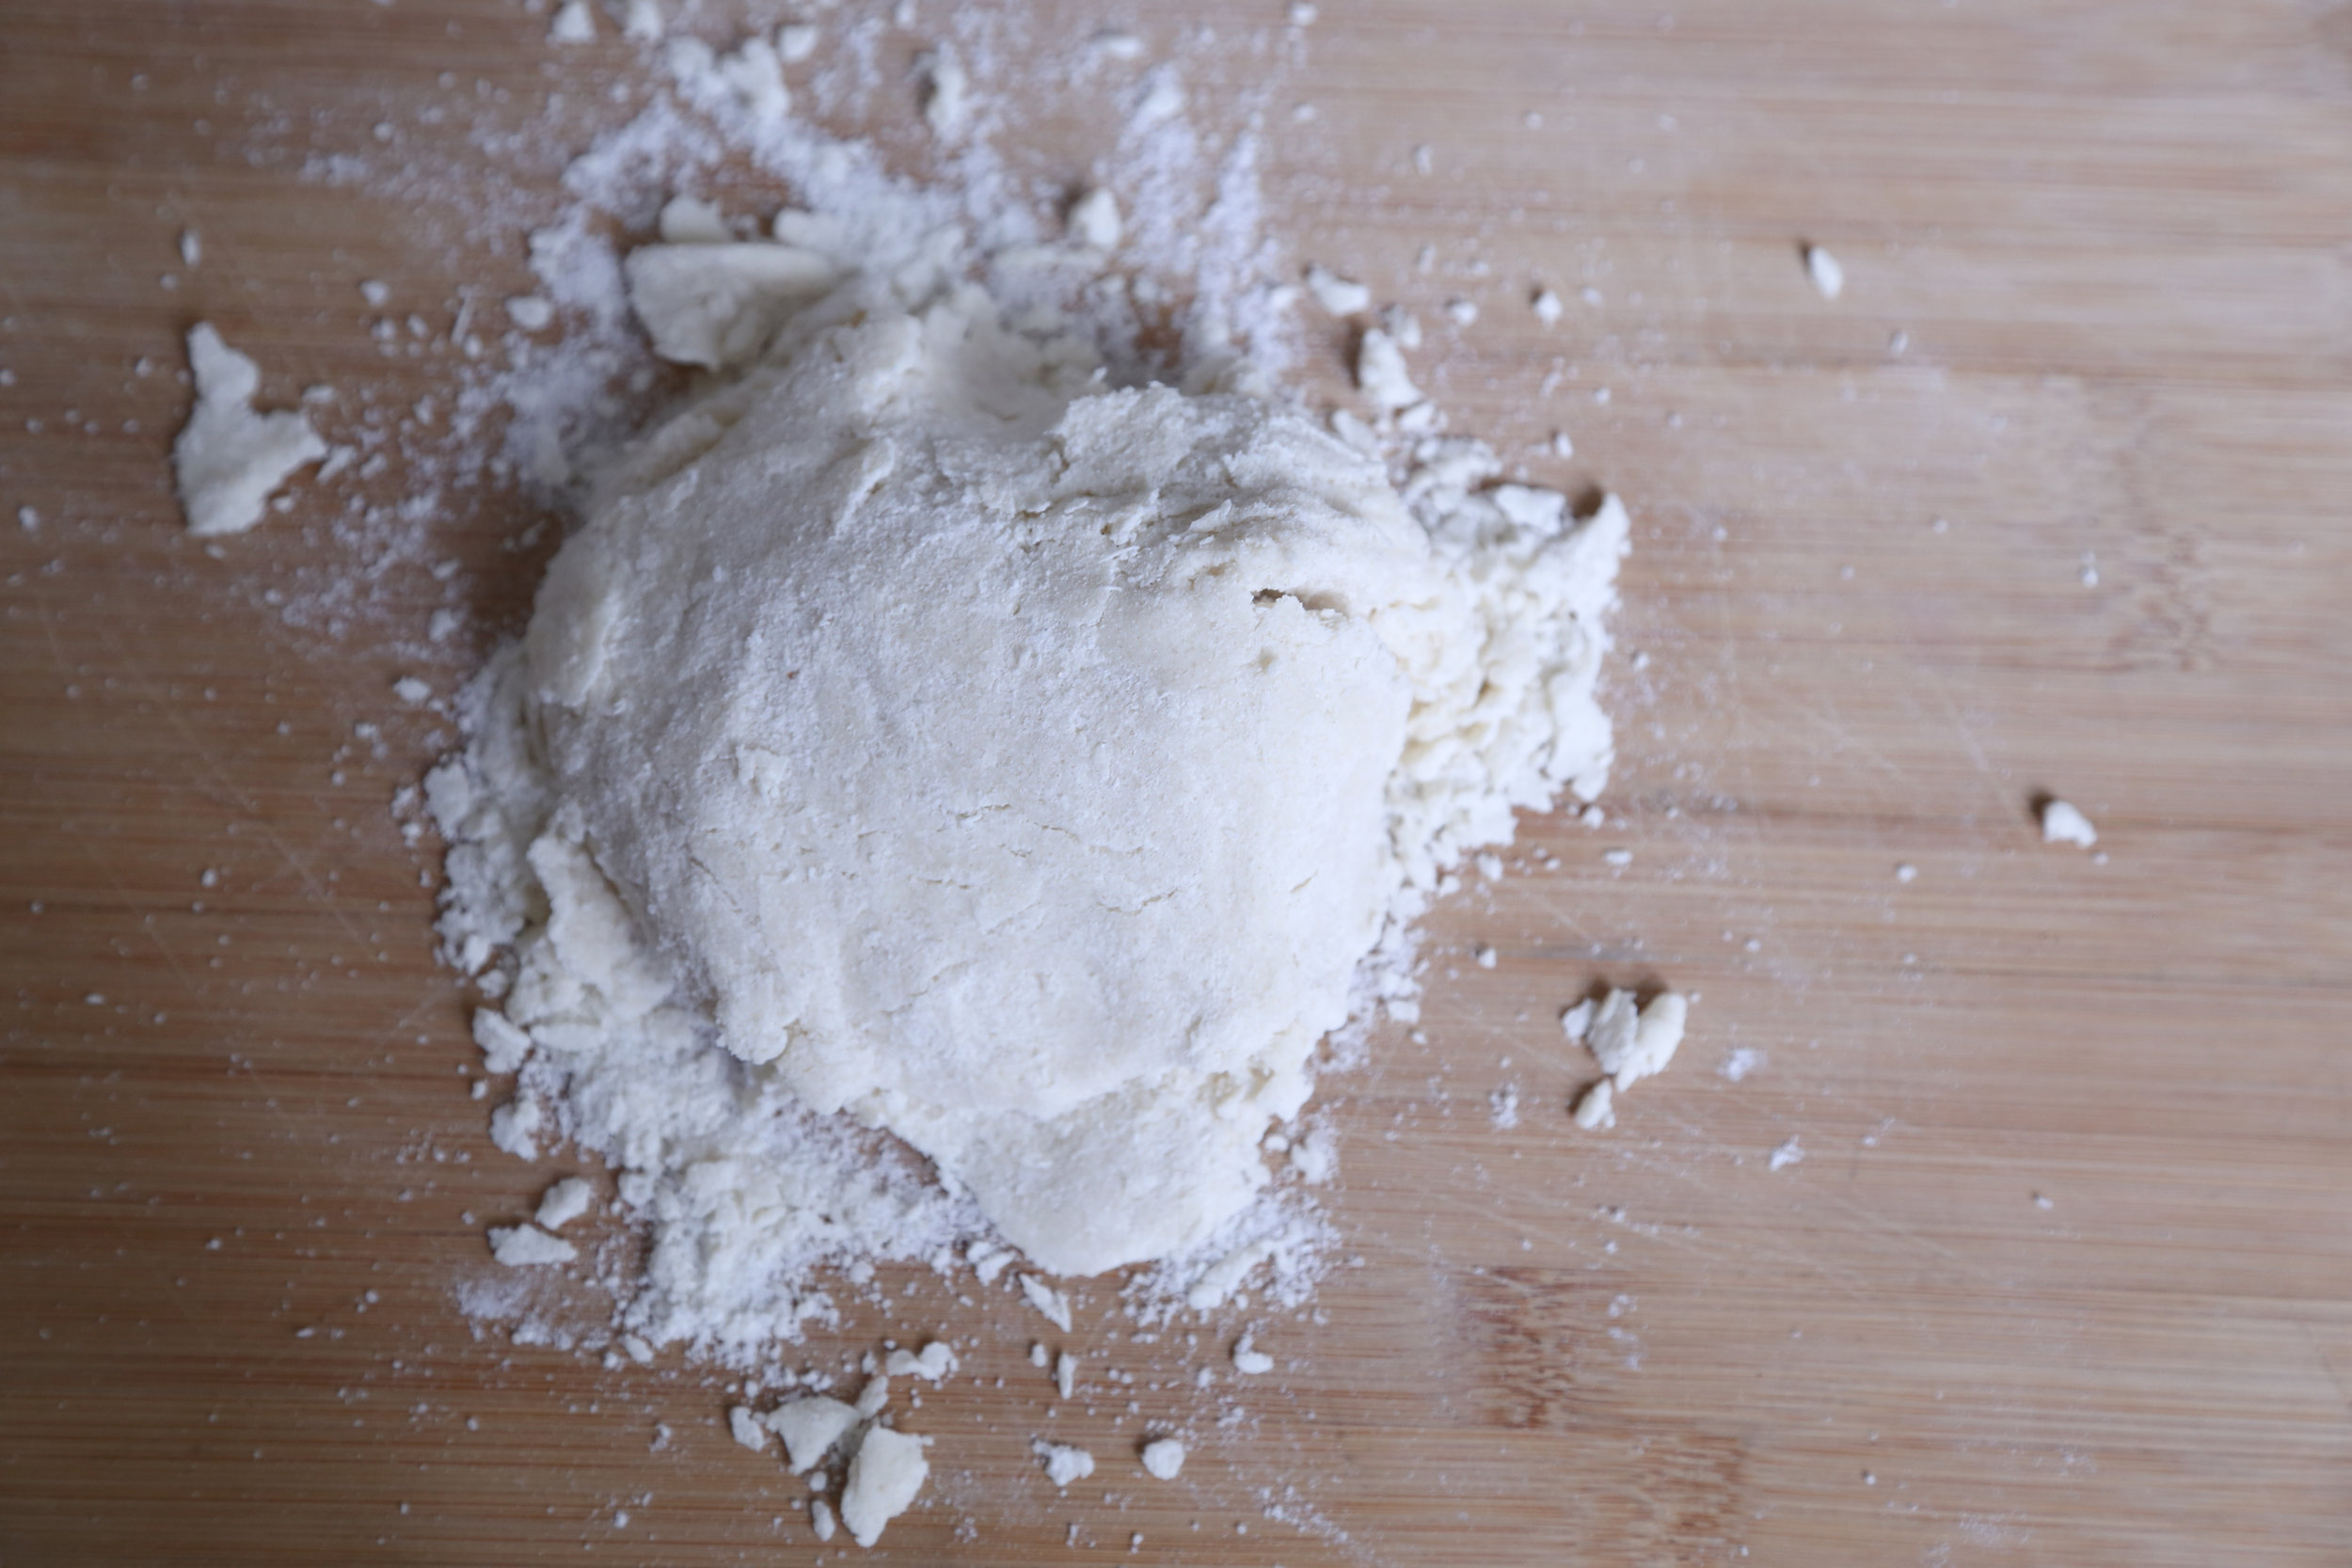
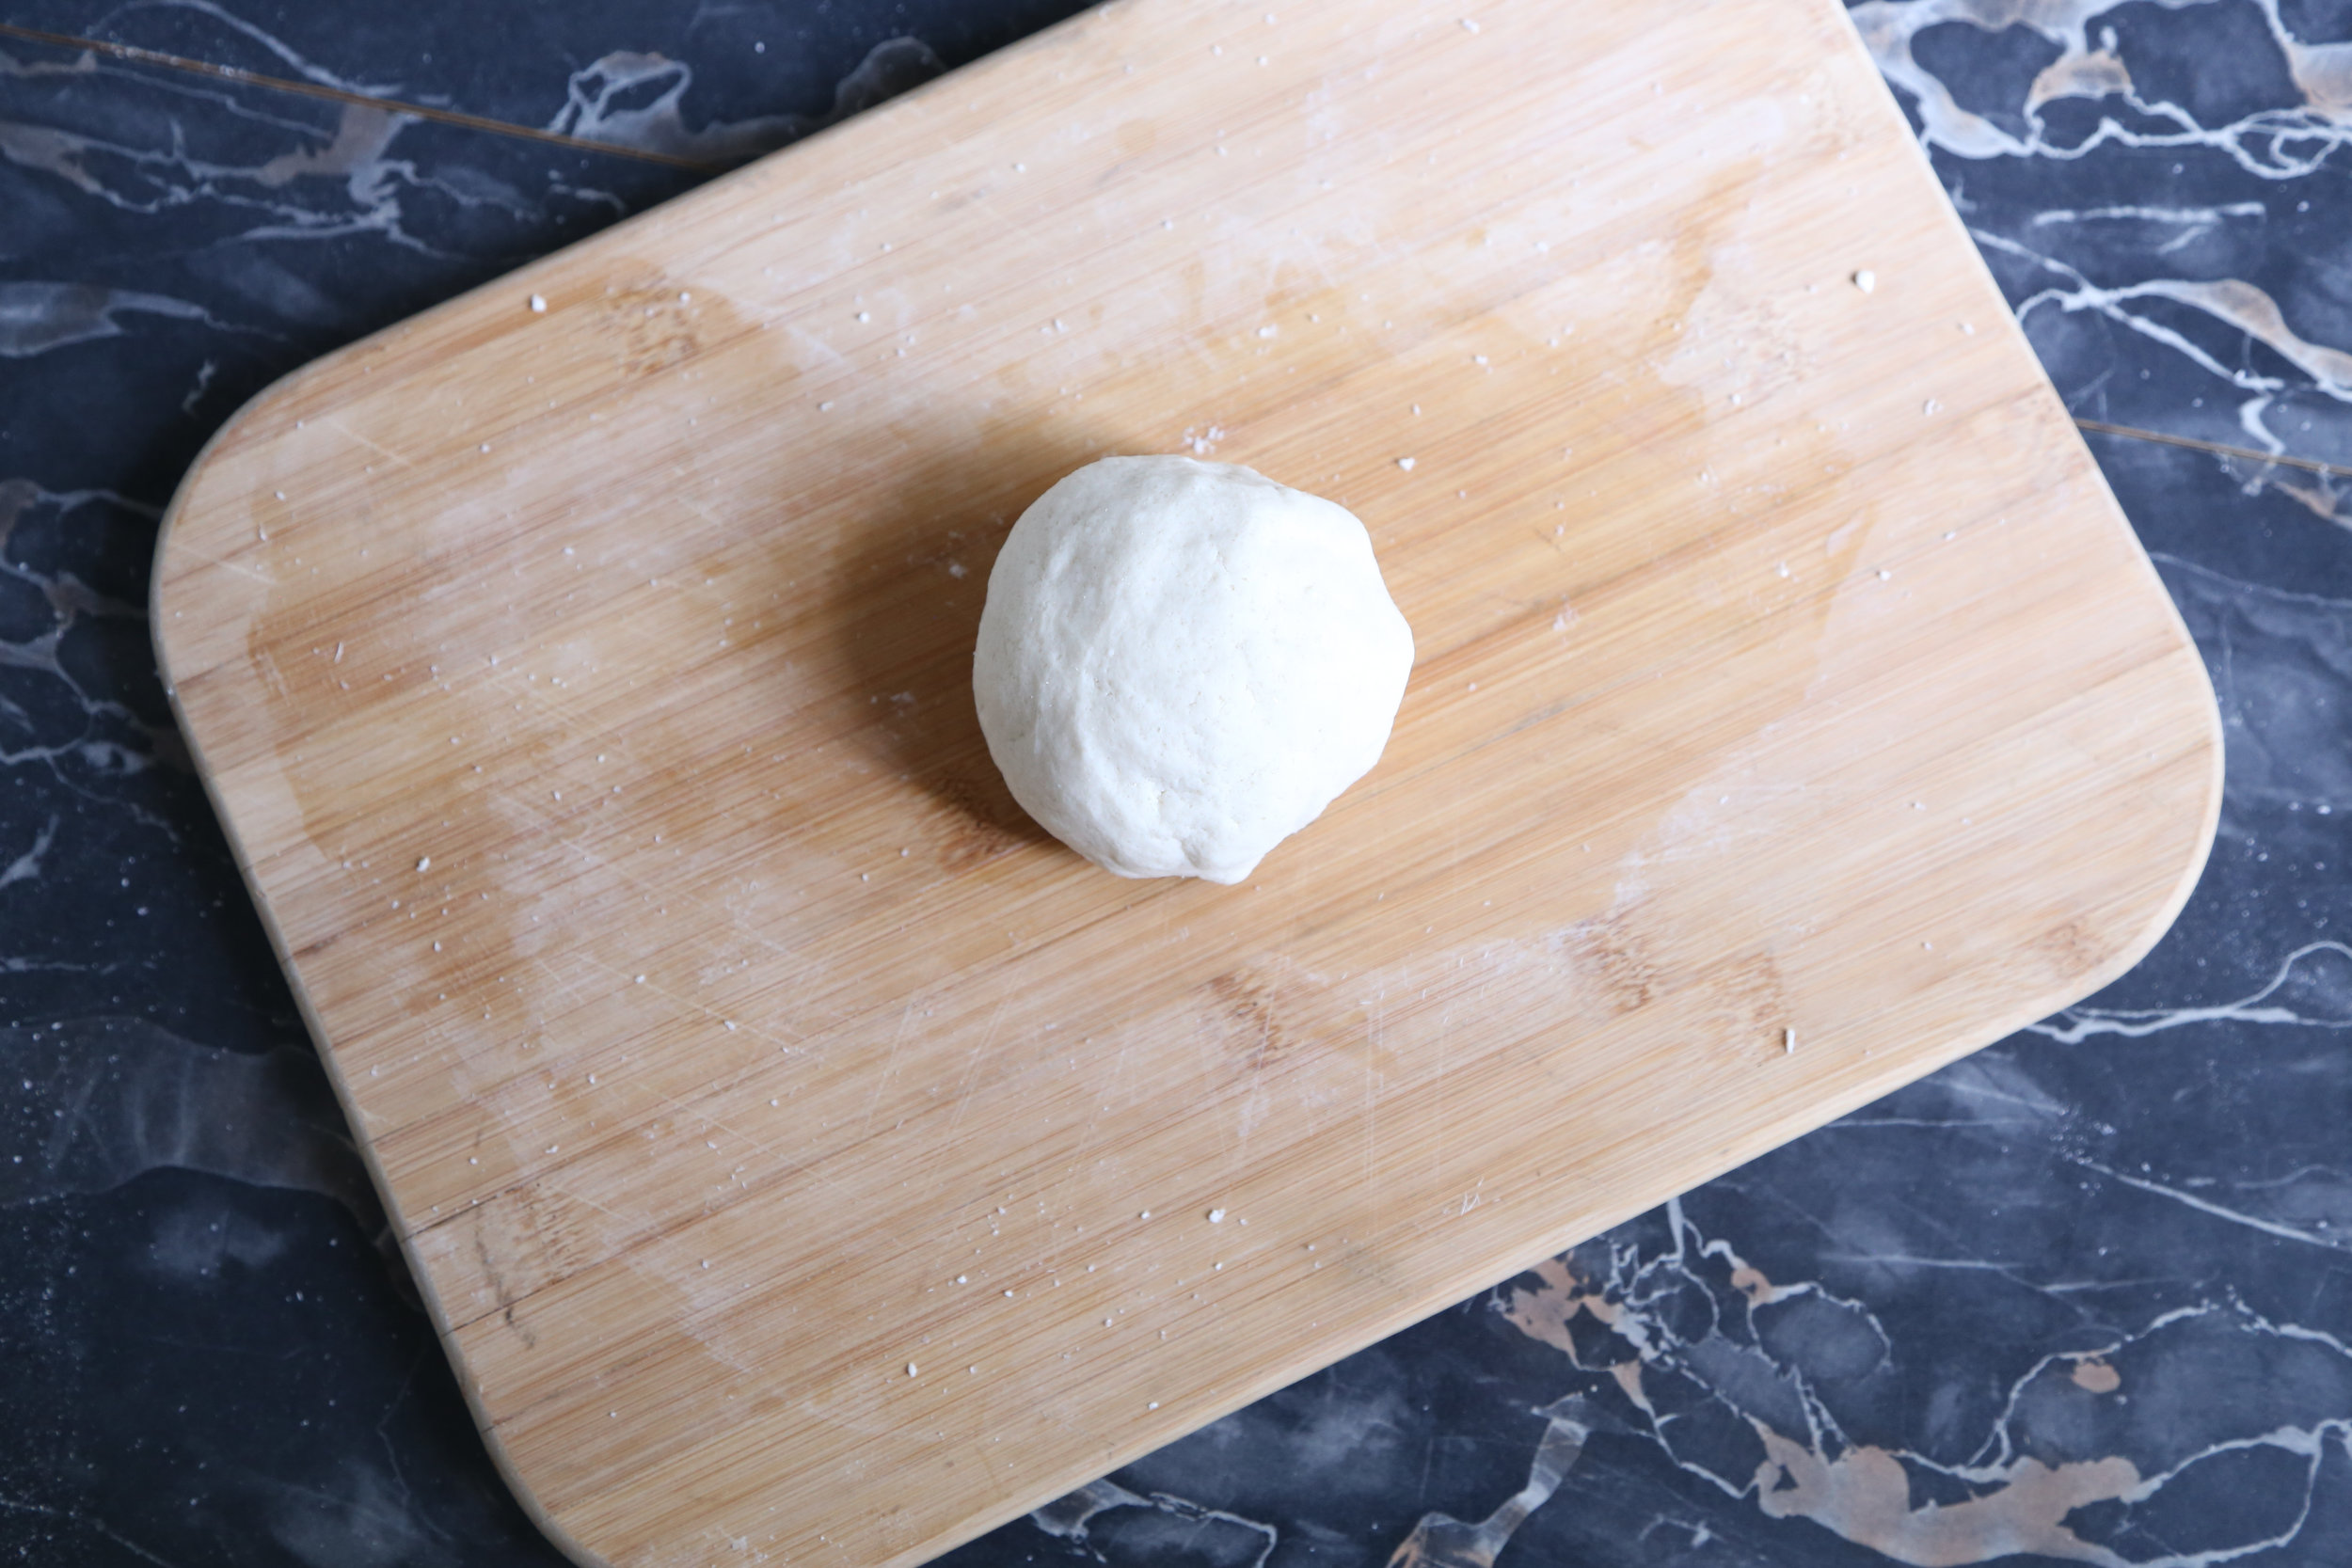
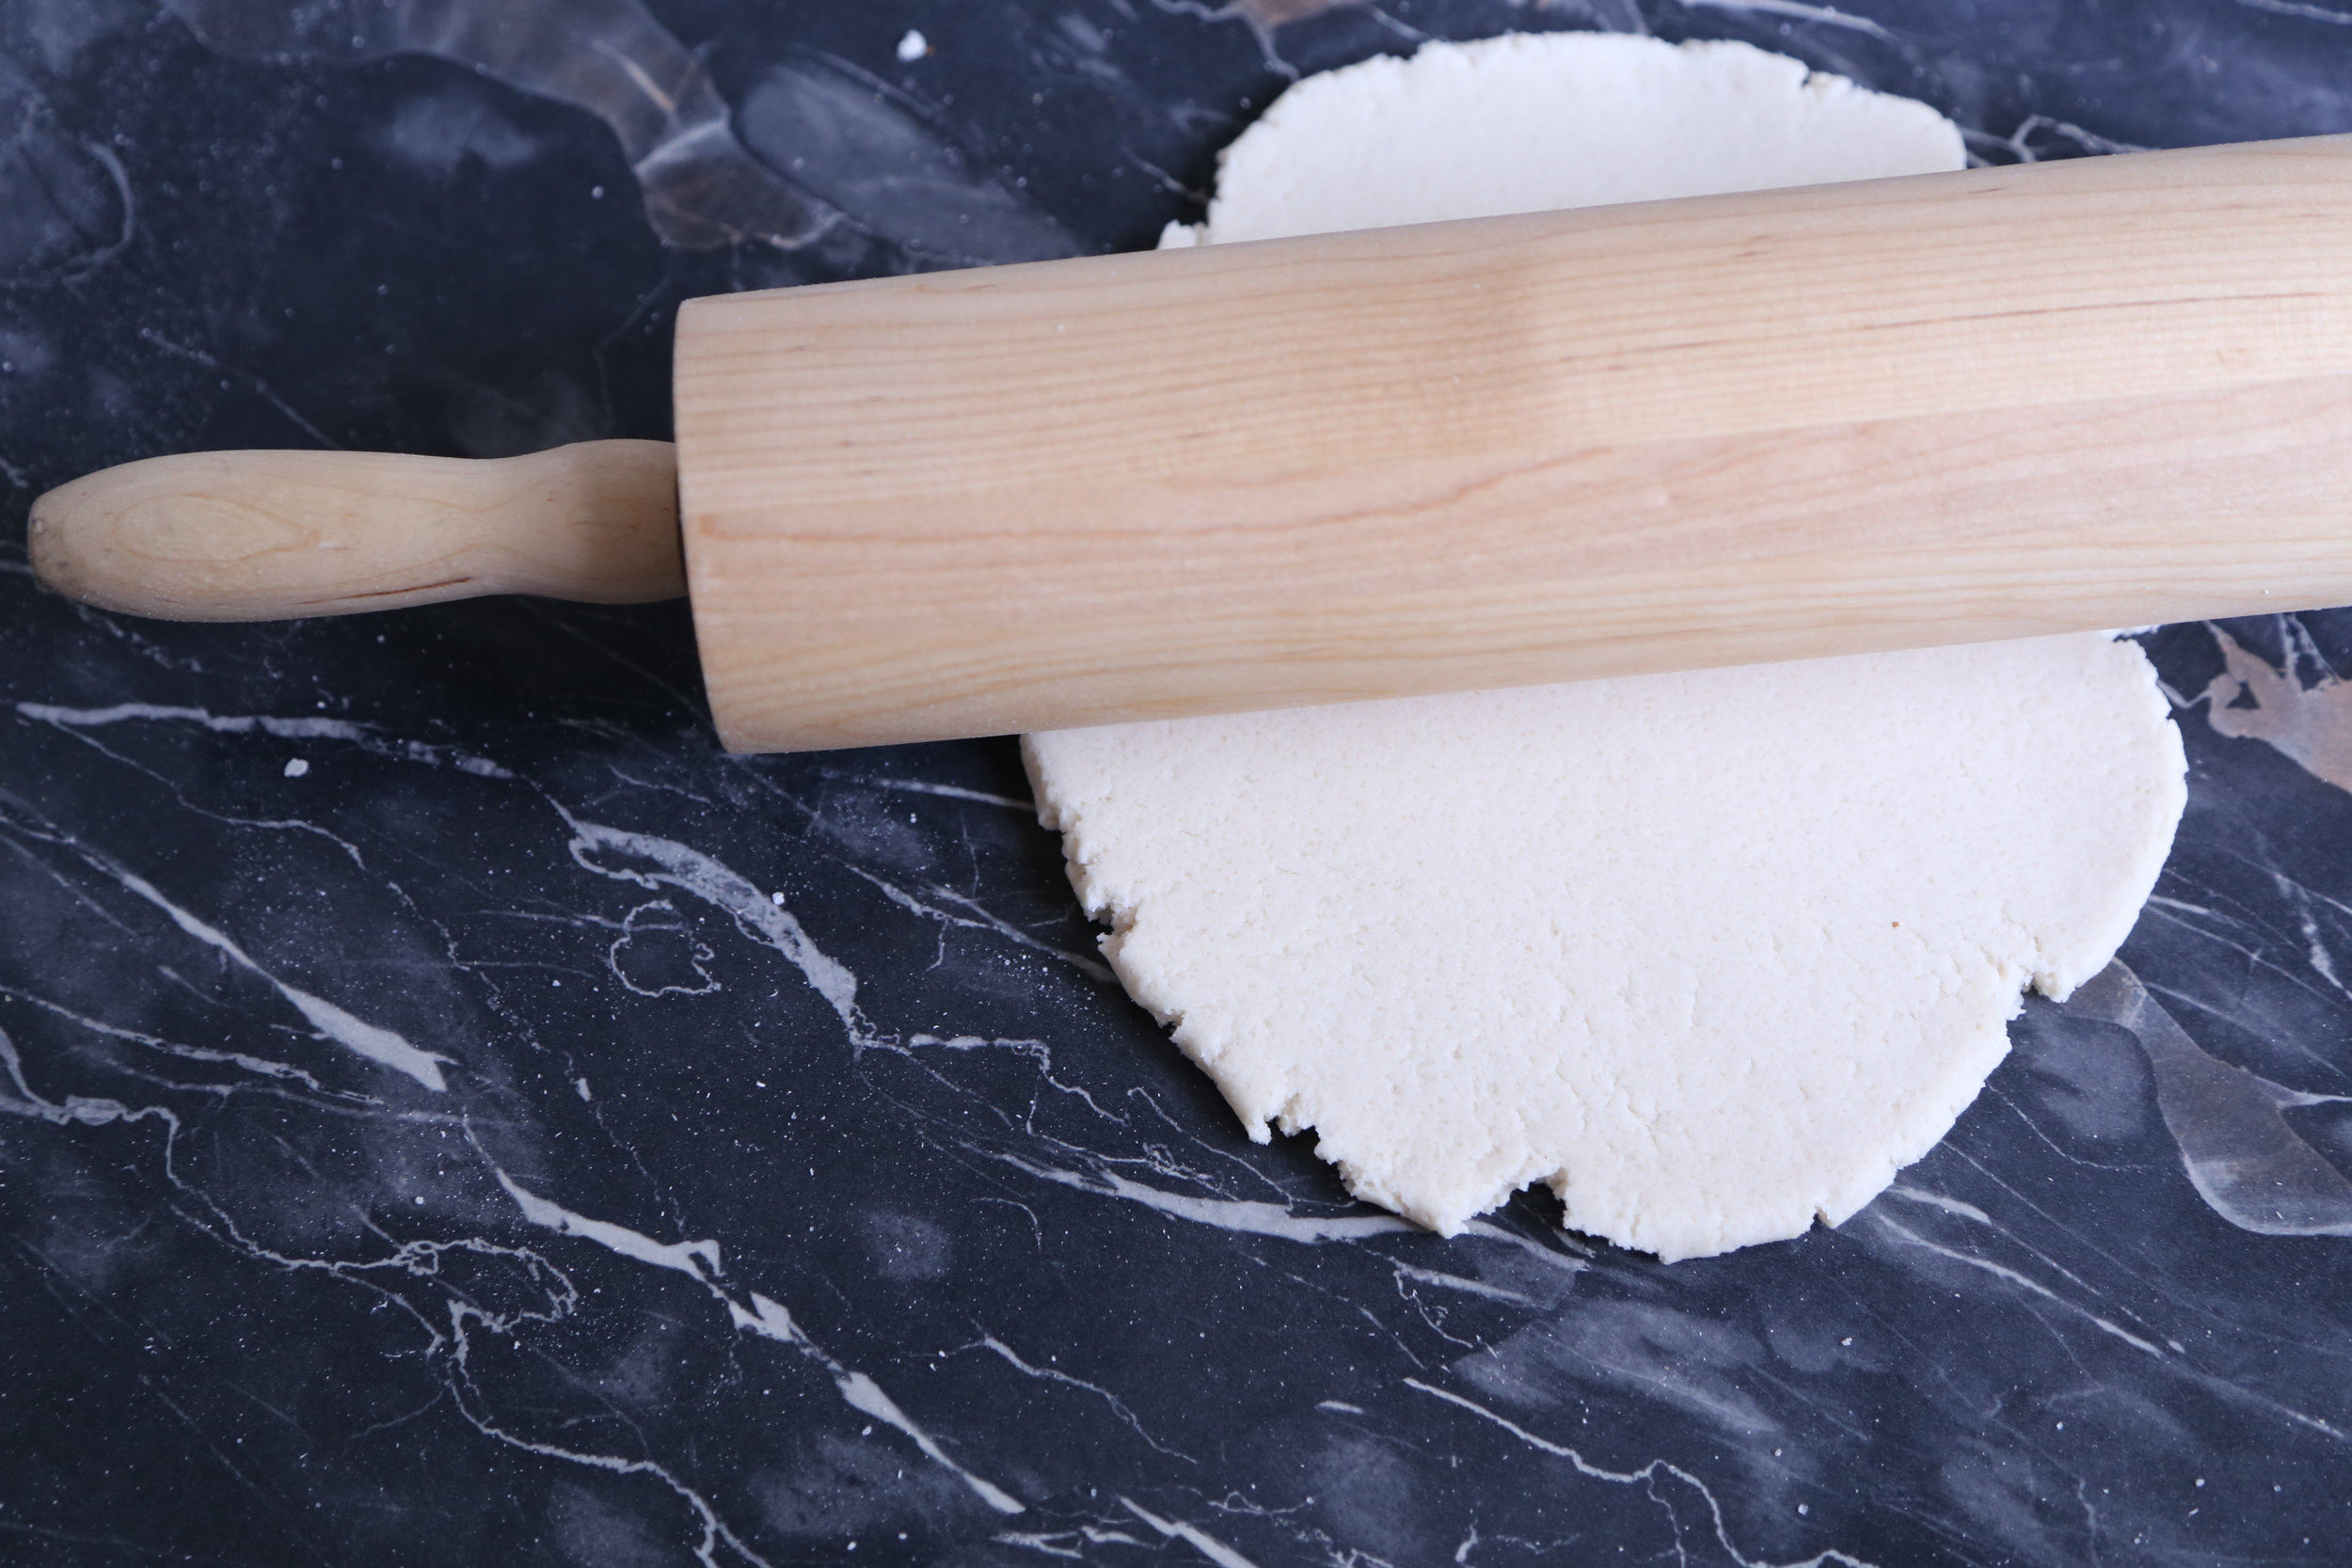
Mix the salt, flour, and water together, and form into a ball. You want the dough wet, but not sticky - think pie dough. Like the consistency of the brown sugar dough you used to make the heavenly blueberry hand pies or crostata.
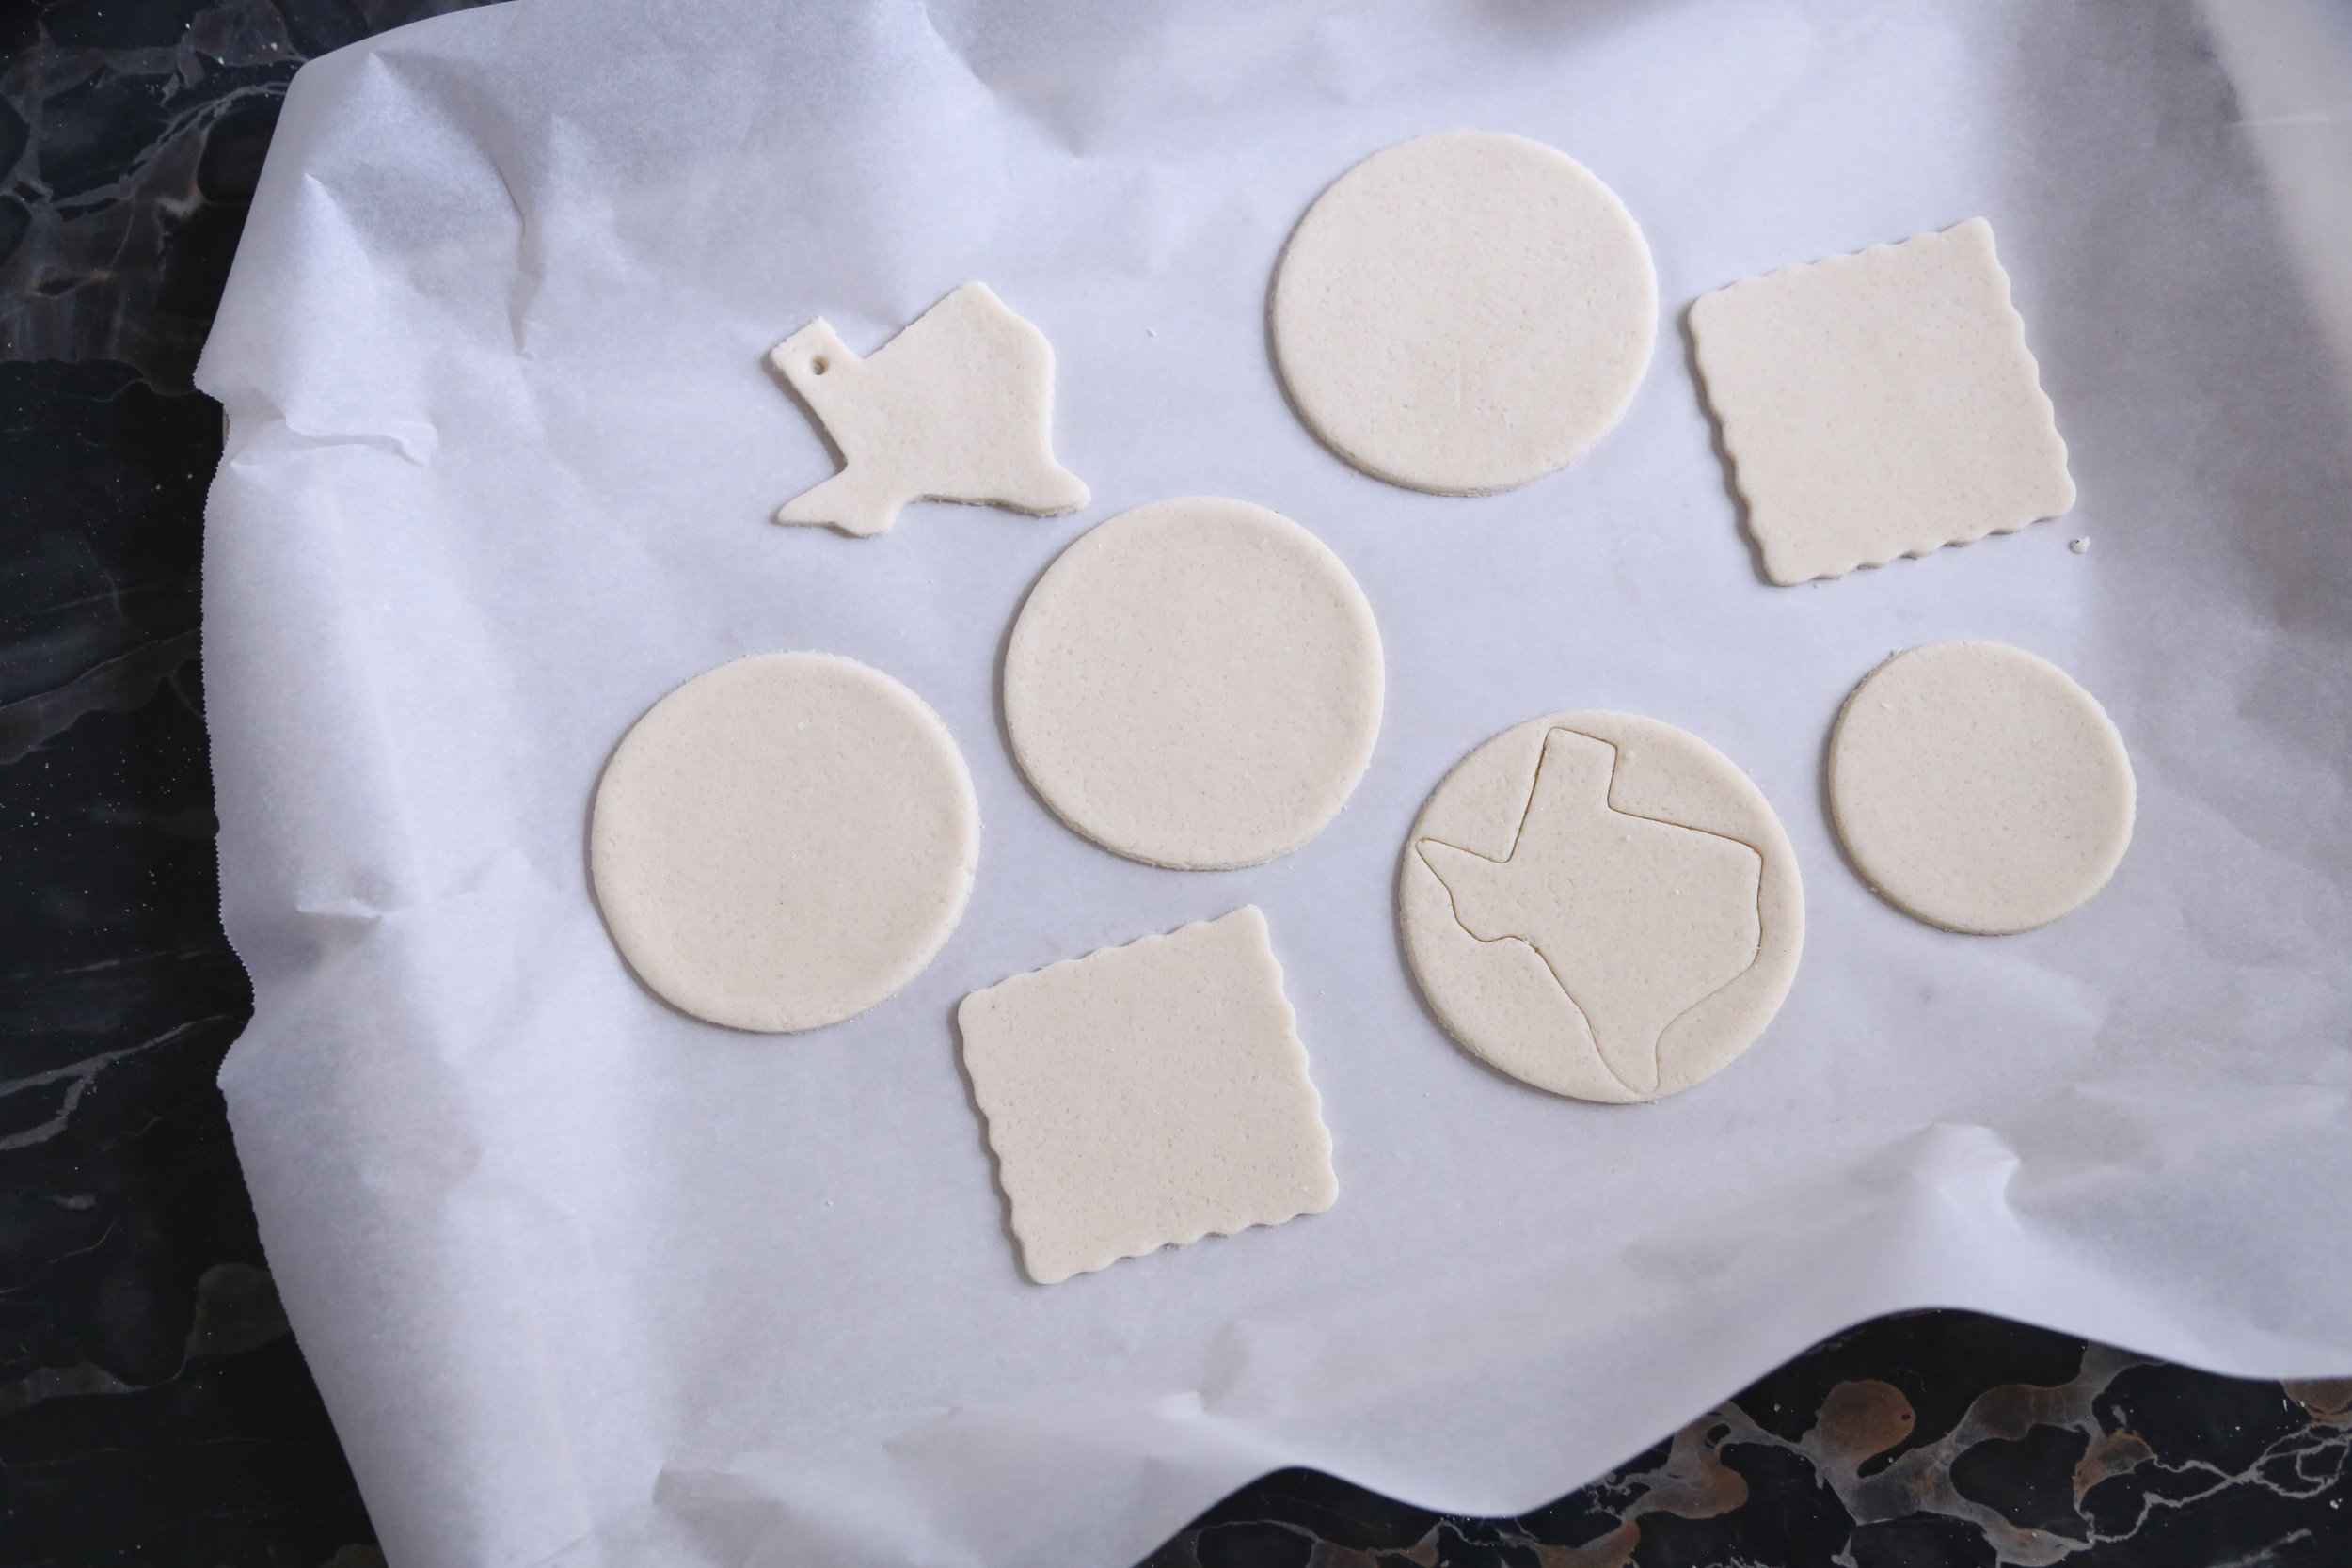
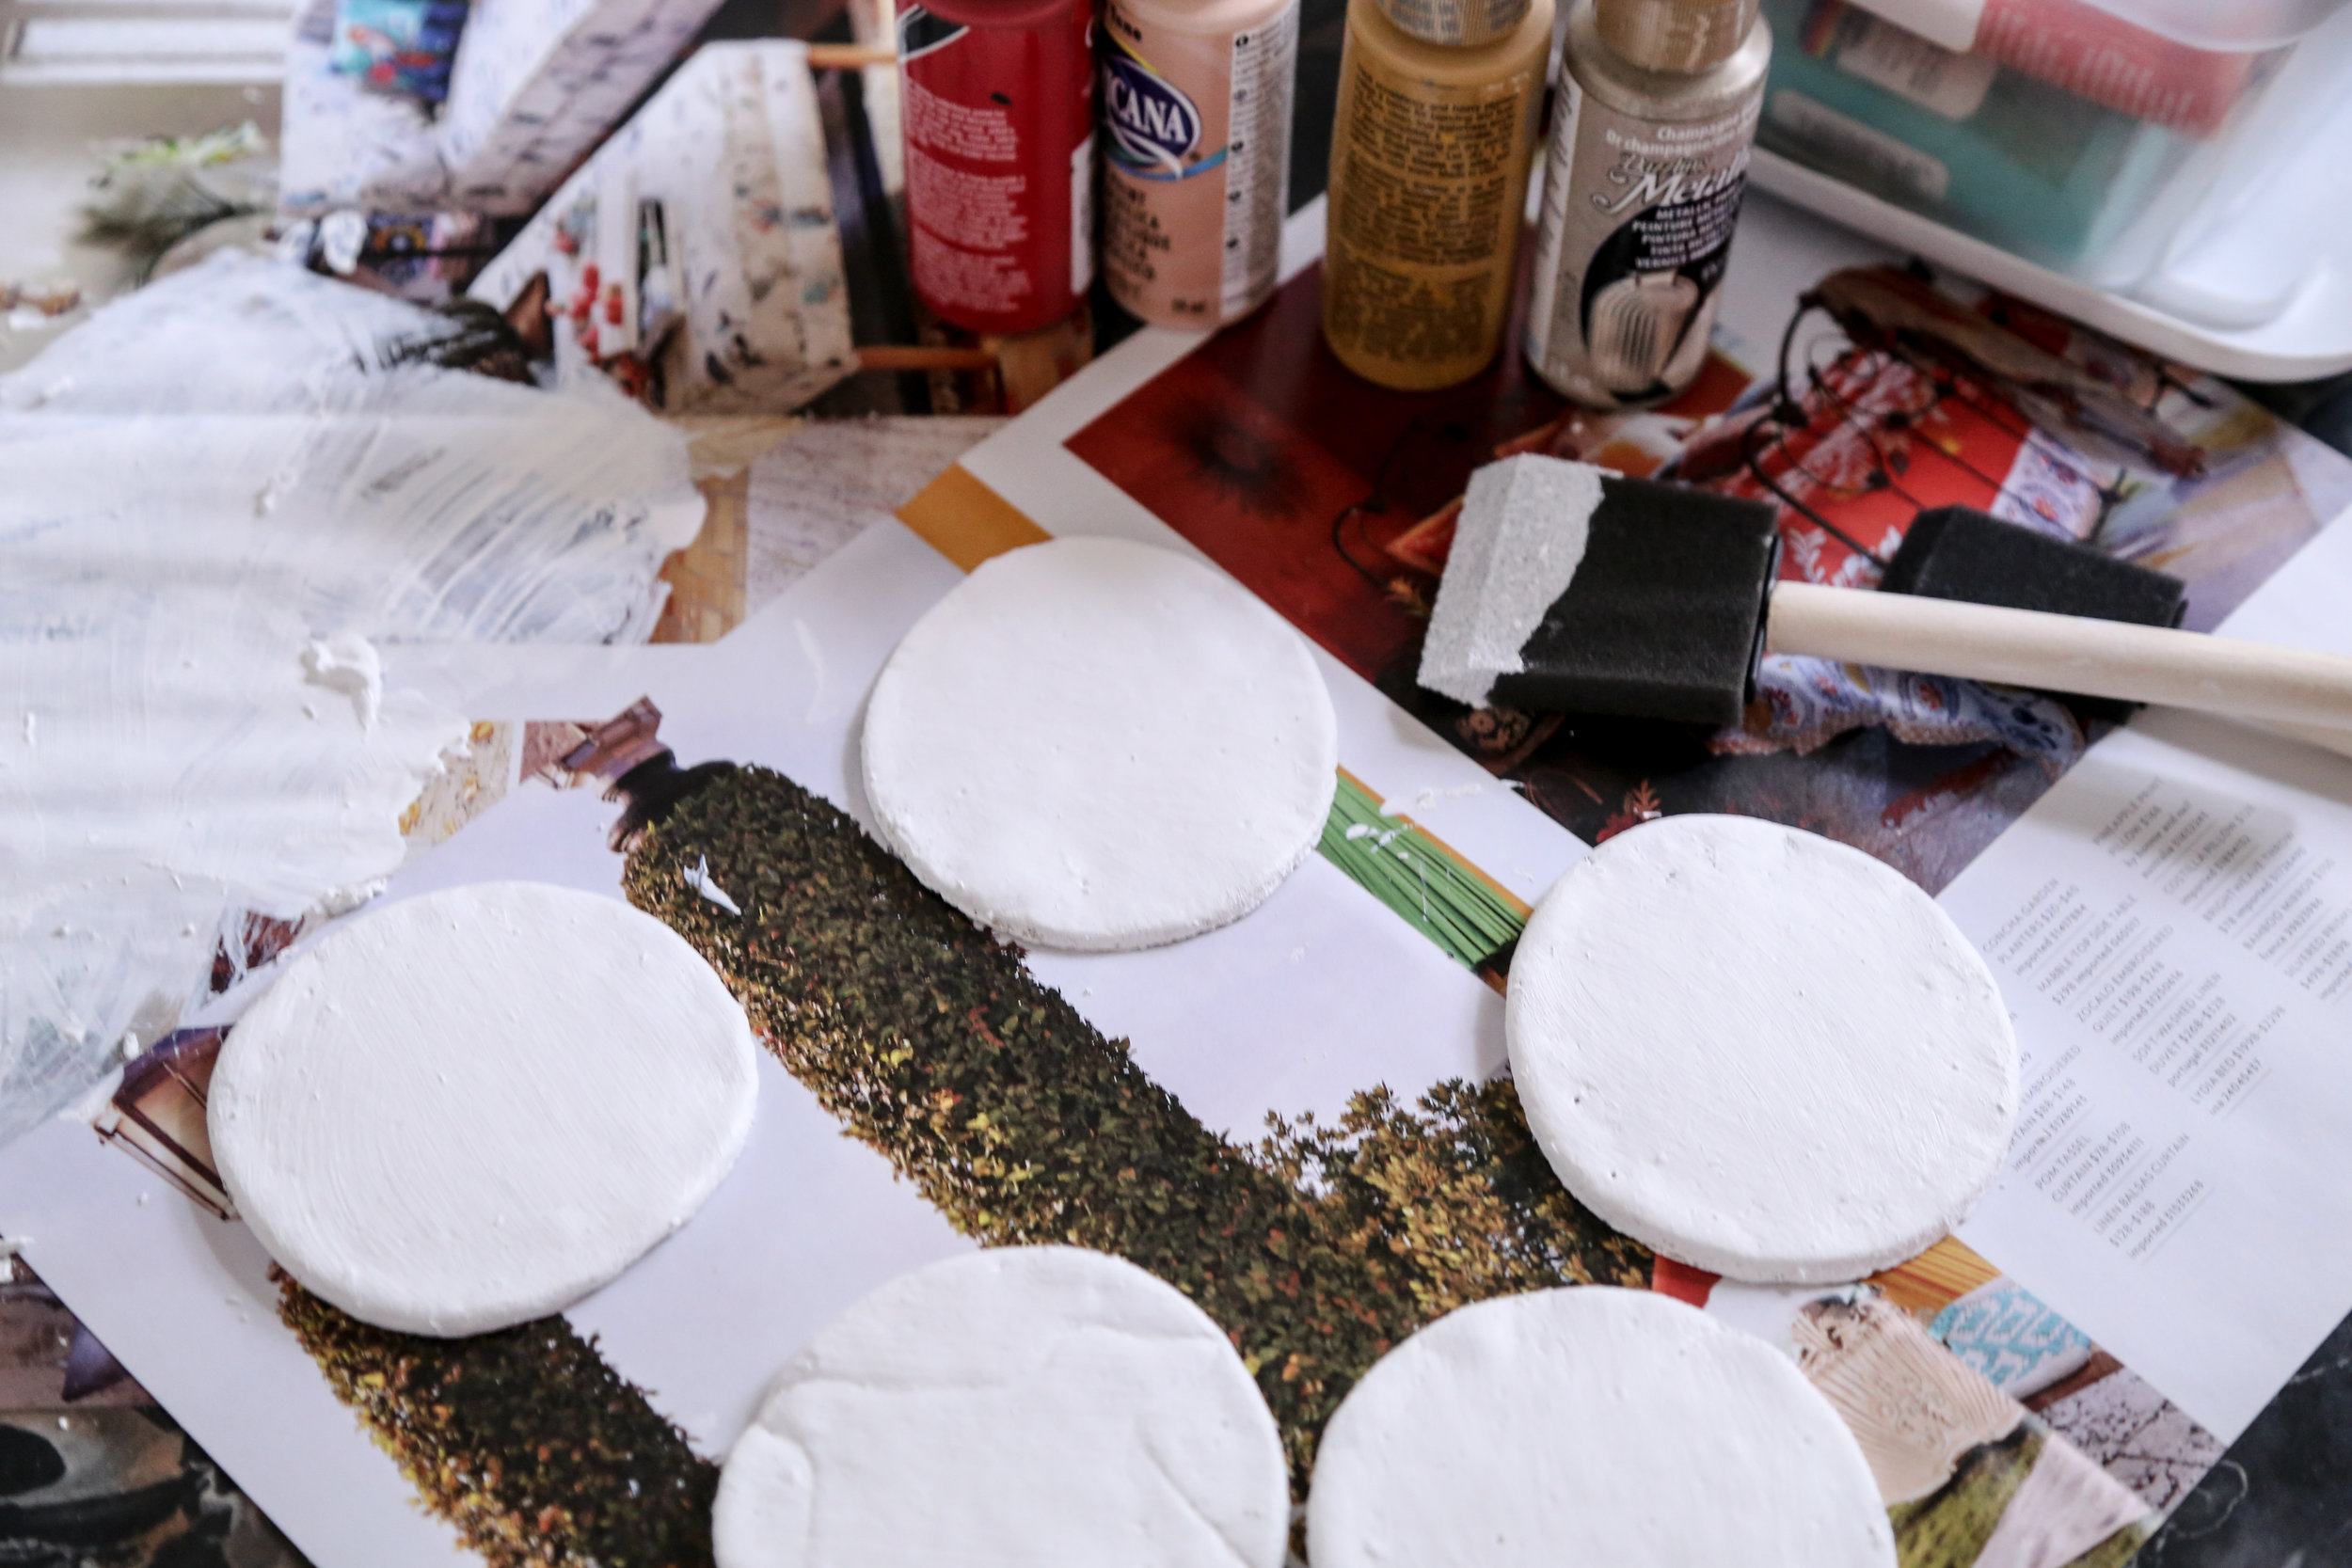
Roll out the dough and cut out the shape you'd like to make the coaster, I used a large glass as as my "cookie" cutter.
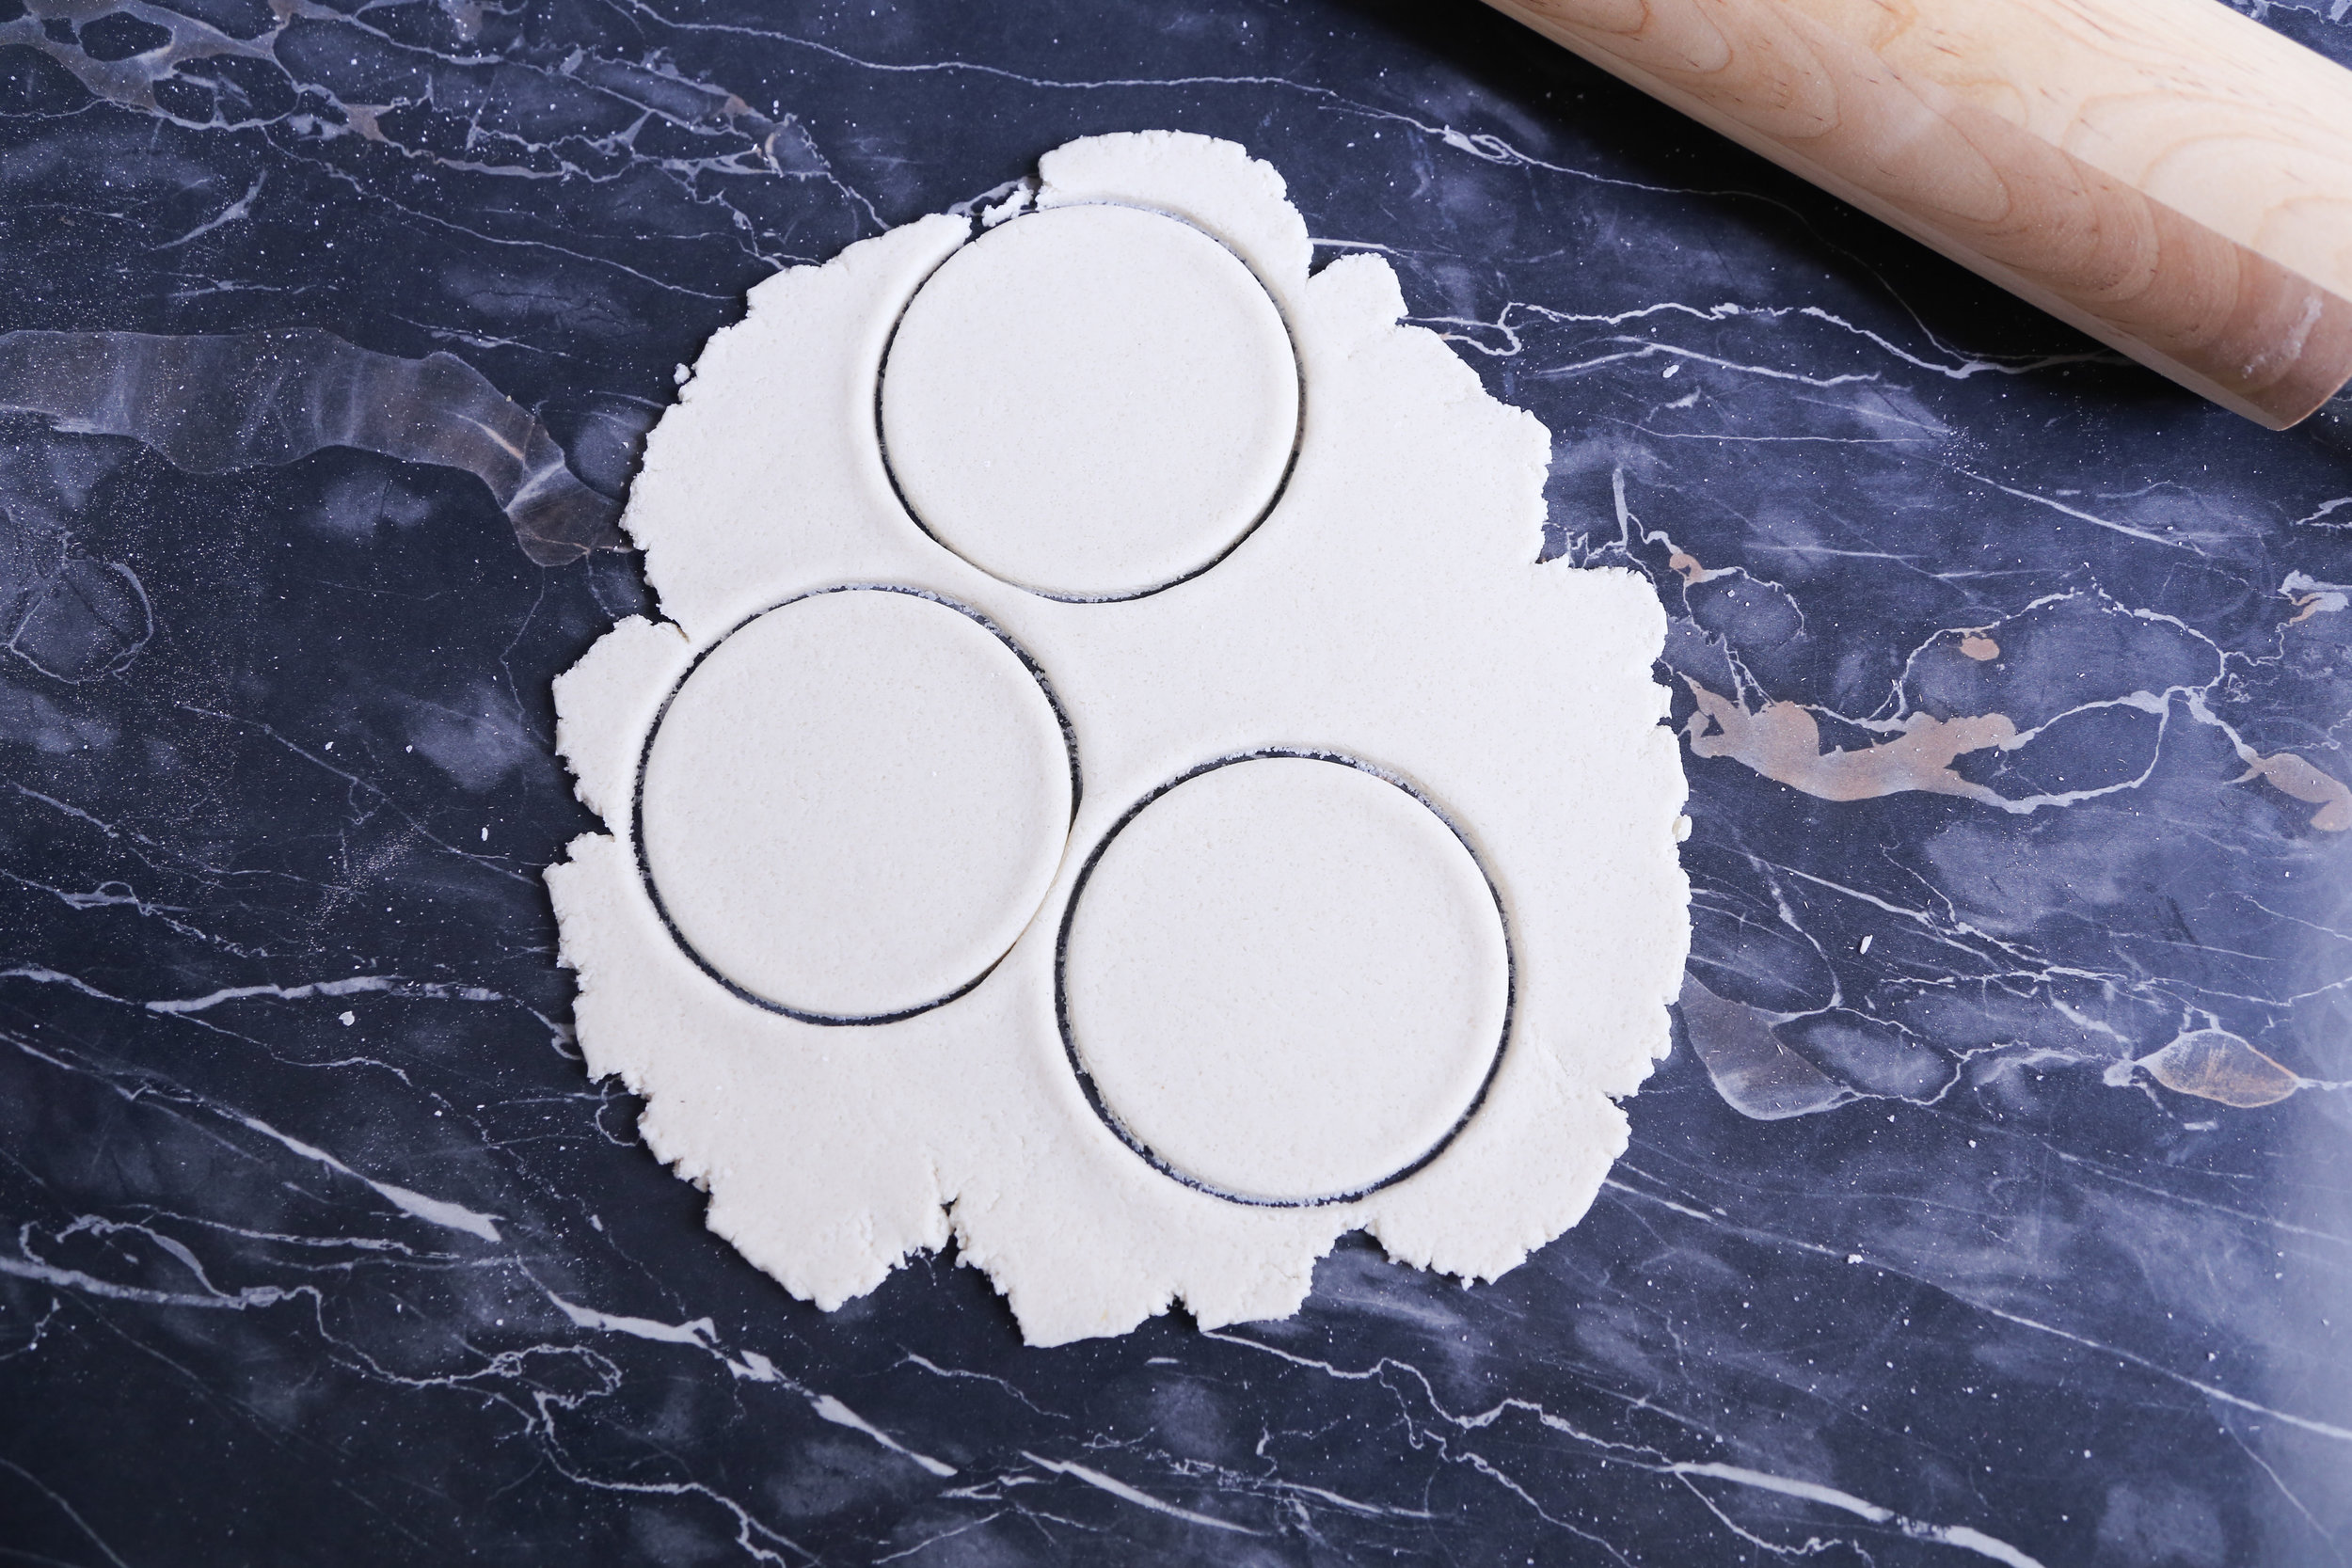 Next, poke them with a tooth pick and lay on parchment lined cookie sheet and cook in a 200 degree oven until they're almost fully dried out, it could take anywhere from 20 minutes to 90 minutes depending on how wet your dough was and how thick your coasters are - keep checking, if it starts to puff up, poke them with the tooth pick, and don't forget to flip them over a couple of times!
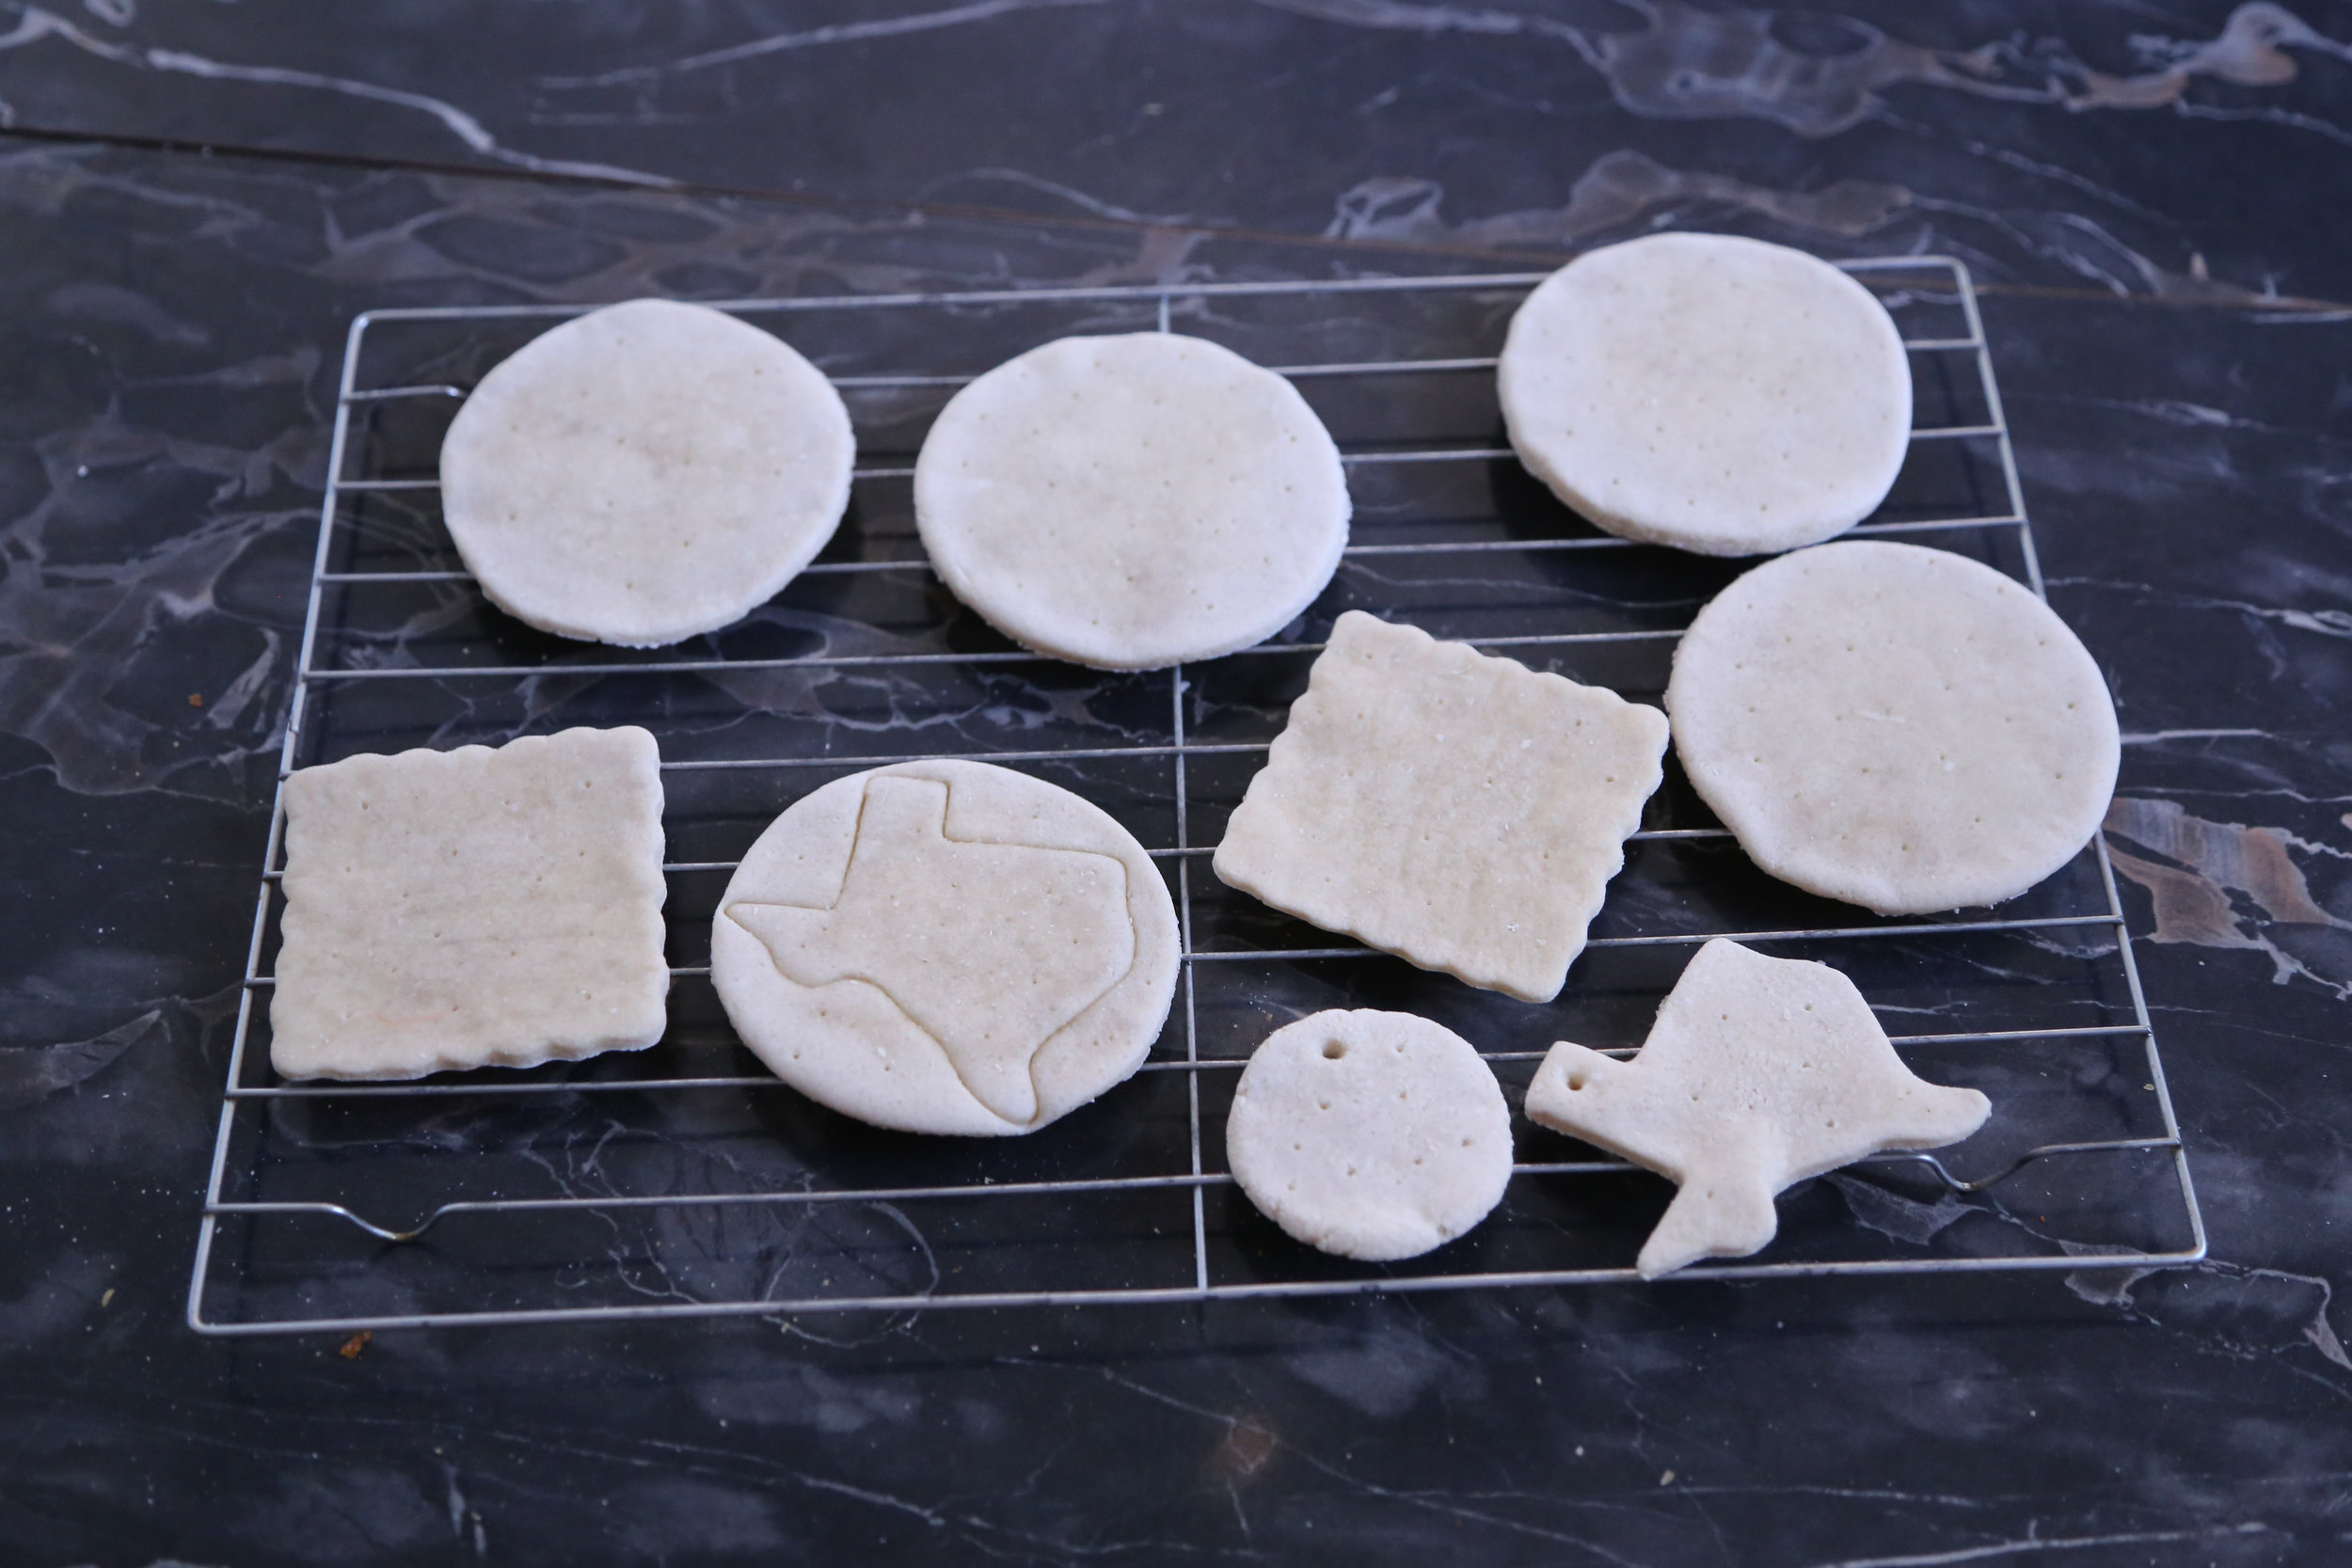
let them cool on a wire rack and dry out completely.
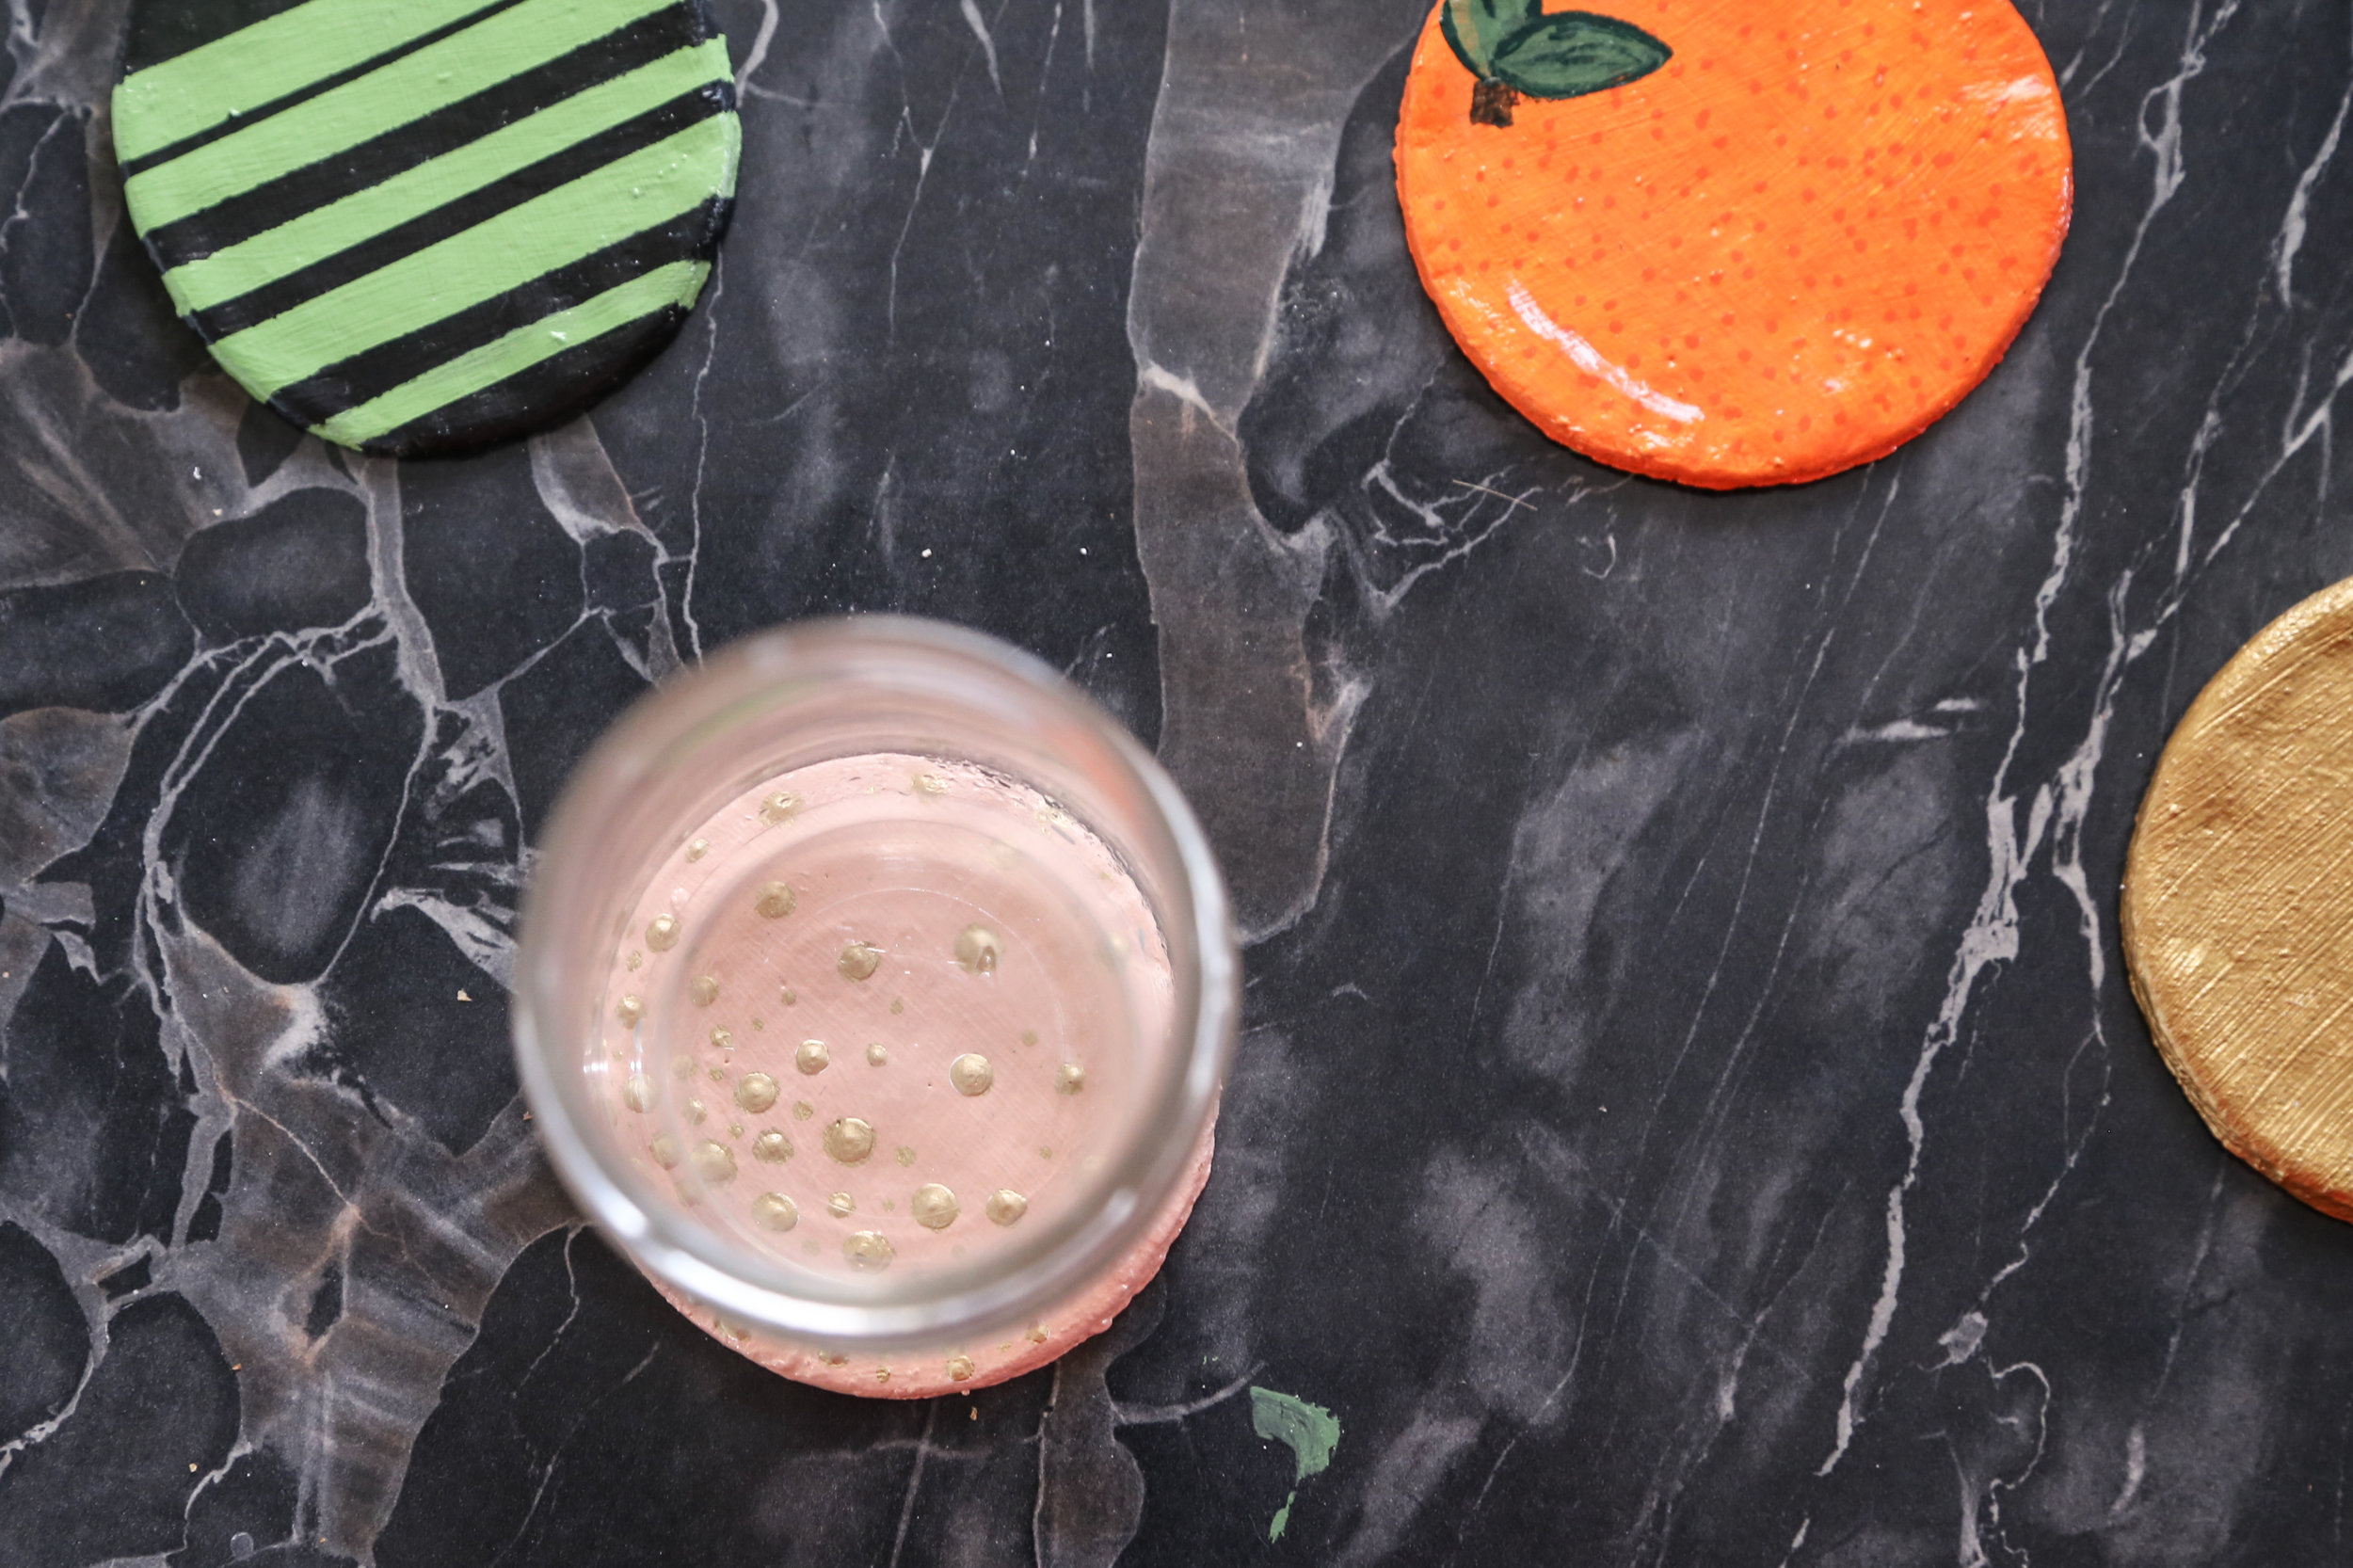
Once they're dry give them 2-3 coats of white paint as a foundation - unless you're going with black or something for your design background.
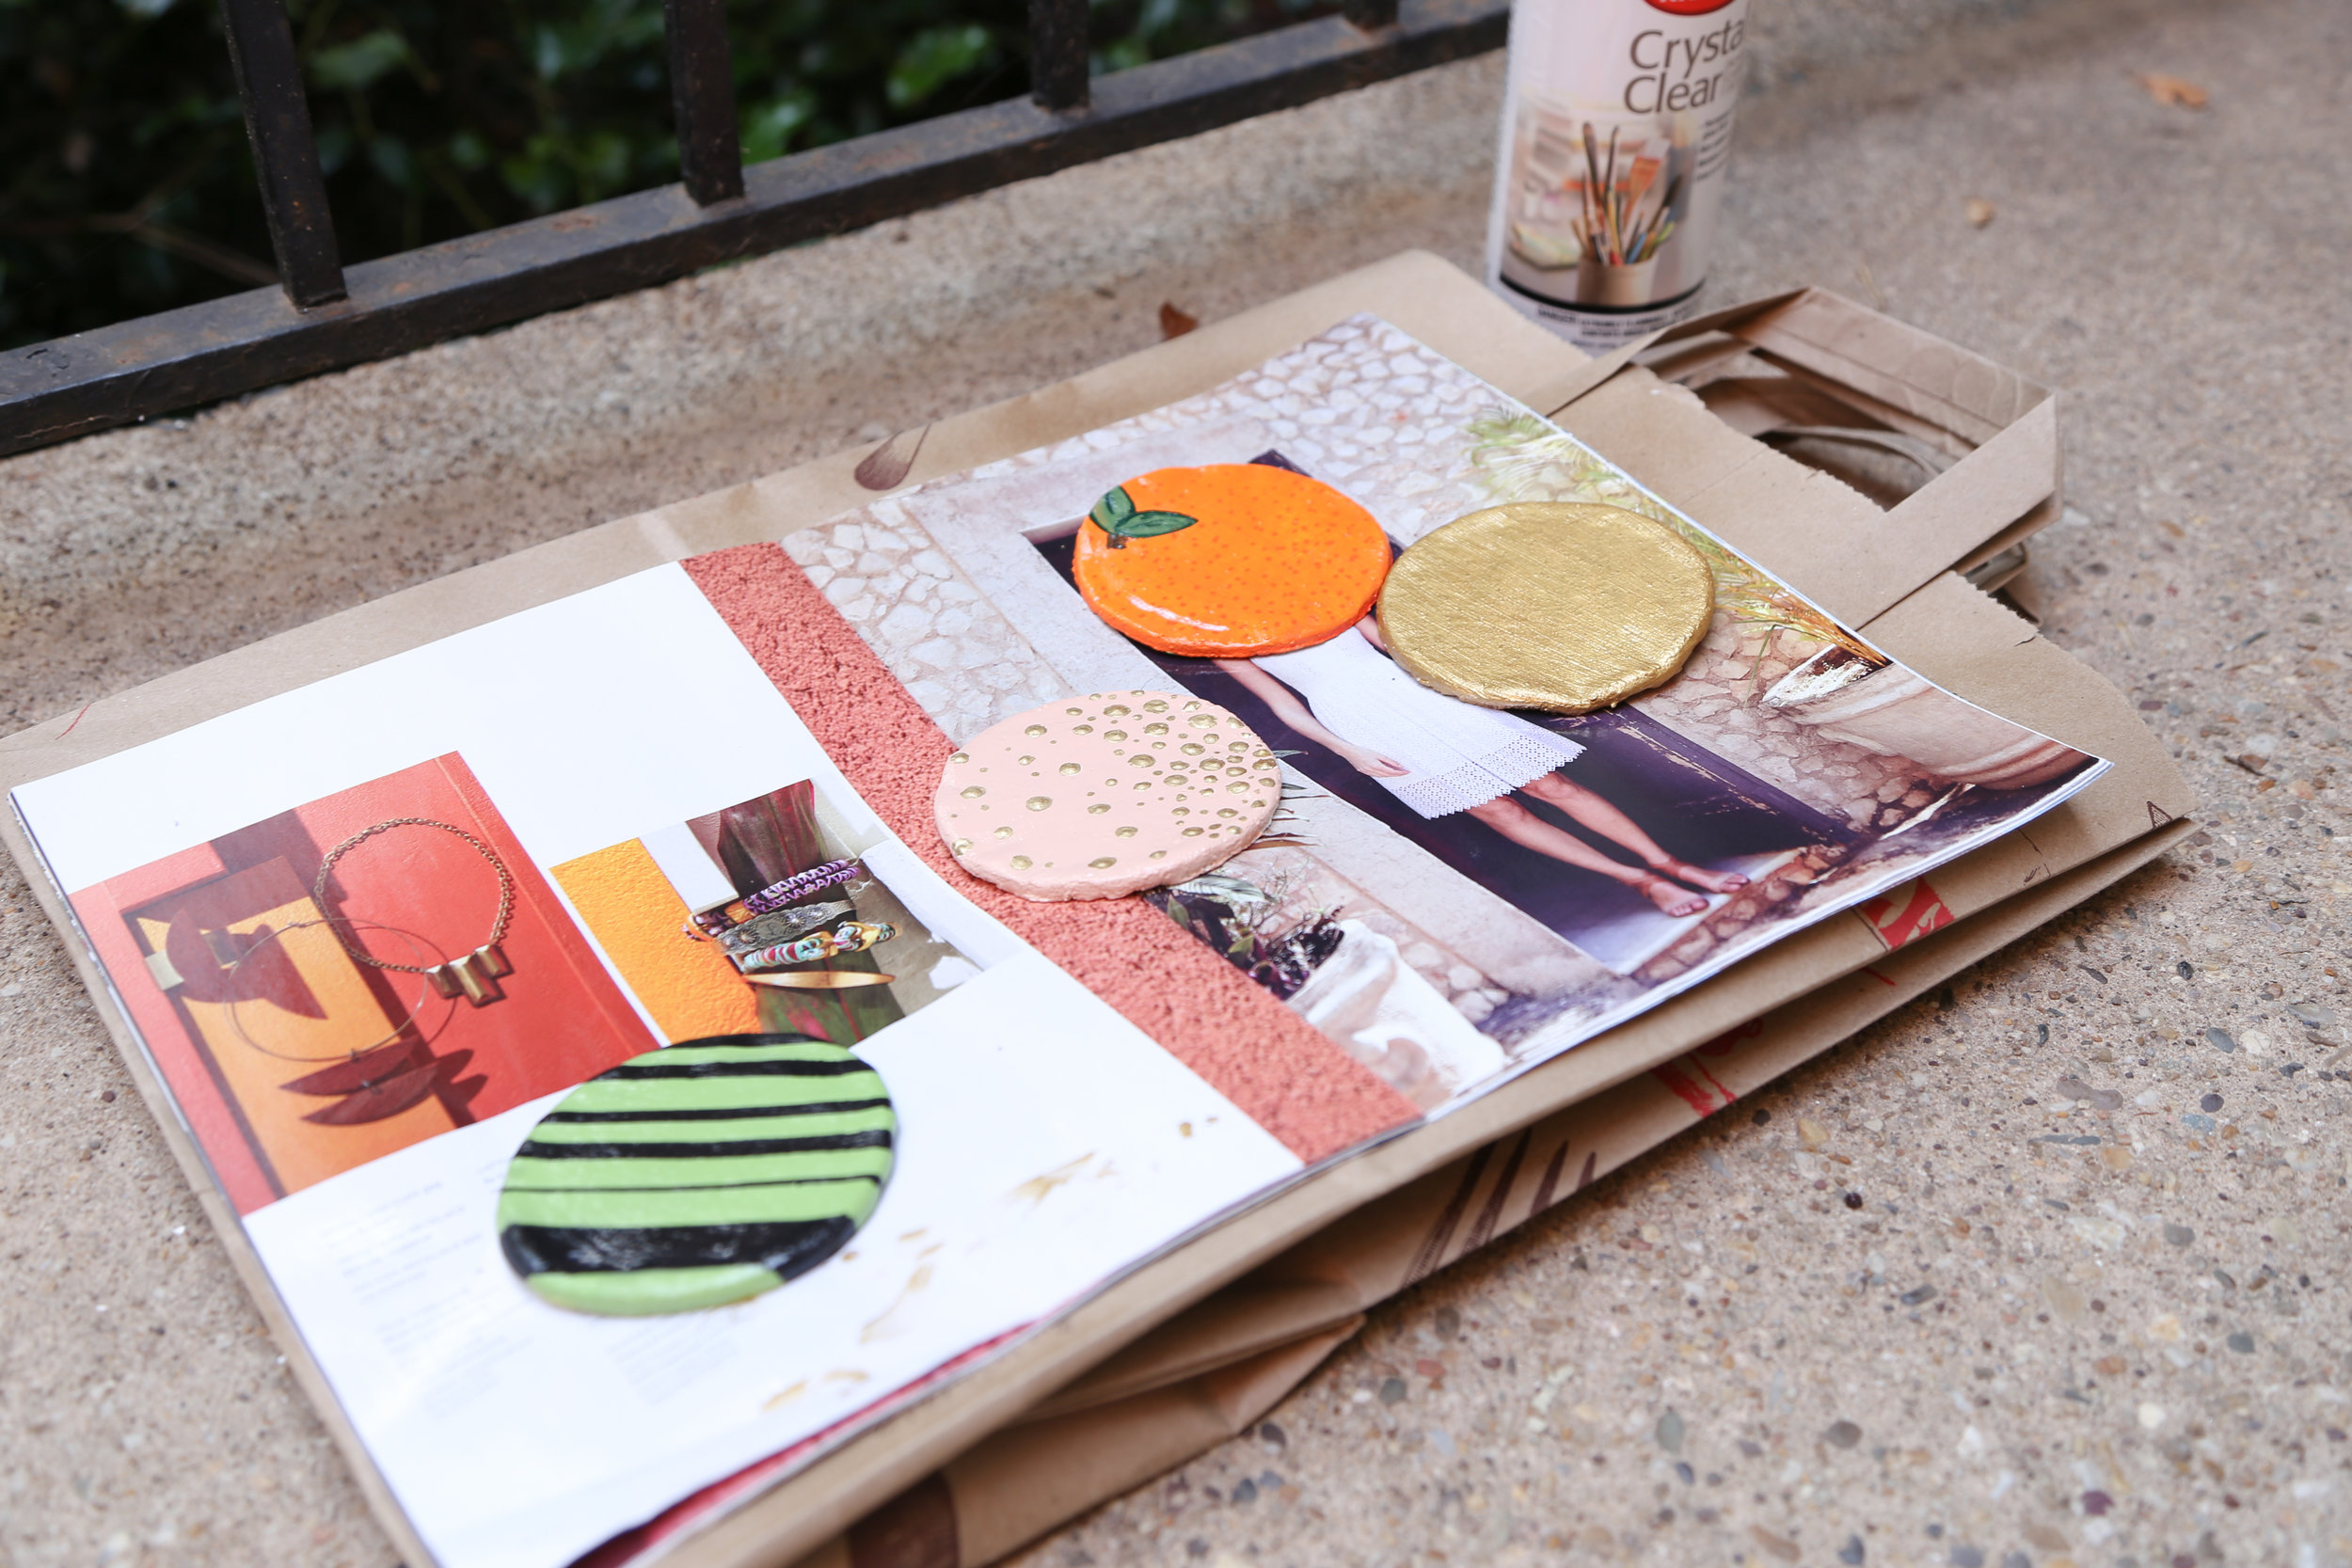
Then start adding your background color/design. I was going to do a matching set of gold and white/rifle paper inspired set (which will probs. happen eventually), but I thought doing a set of random ones would be way more fun.
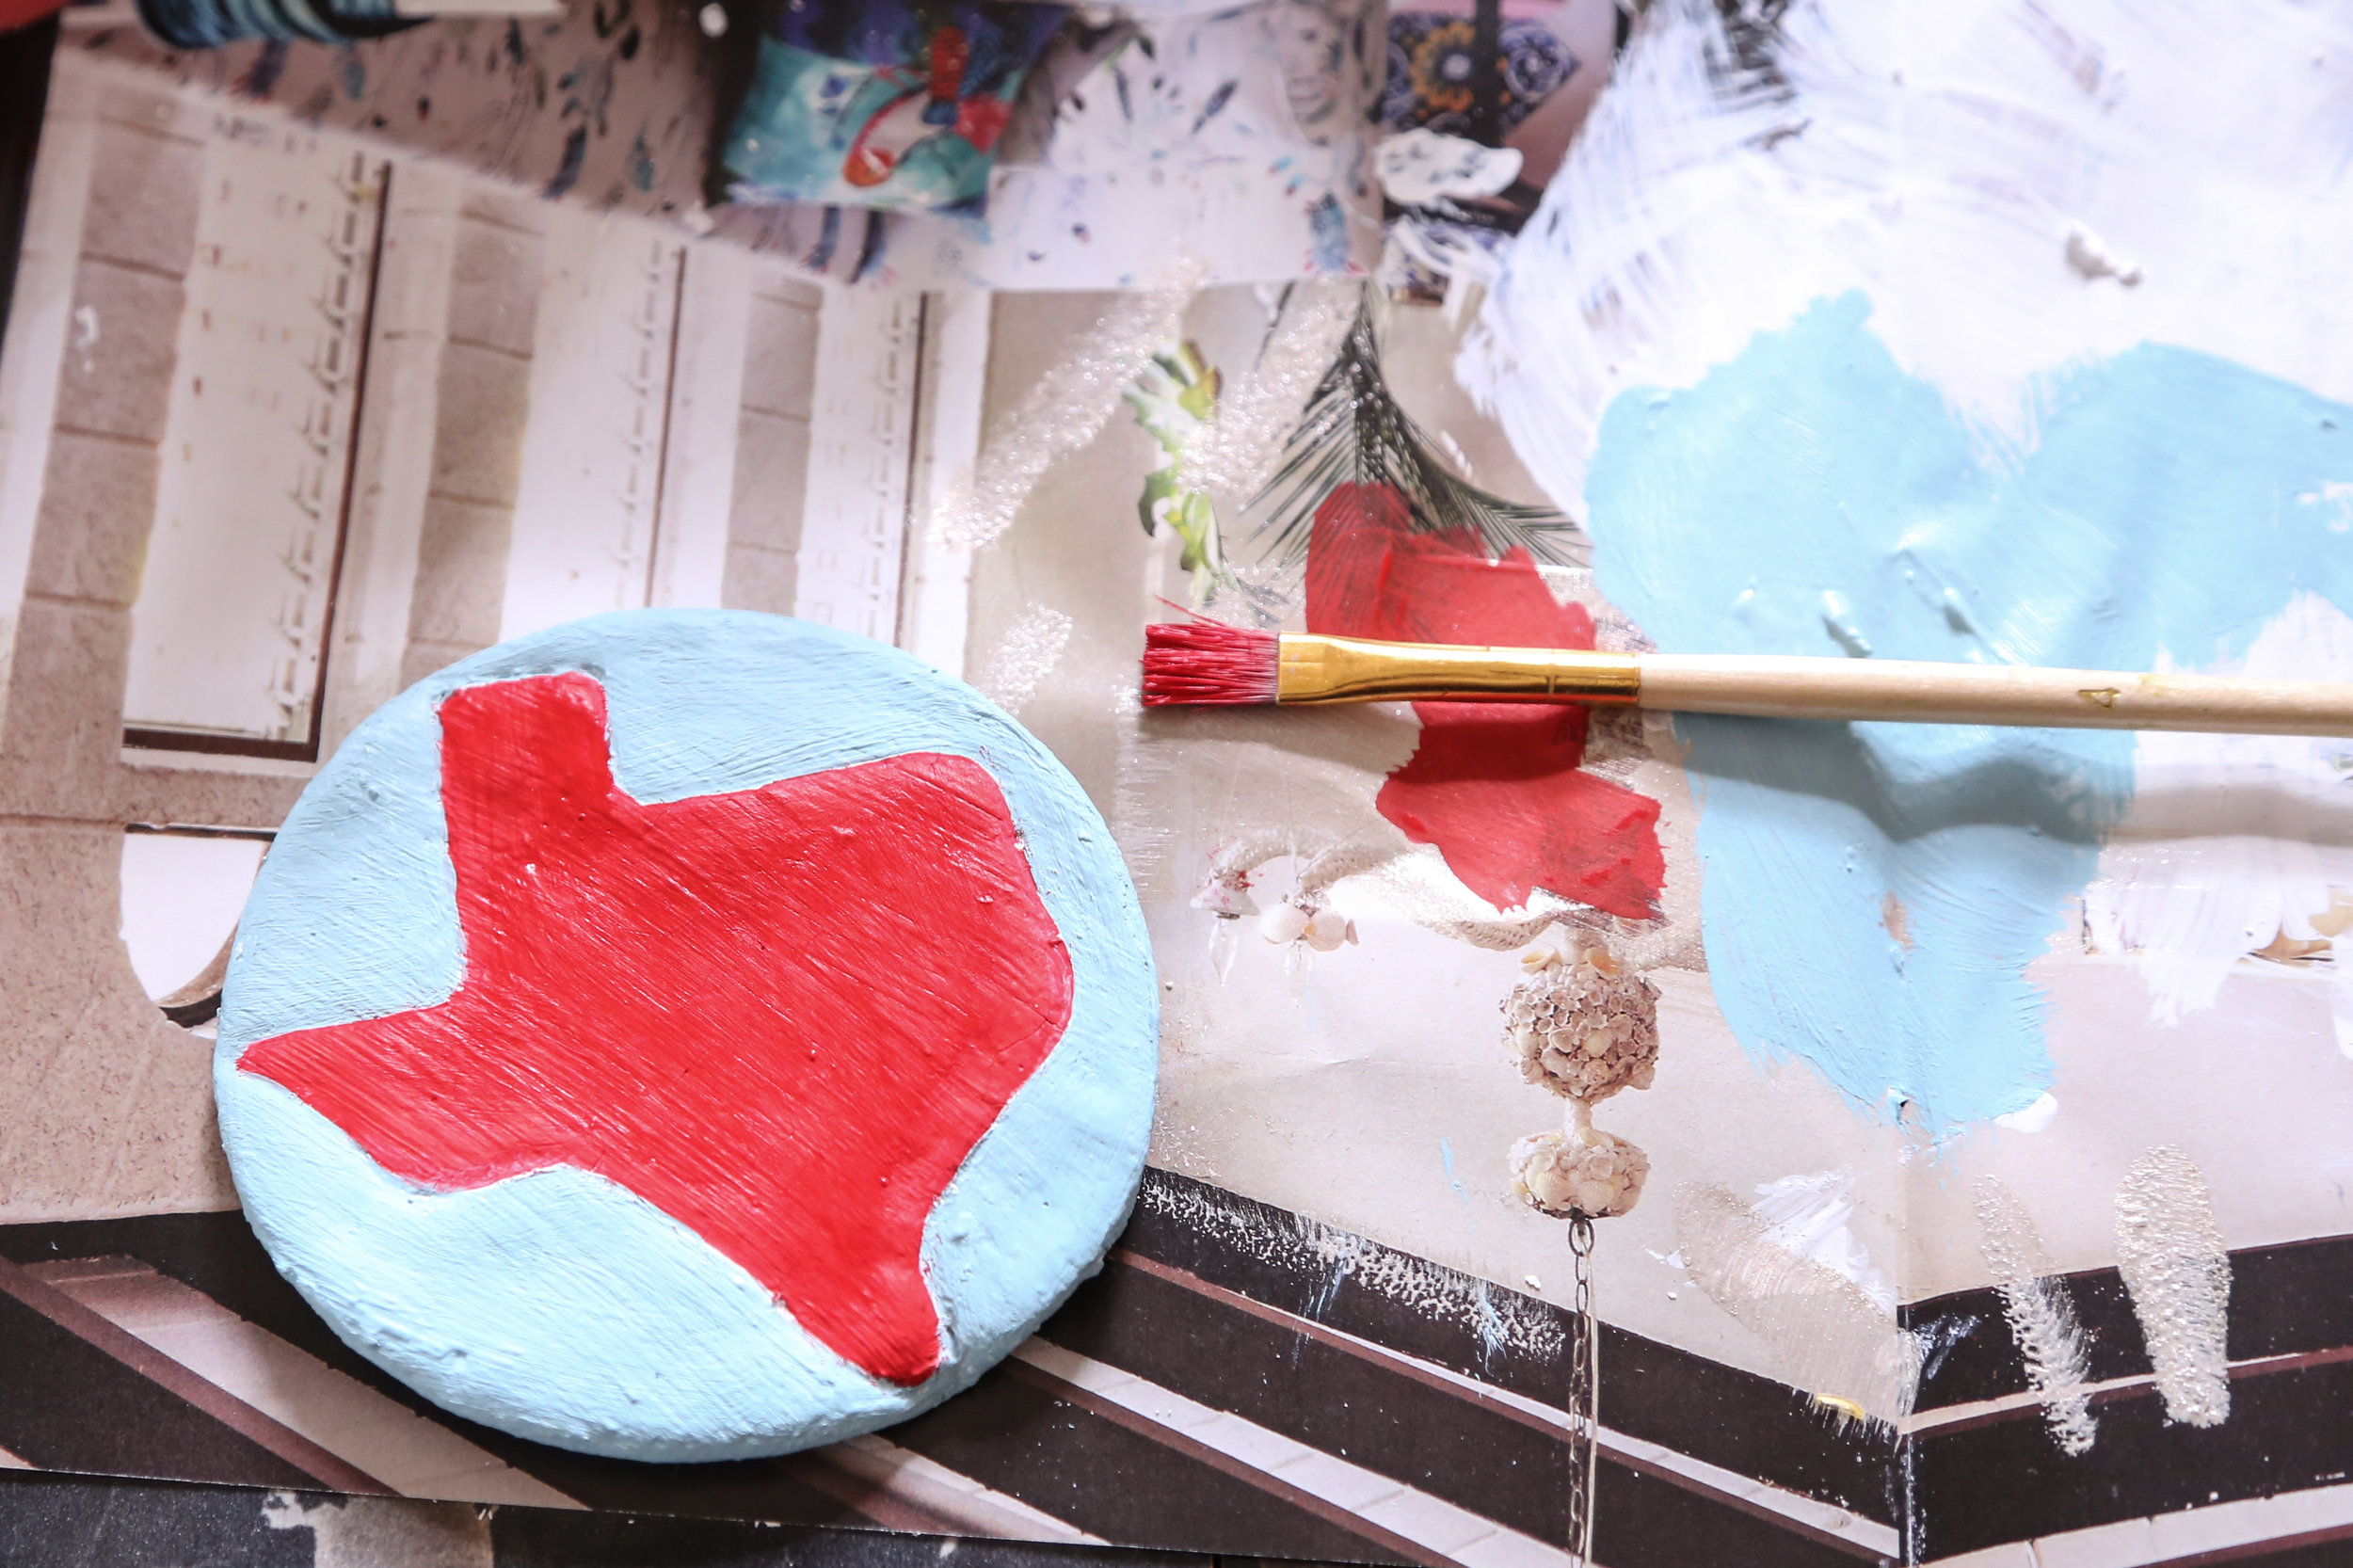
Finish them up by adding a design and spraying them with a coat of clear coat.
It's that easy.