Sew Easy...
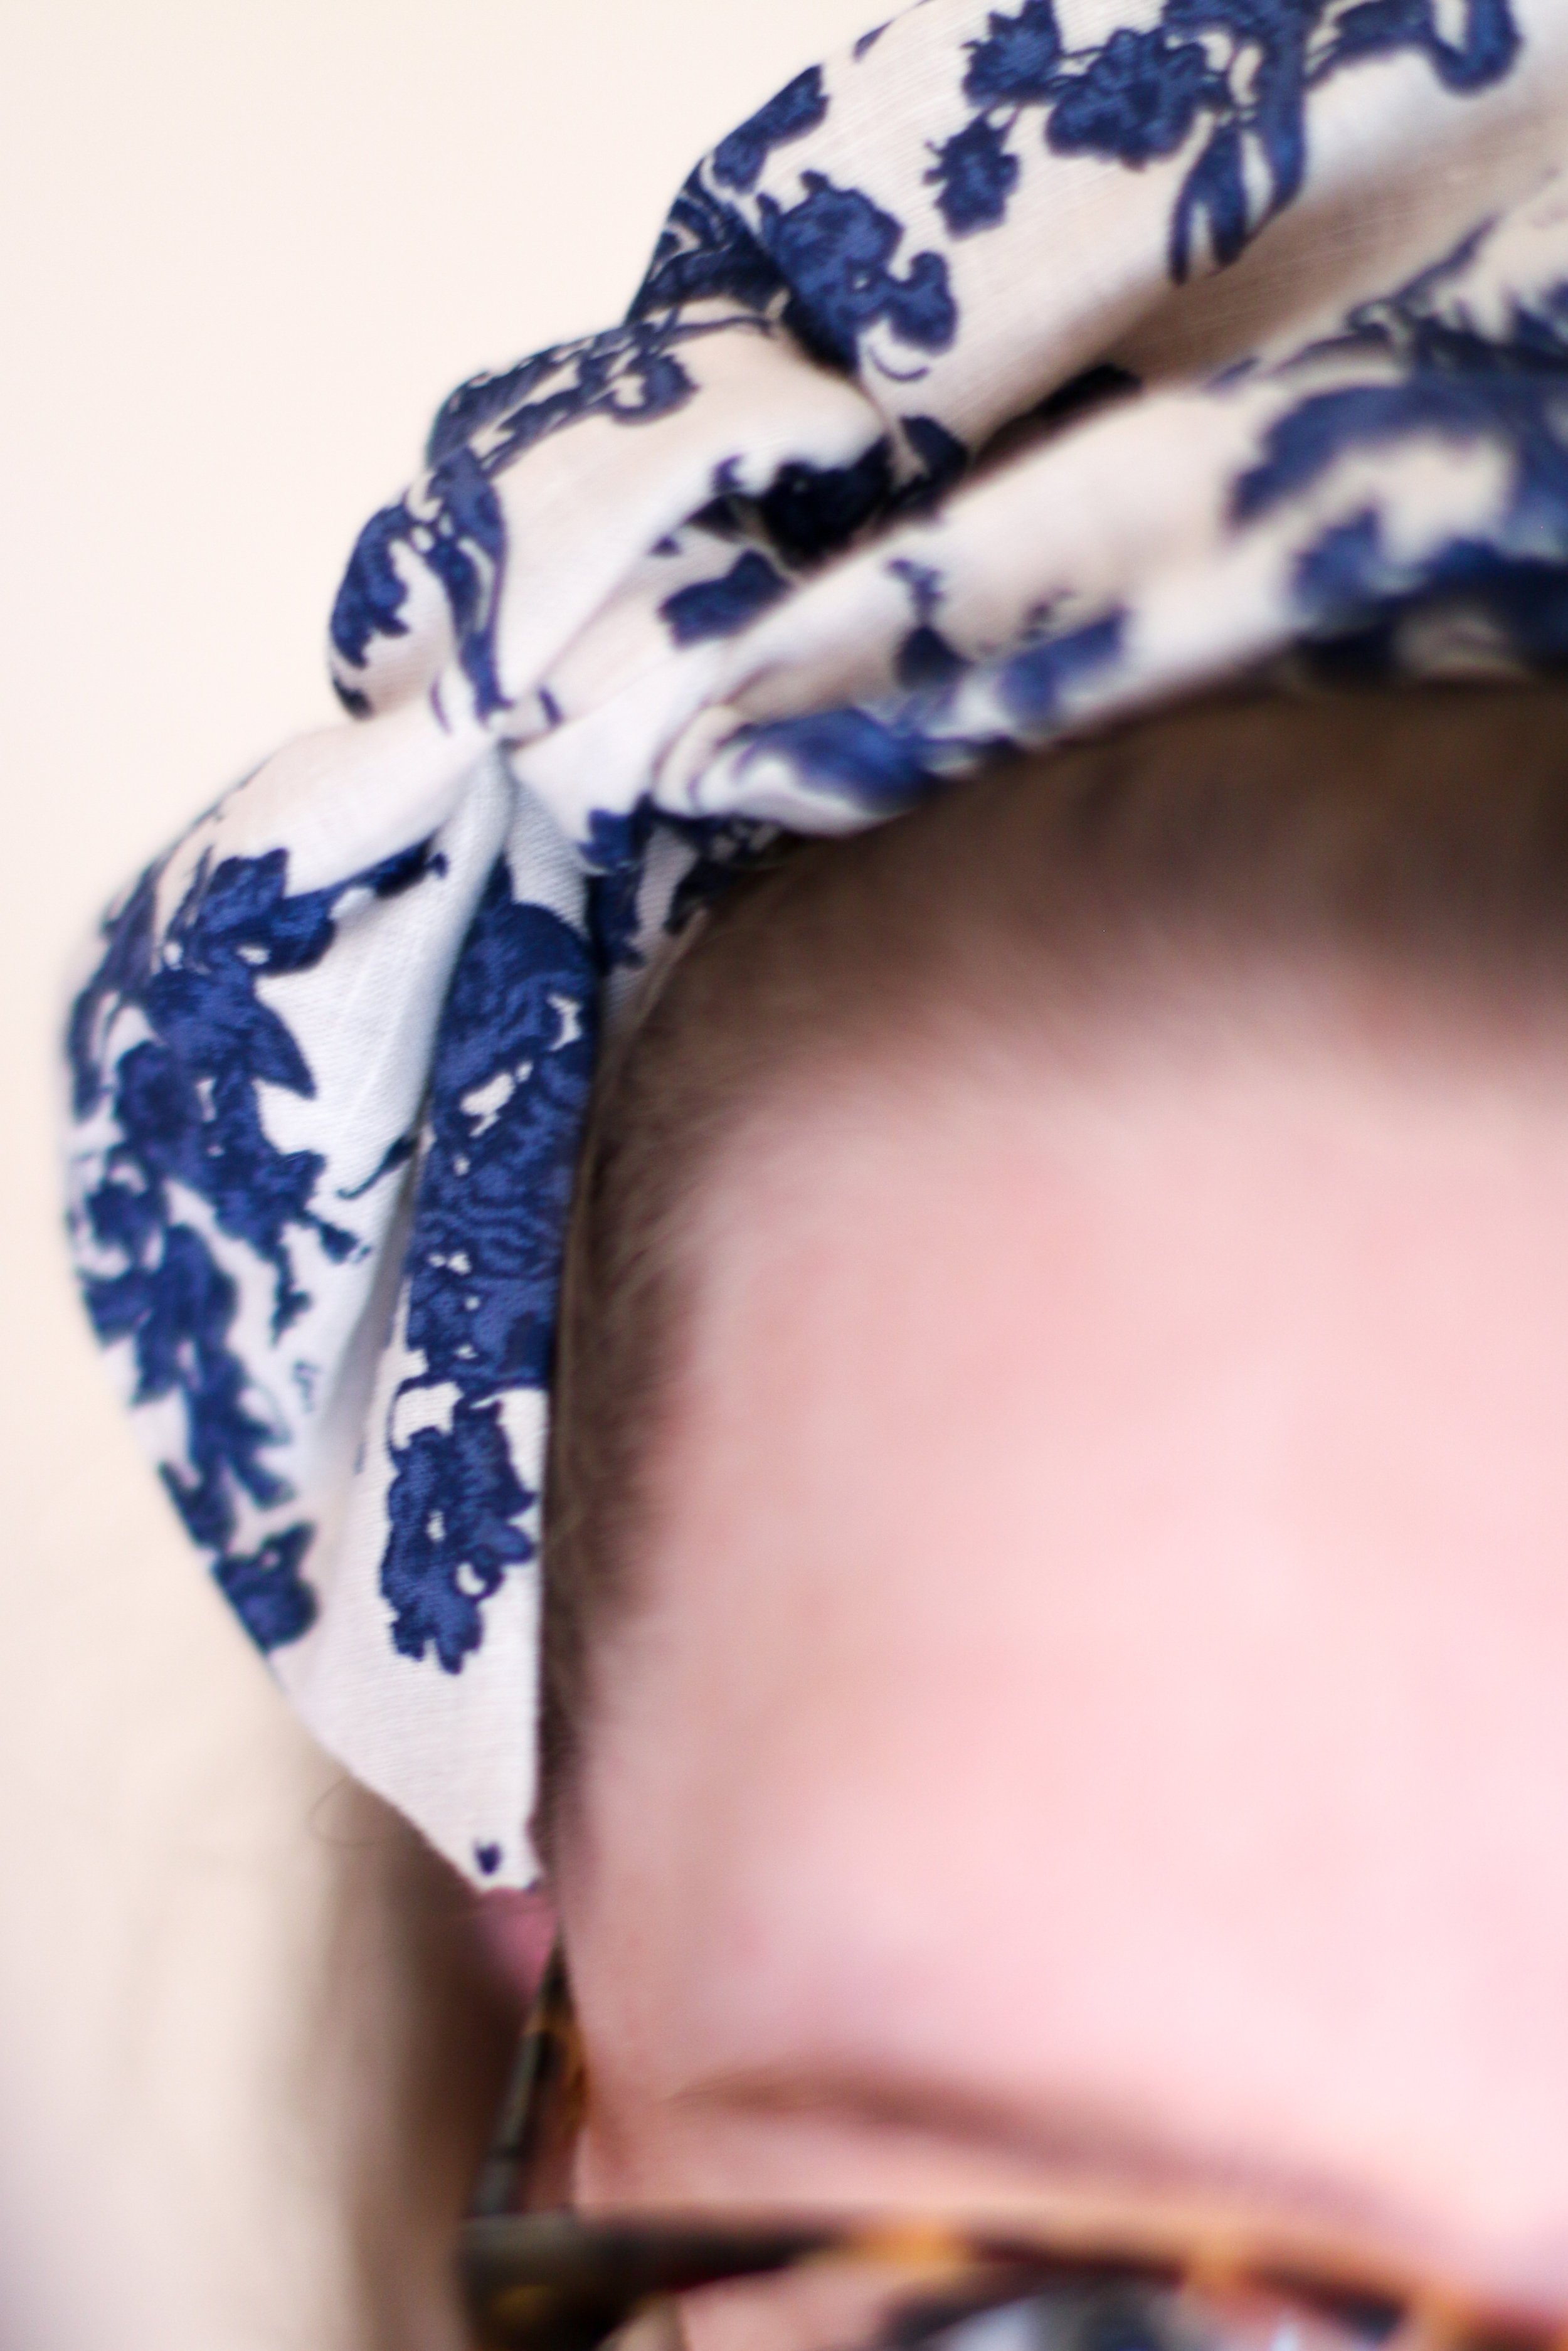
I have something to admit... it's a little embarrassing, but in order to get on with my story, I have to tell you the truth. I'm an egghead, by that I don't mean I like to eat eggs, or that I was featured on Full House season 3 episode 18 (you know which one I'm talking about), I mean my head is literally shaped like an egg. My whole life I've been jealous of all those girls that could wear those cute headbands that go around your head... you know the ones I'm talking about, they're perfect (so I've heard) when you really don't want to fix your hair or you're rolling out of bed late to work. I always buy them and try to use them, but really it doesn't matter, the no slip ones slip, tight ones pop right off, and loose ones really don't do the job. I guess if you're reading this and you're not a headband person you just really don't understand what I'm talking about, but I know a lot of you out there feel the same way! You're just hoping you'll find the magic headband that will finally stay. Well a couple of weeks ago in NYC when I walked into American Apparel, my life was changed... I found that perfect headband.
The difference in this headband from your typical full circle ones is that this one is wire, not elastic, therefore it shapes itself to the shape of your head, not some perfect, nonexistent, circular head. Have I said the word head too many times?


Anyways, once I got home I thought to myself... I must have more of these. I need them to wear everyday! So I sat down and made a few and naturally, I'm sharing it with you. I've done it two ways, one that's sewn and one that isn't. This is a great sewing project if you're just starting out, or your'e feeling domestic and want to use that sewing machine that's just collecting dust. If you don't have a machine, don't fear. This is also super easy to do with some stitch witch and an iron.


What You'll Need:
- 1/4 yard fabric of your choice
- flexible wire from the jewelry section in Michael's
- stitch witch
- iron
- damp cloth
- scissors
- sewing machine (optional)

How To:
Cut the wire so it fits around your head, plus about 6-8 extra inches - depending on how big you want the tails.

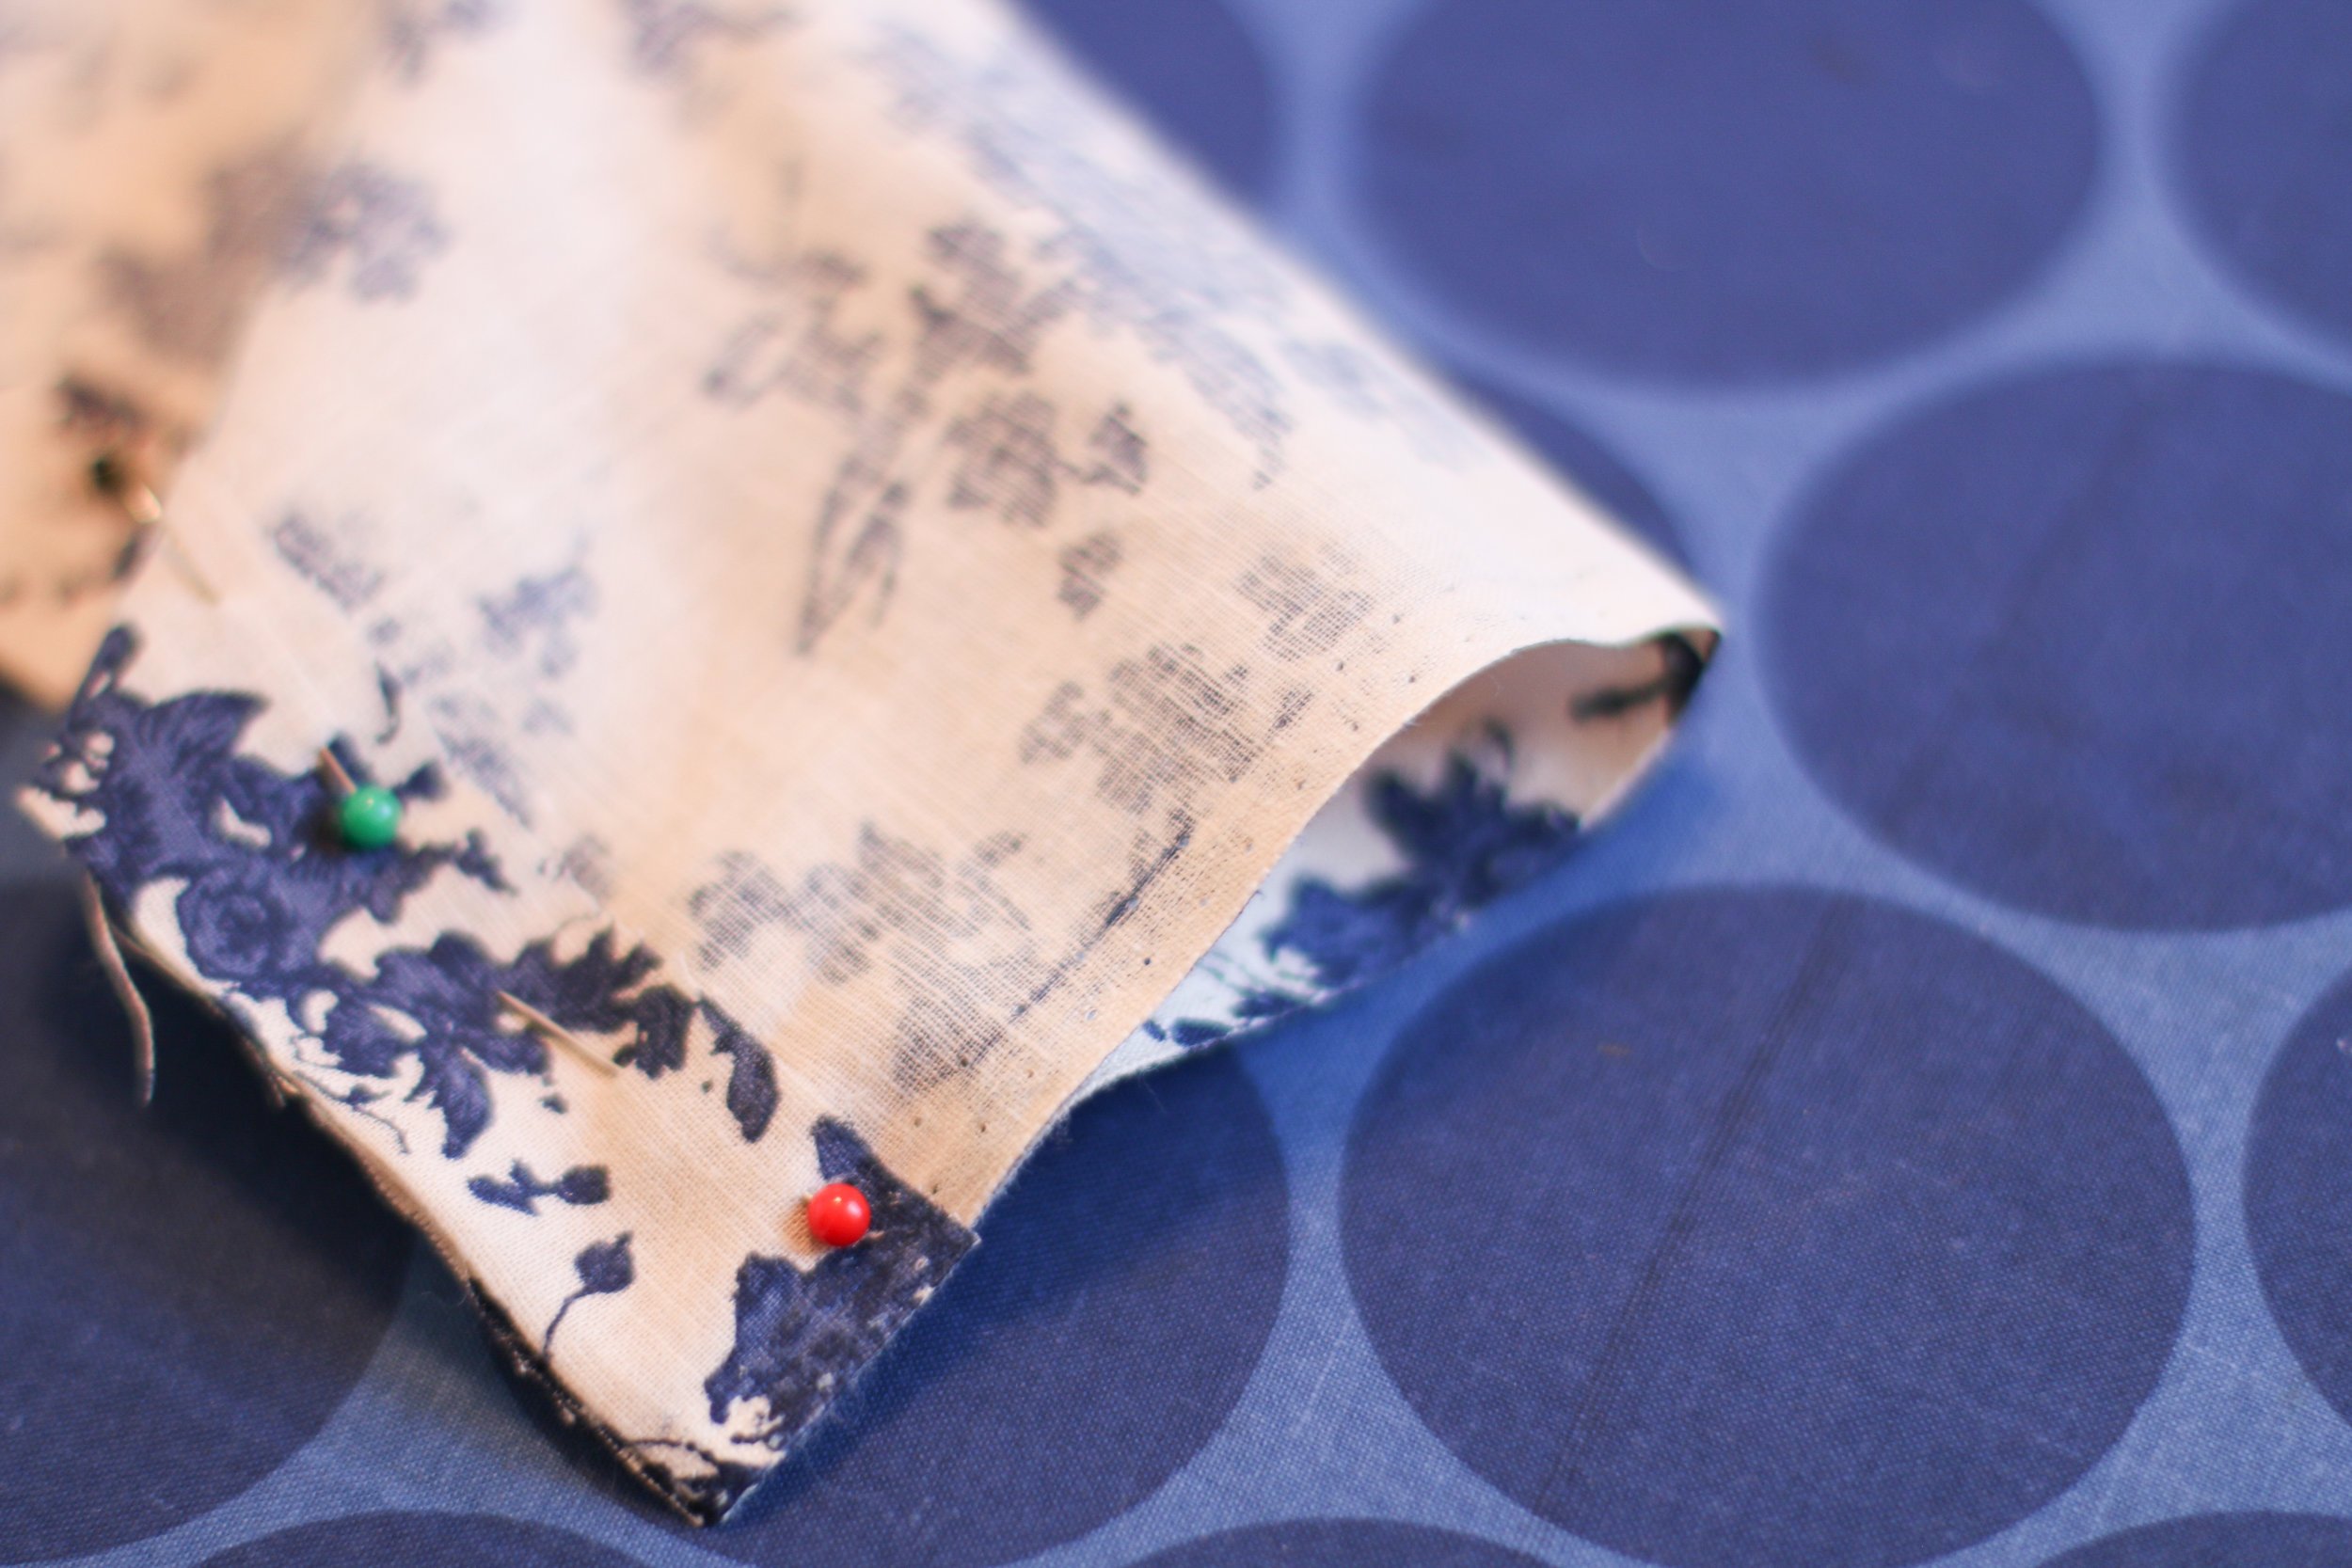
Next, cut the fabric to size. If you get a 1/4 yard strip it's the perfect width, you'll just have to take a little off the length, about 5 inches or so. Once you get it the correct size, iron one side of the long end up, making a 1/2 in fold or so, this will become the "pocket" for the wire.

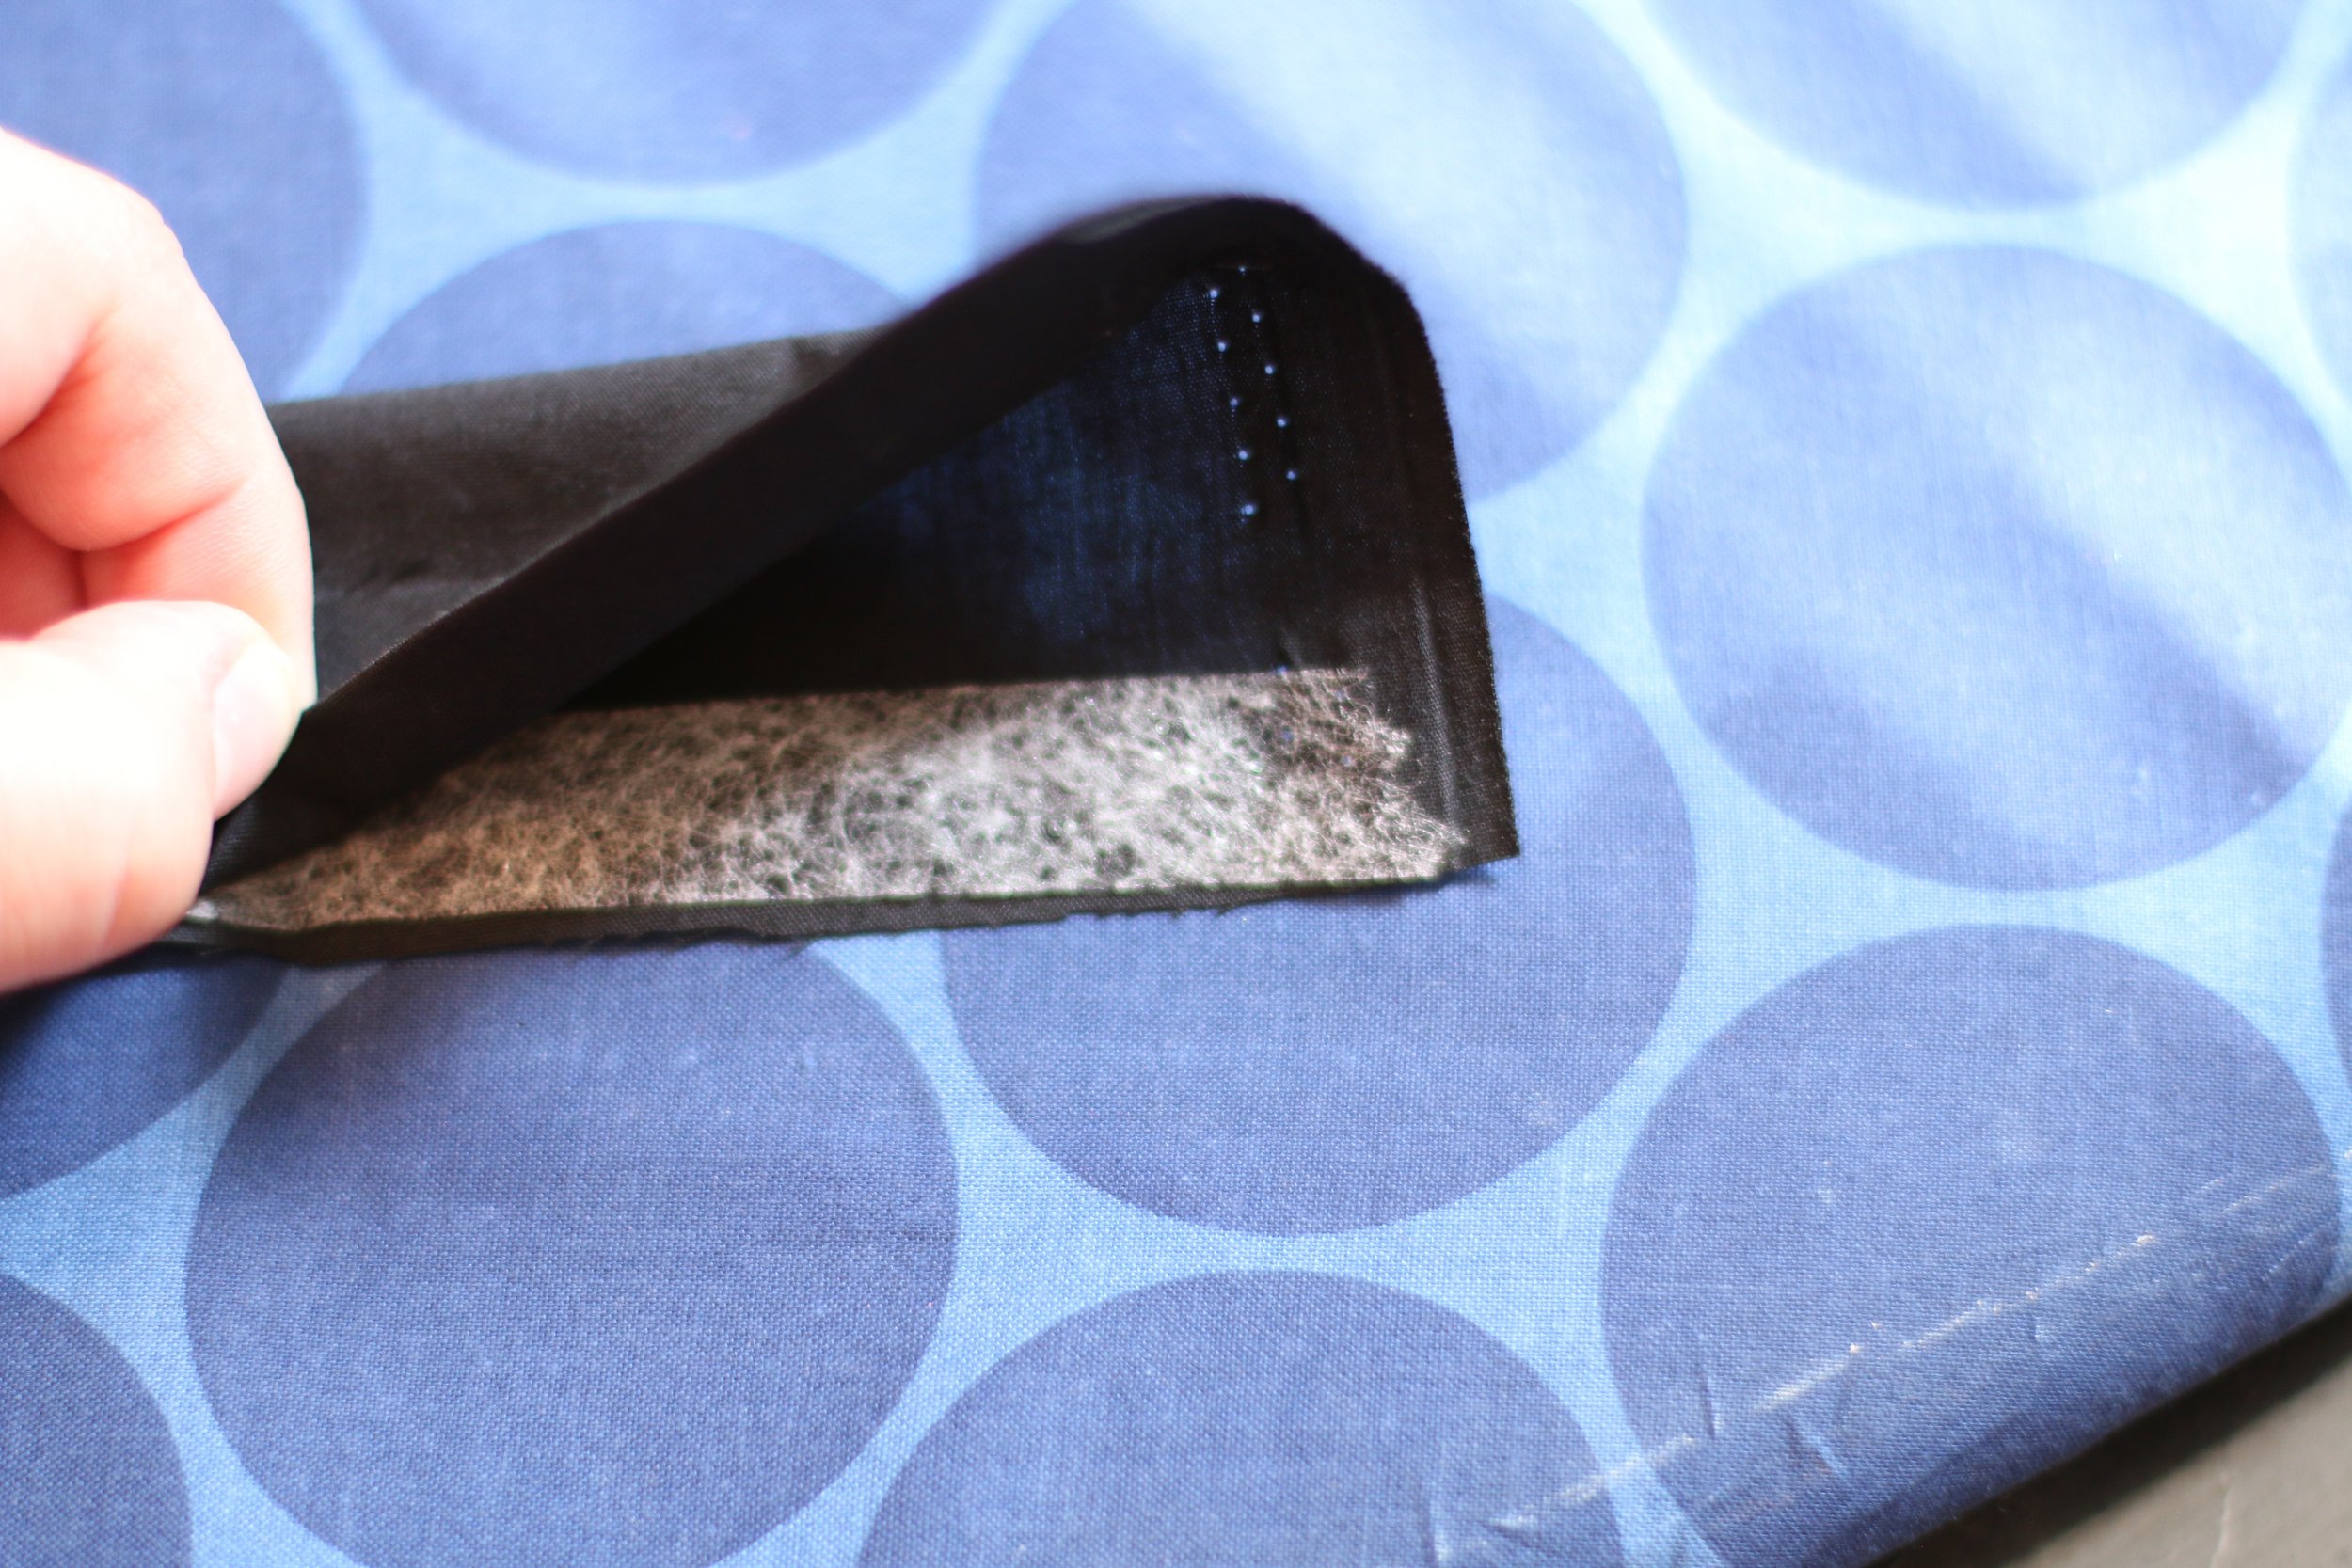
(If you're sewing follow the pictures for the cream and blue fabric, if you're not sewing follow the black fabric pictures.)
Next, if you're going the no sew route, stitch witch this fold so that it makes a pocket. To do this, line the witch to the top of the fold and iron down (follow the stitch witch instructions). If you're sewing, move on to the next step.

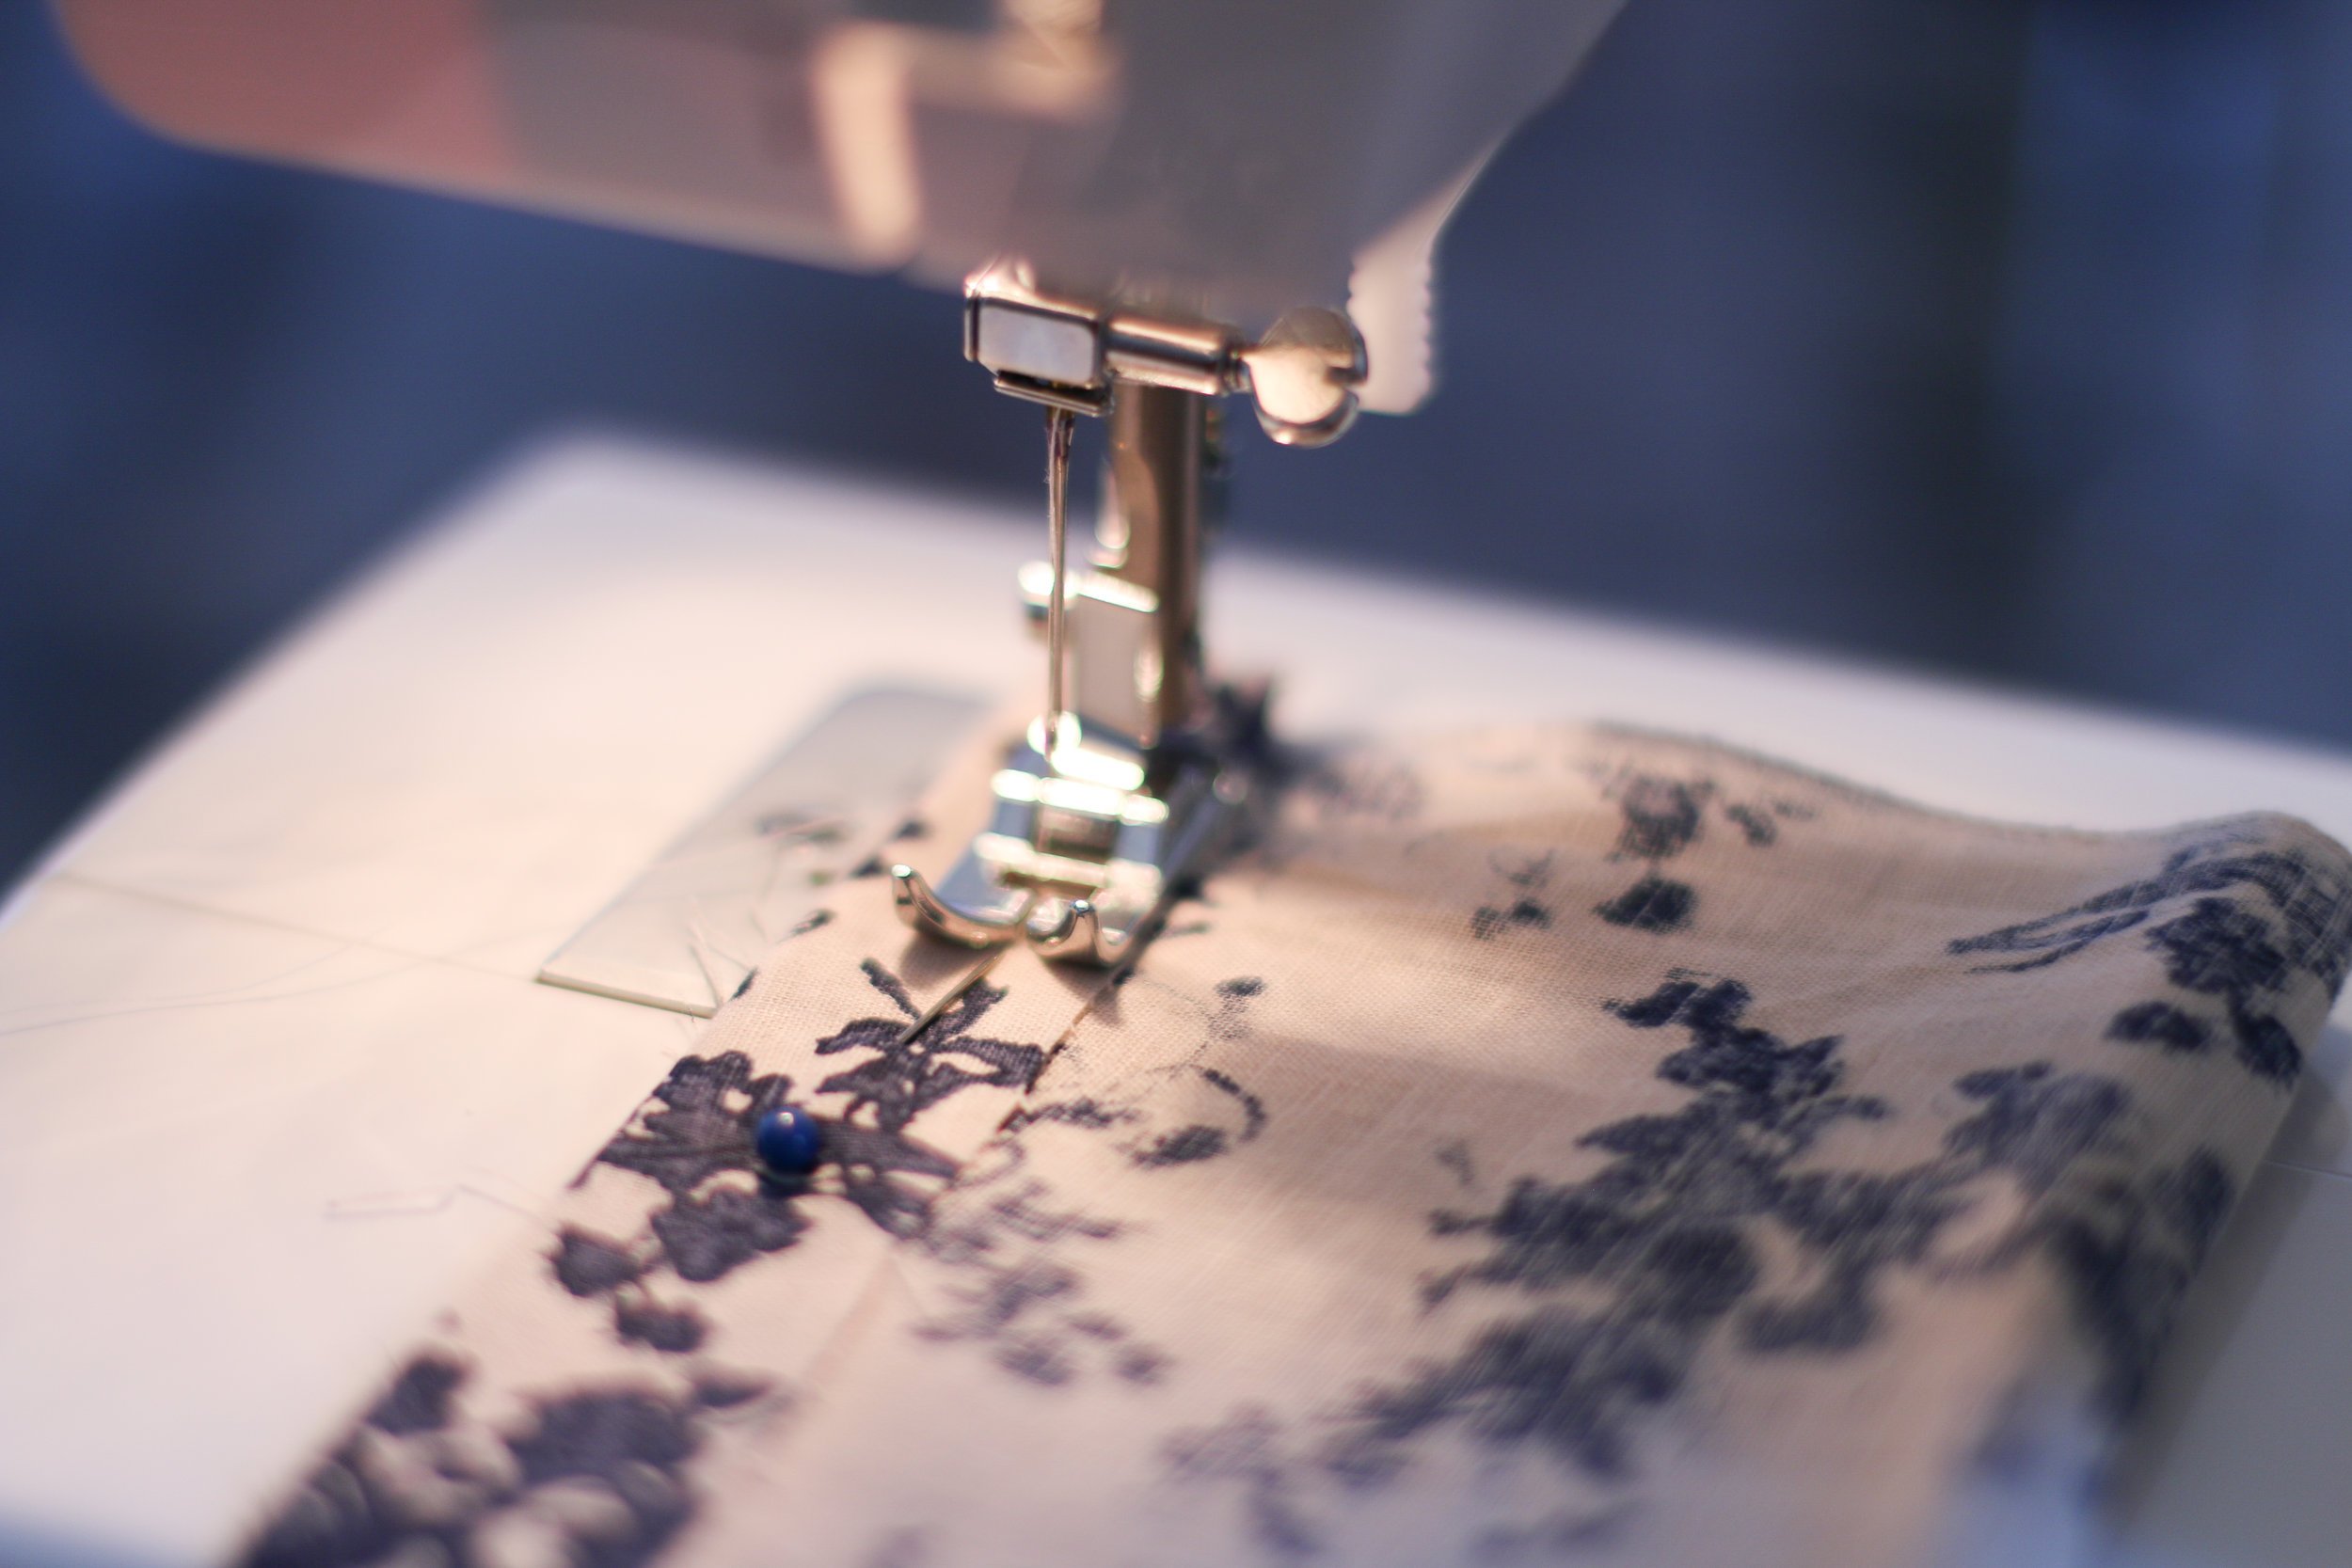
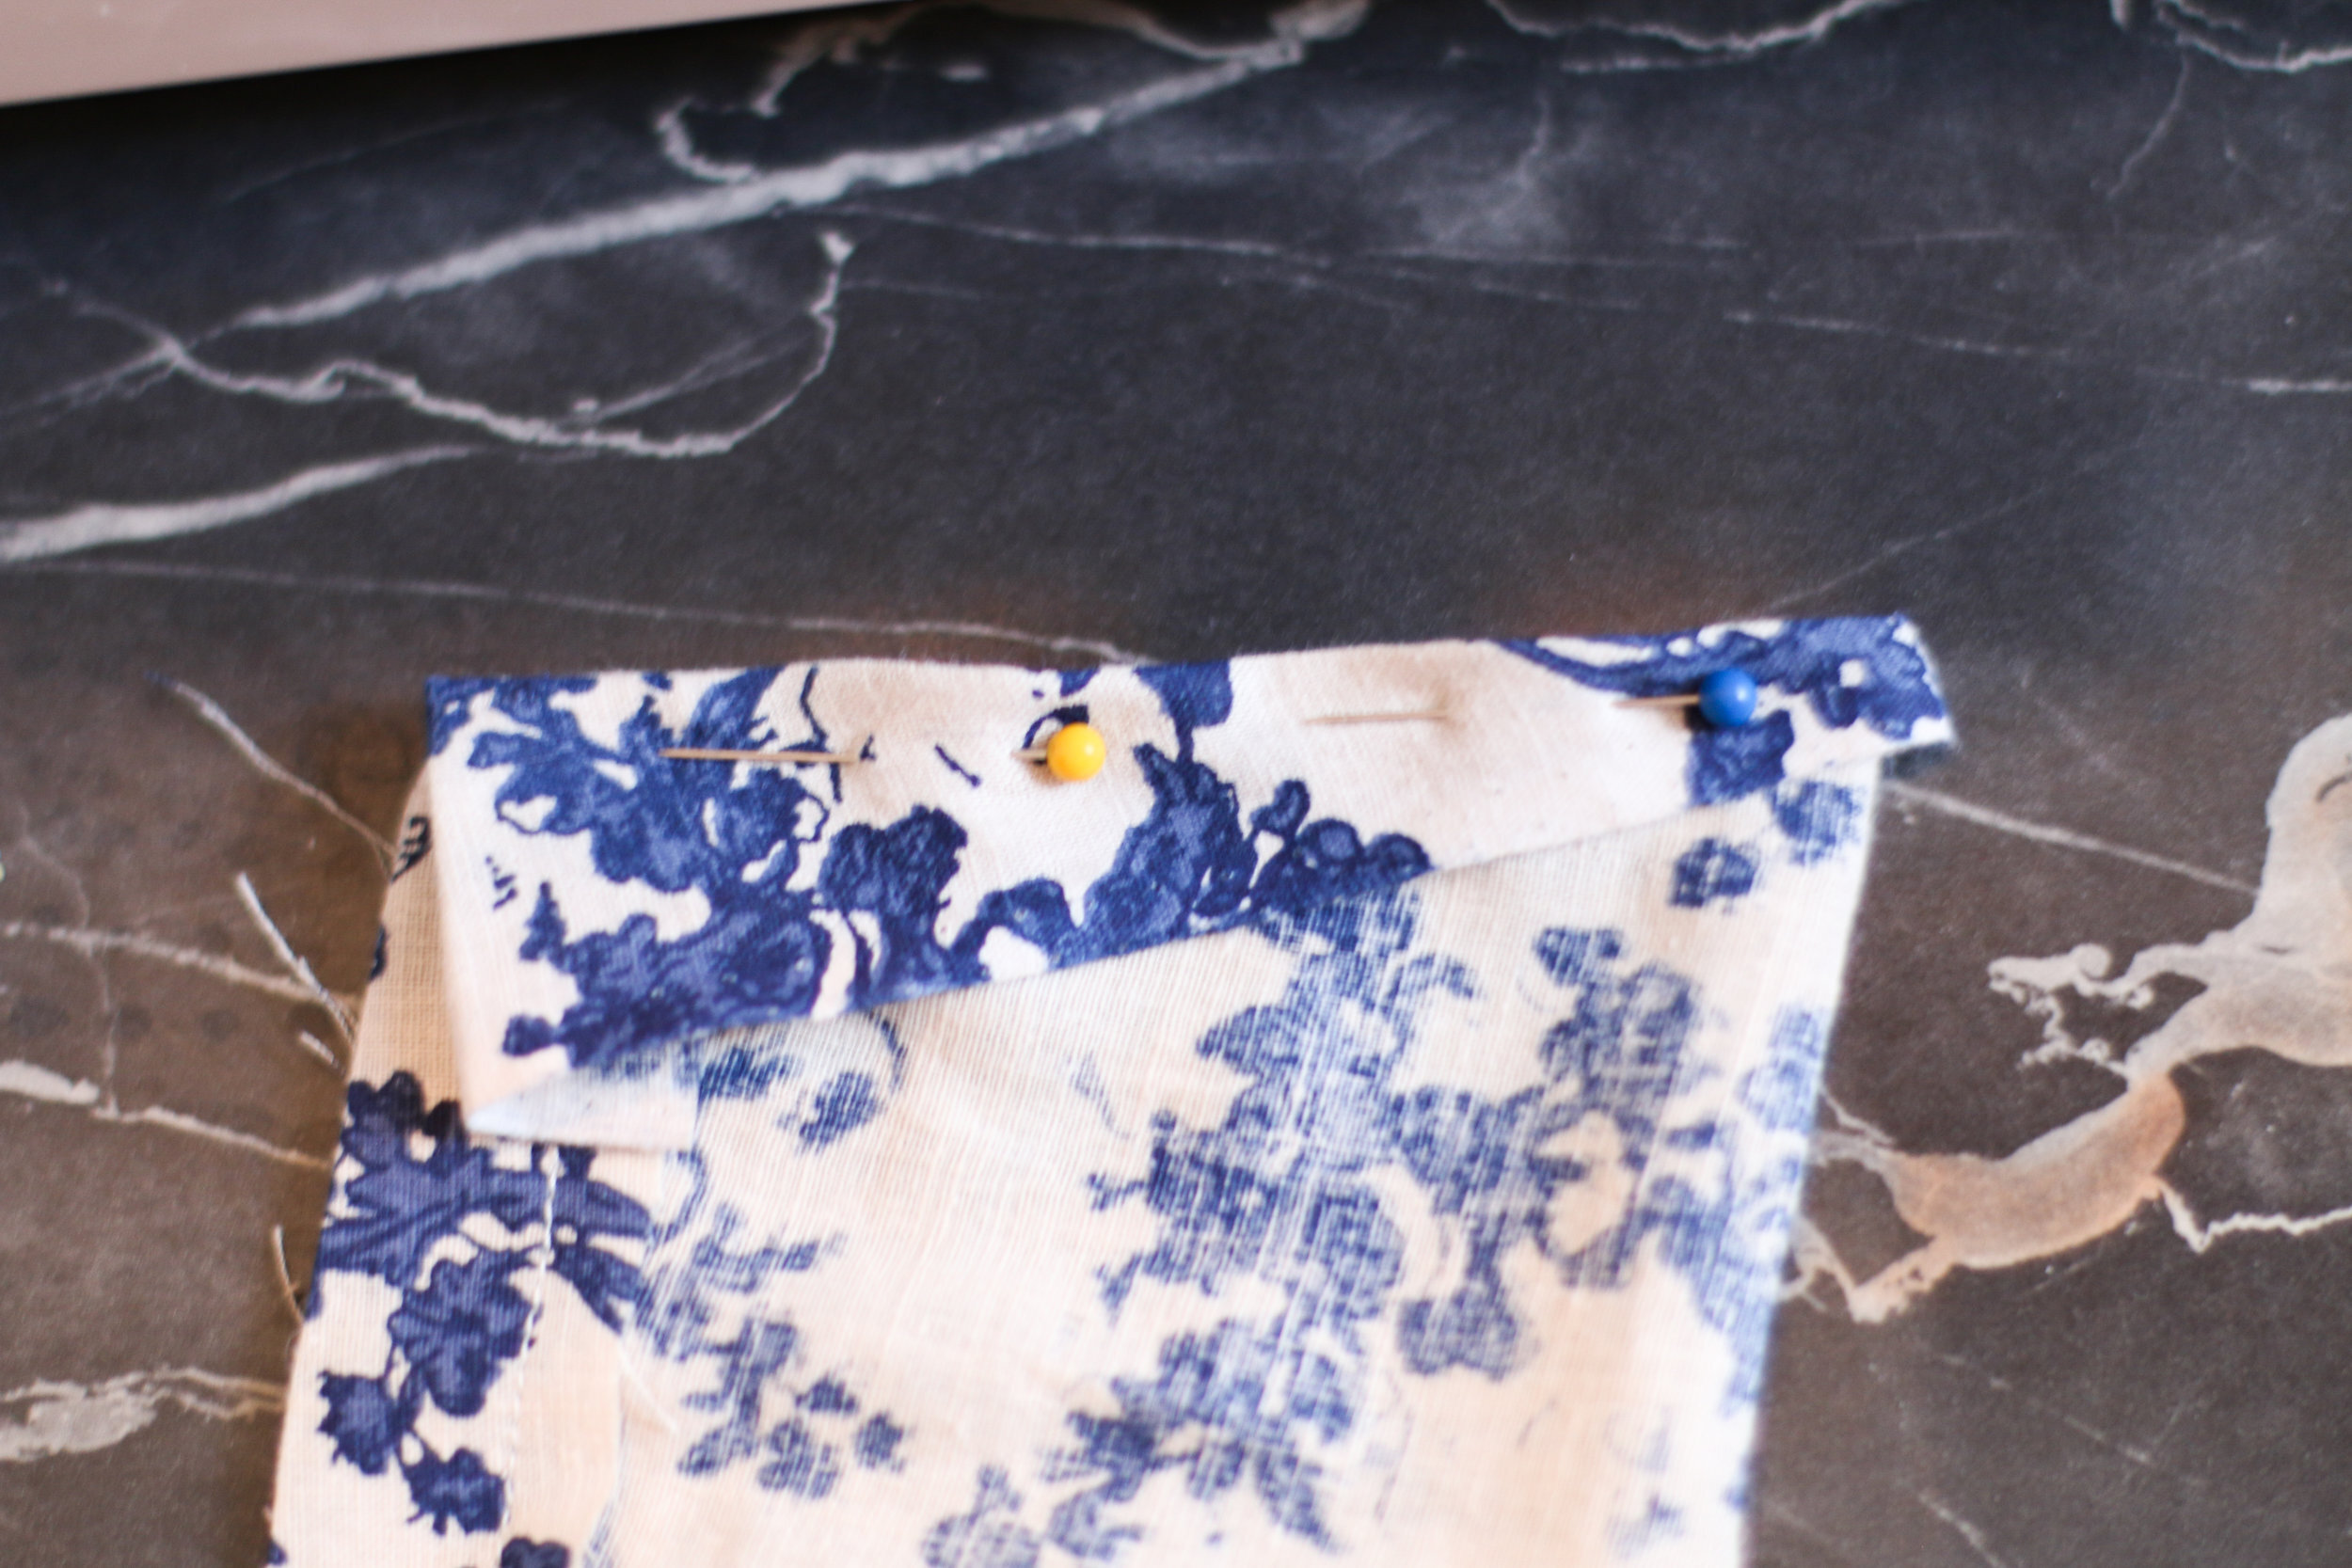
Fold the fabric in half with the inside/backside of the fabric facing out. Either pin and sew, or stitch witch like you did in the first step.
From here on out it's the same steps whether you chose to sew or witch.
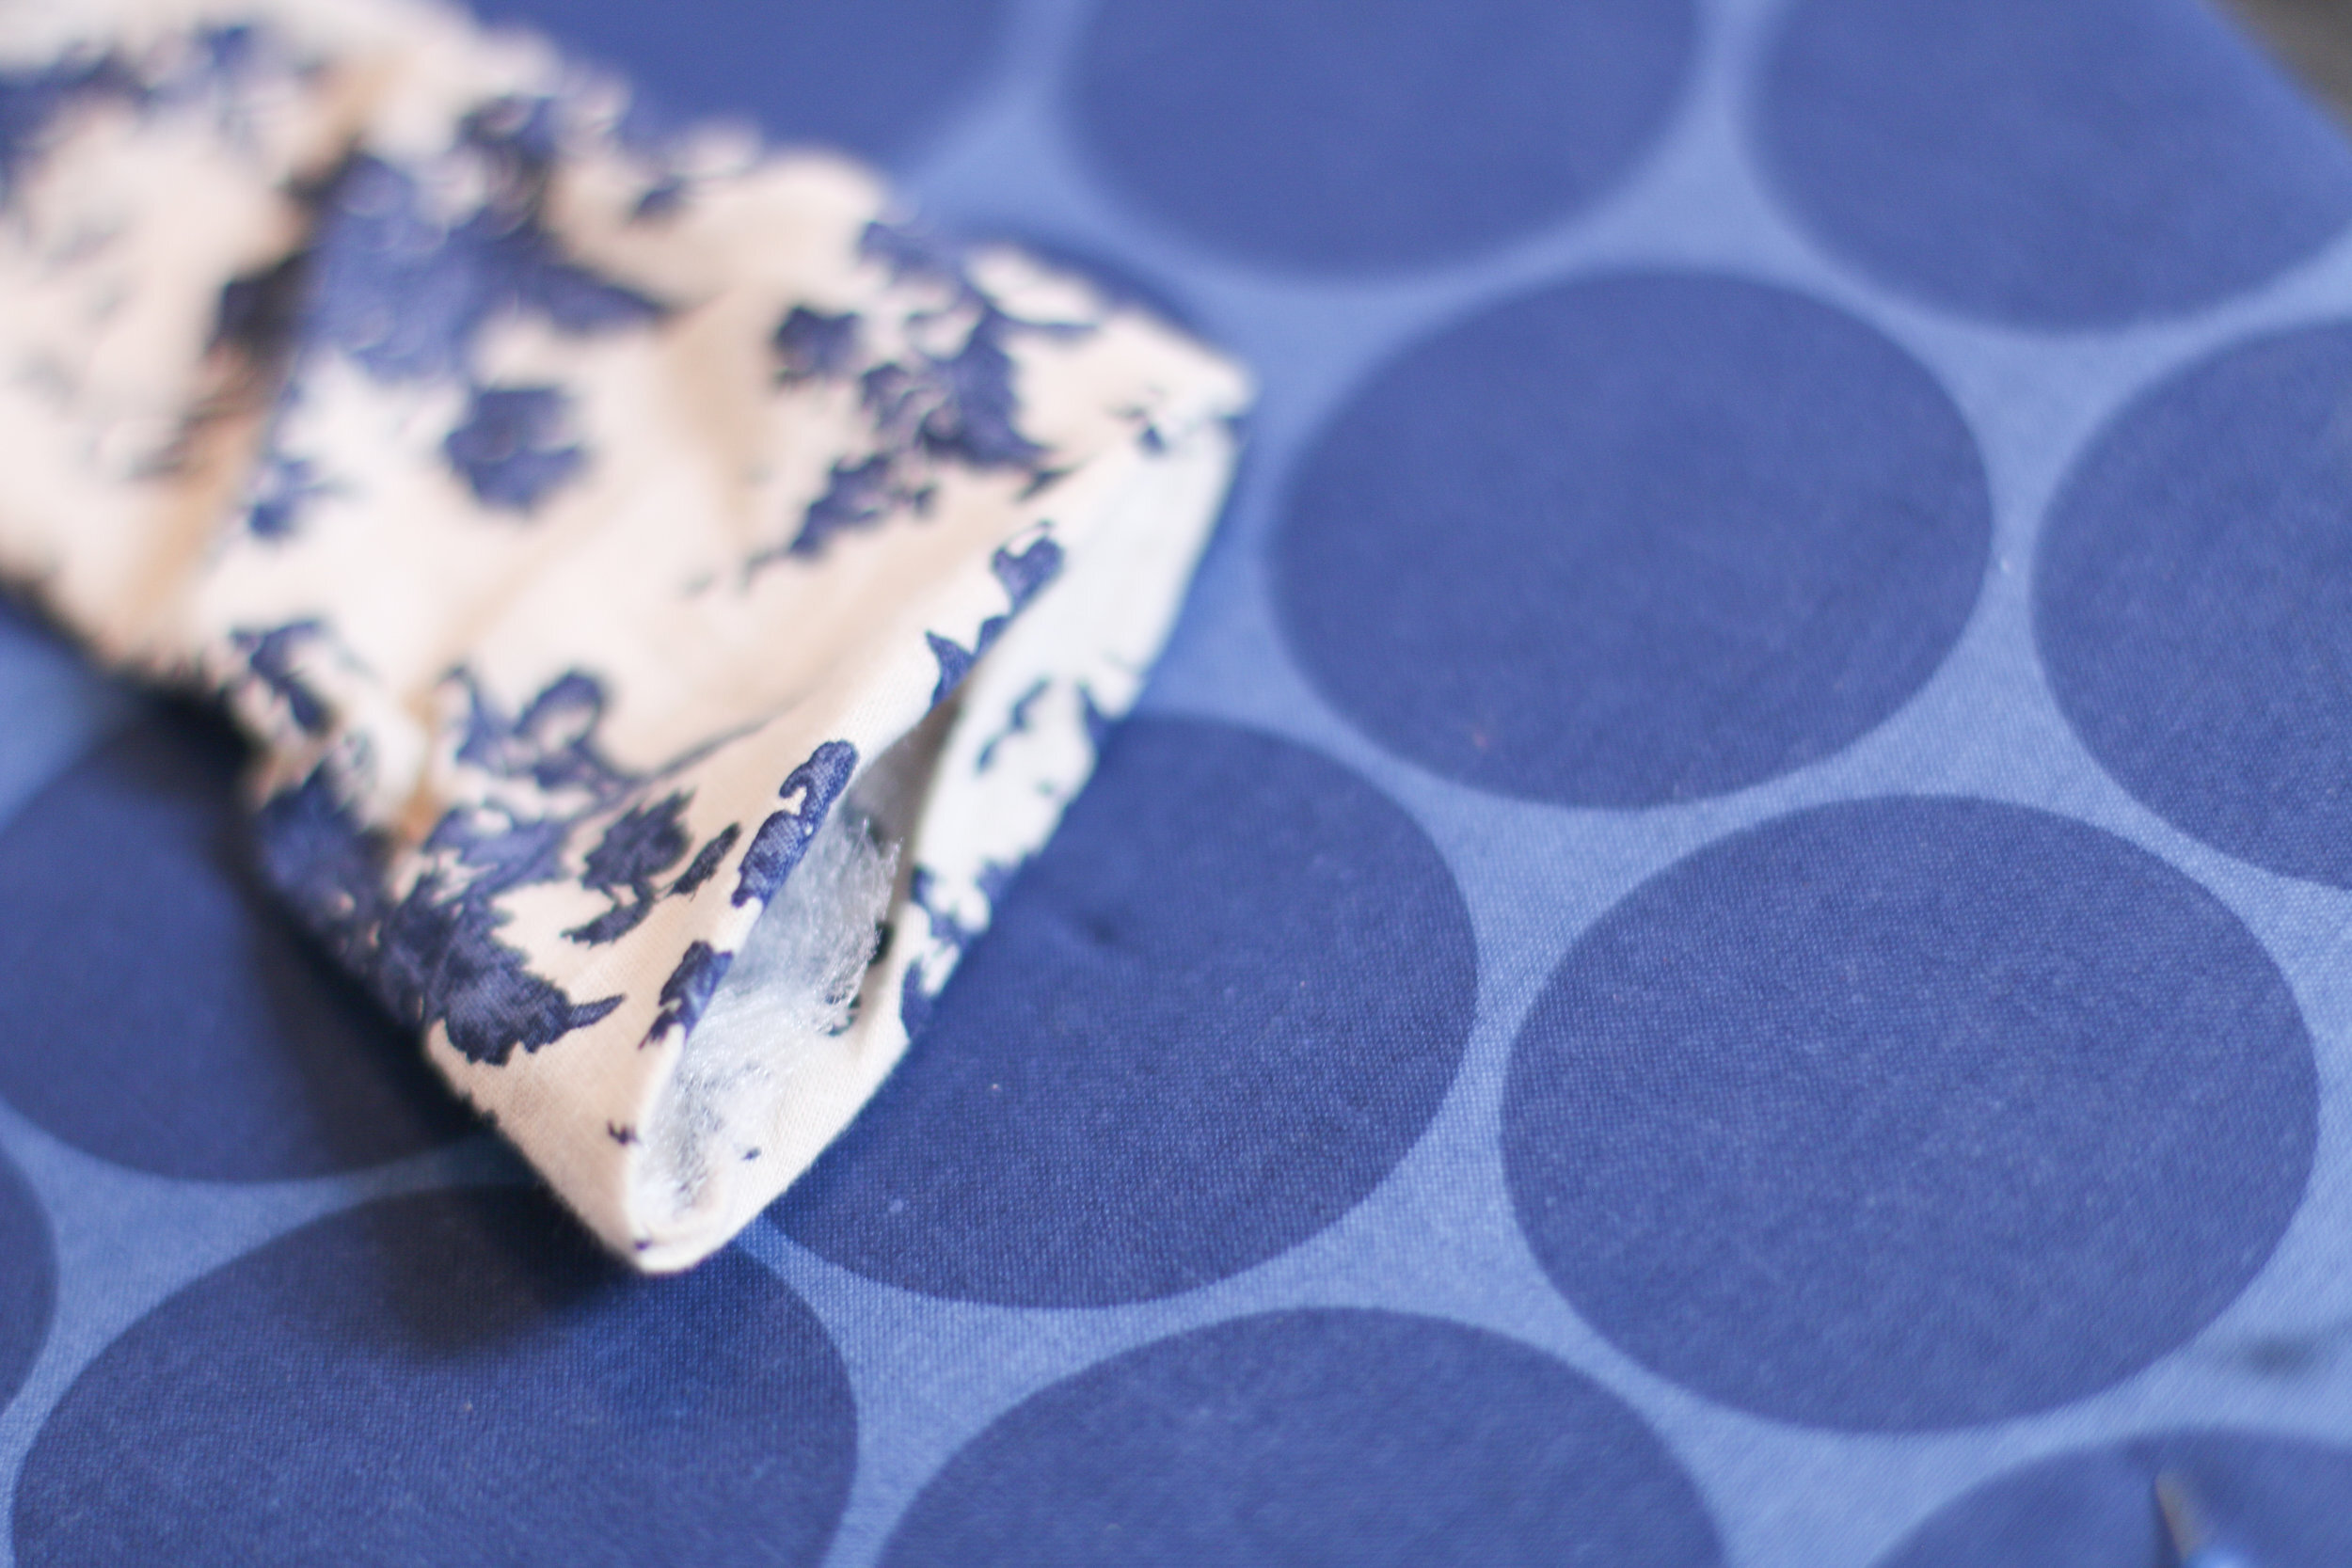
Make the end on one side of the tube. Fold the ends so they make an angle, either sew or stitch witch it shut.
Turn the tube inside out.

Add the wire into the little pocket you created earlier.

Fold in the corner so that it makes an angle and stitch witch it closed.
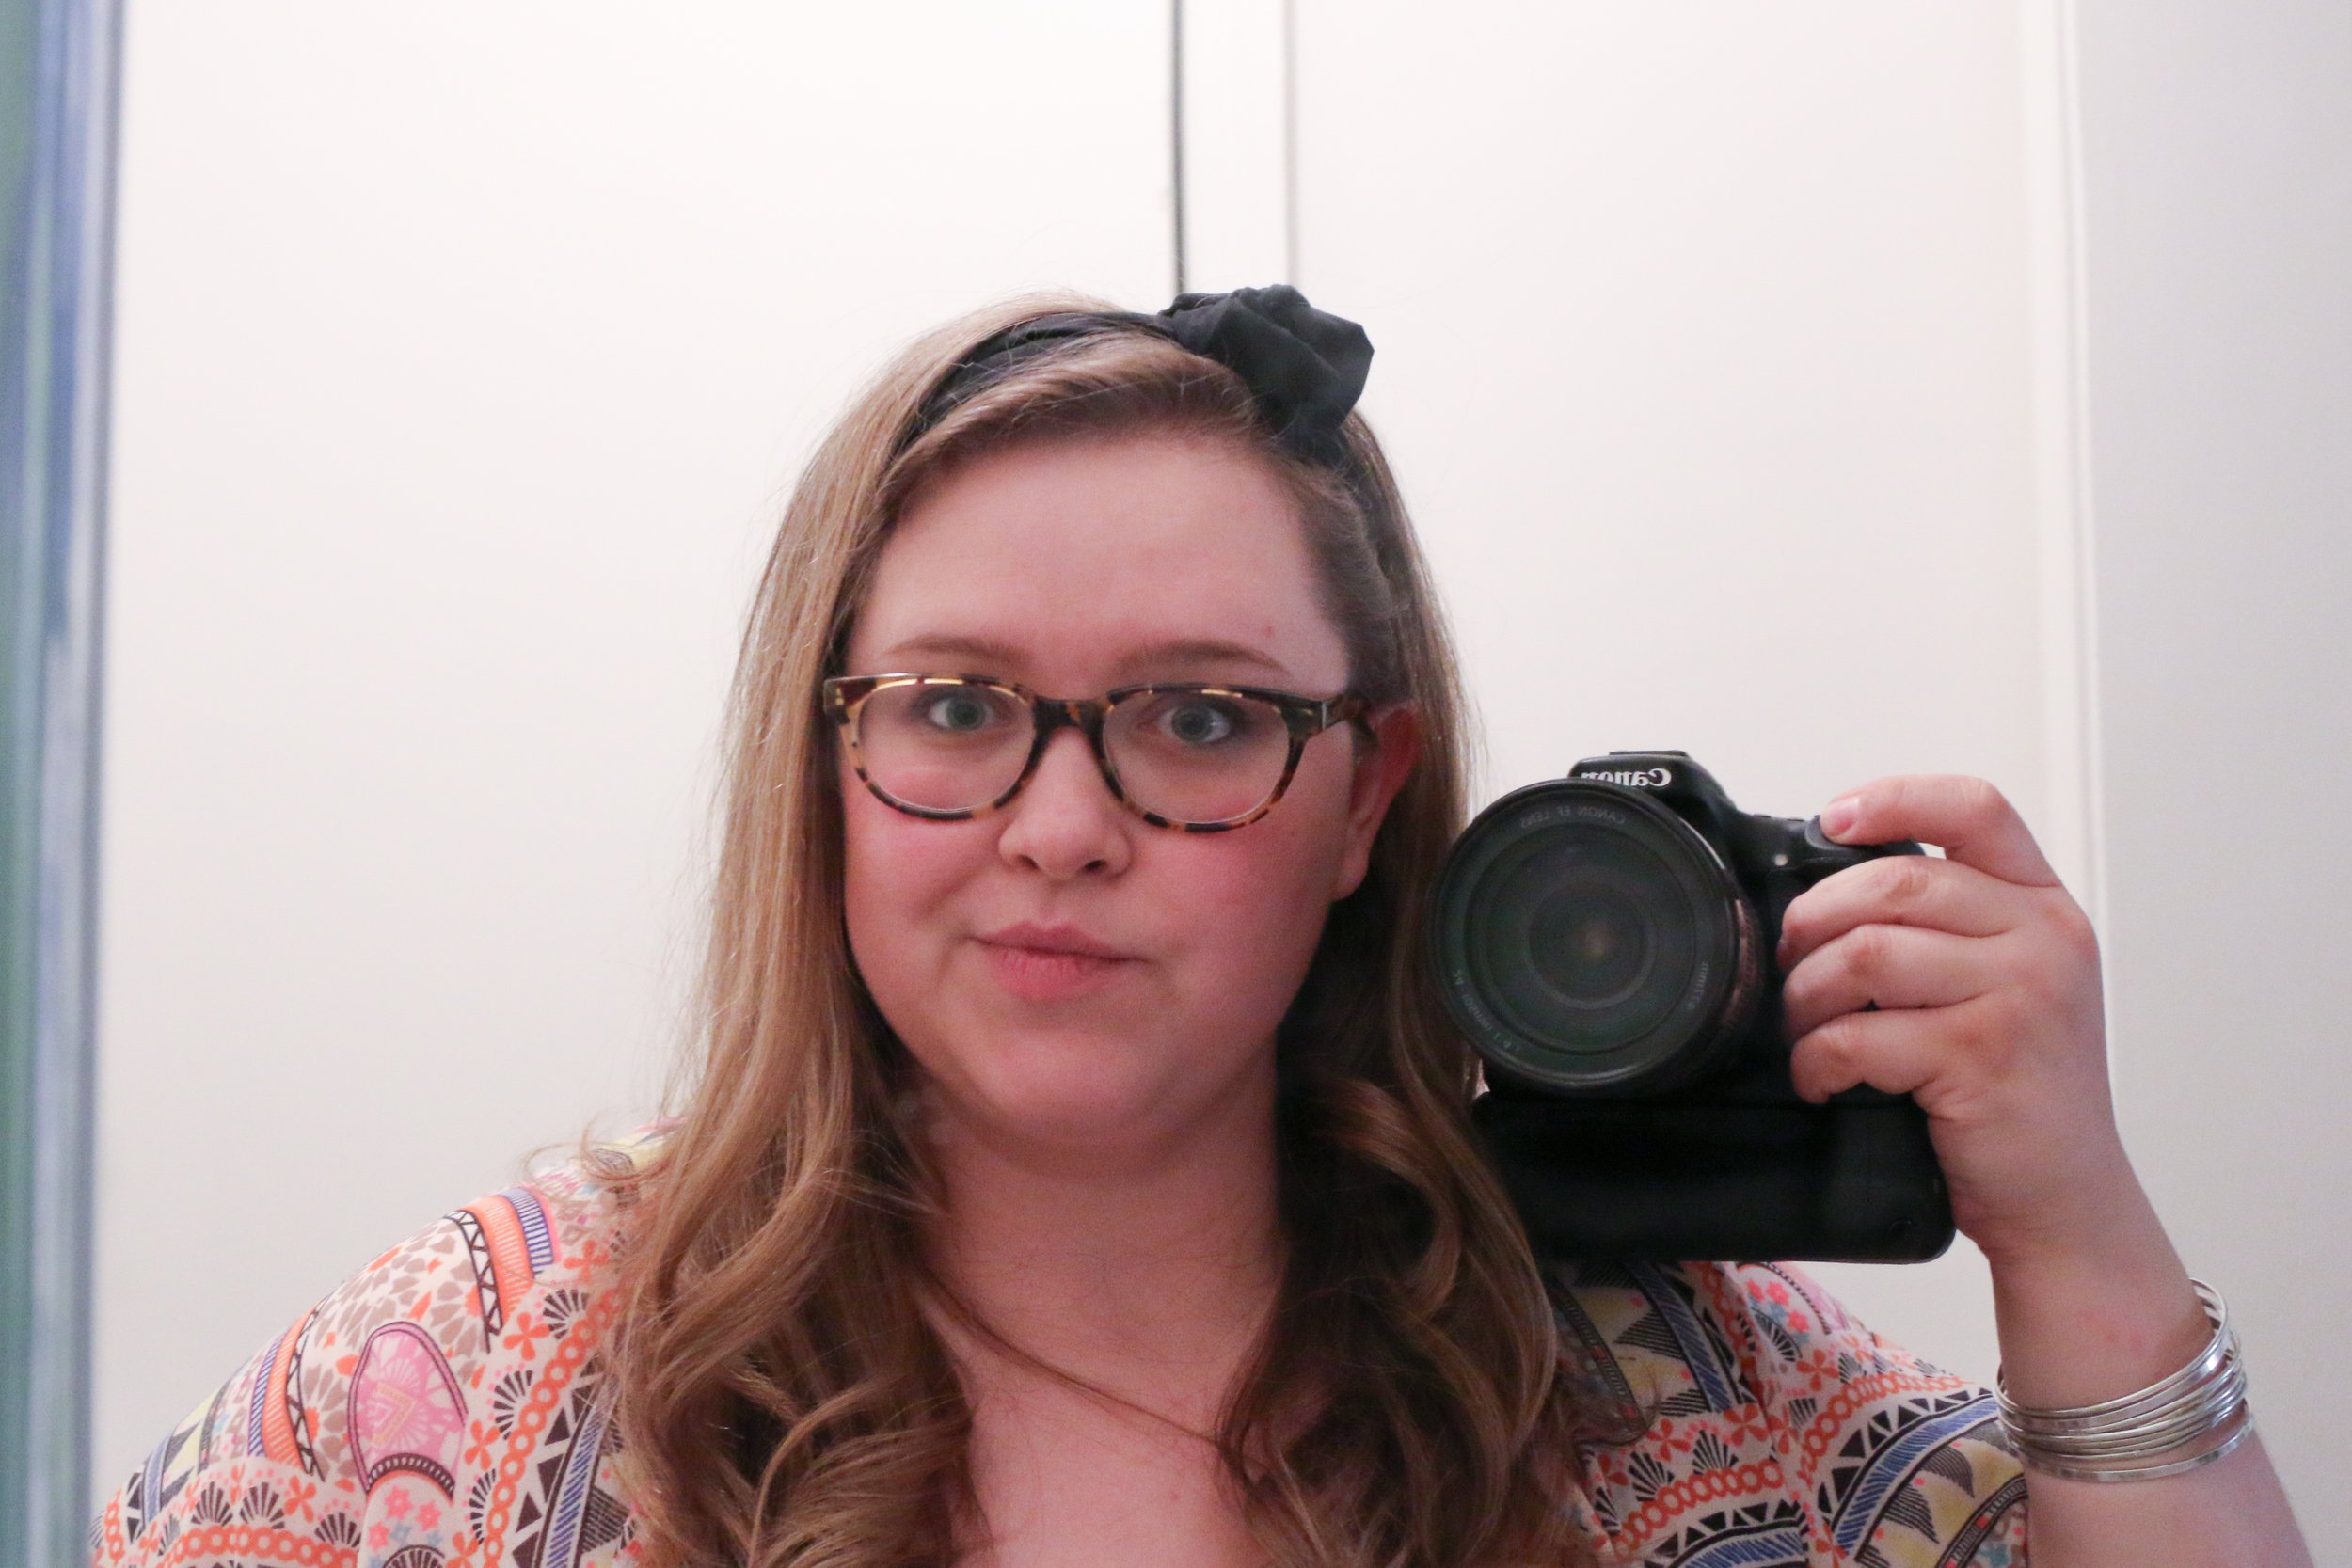
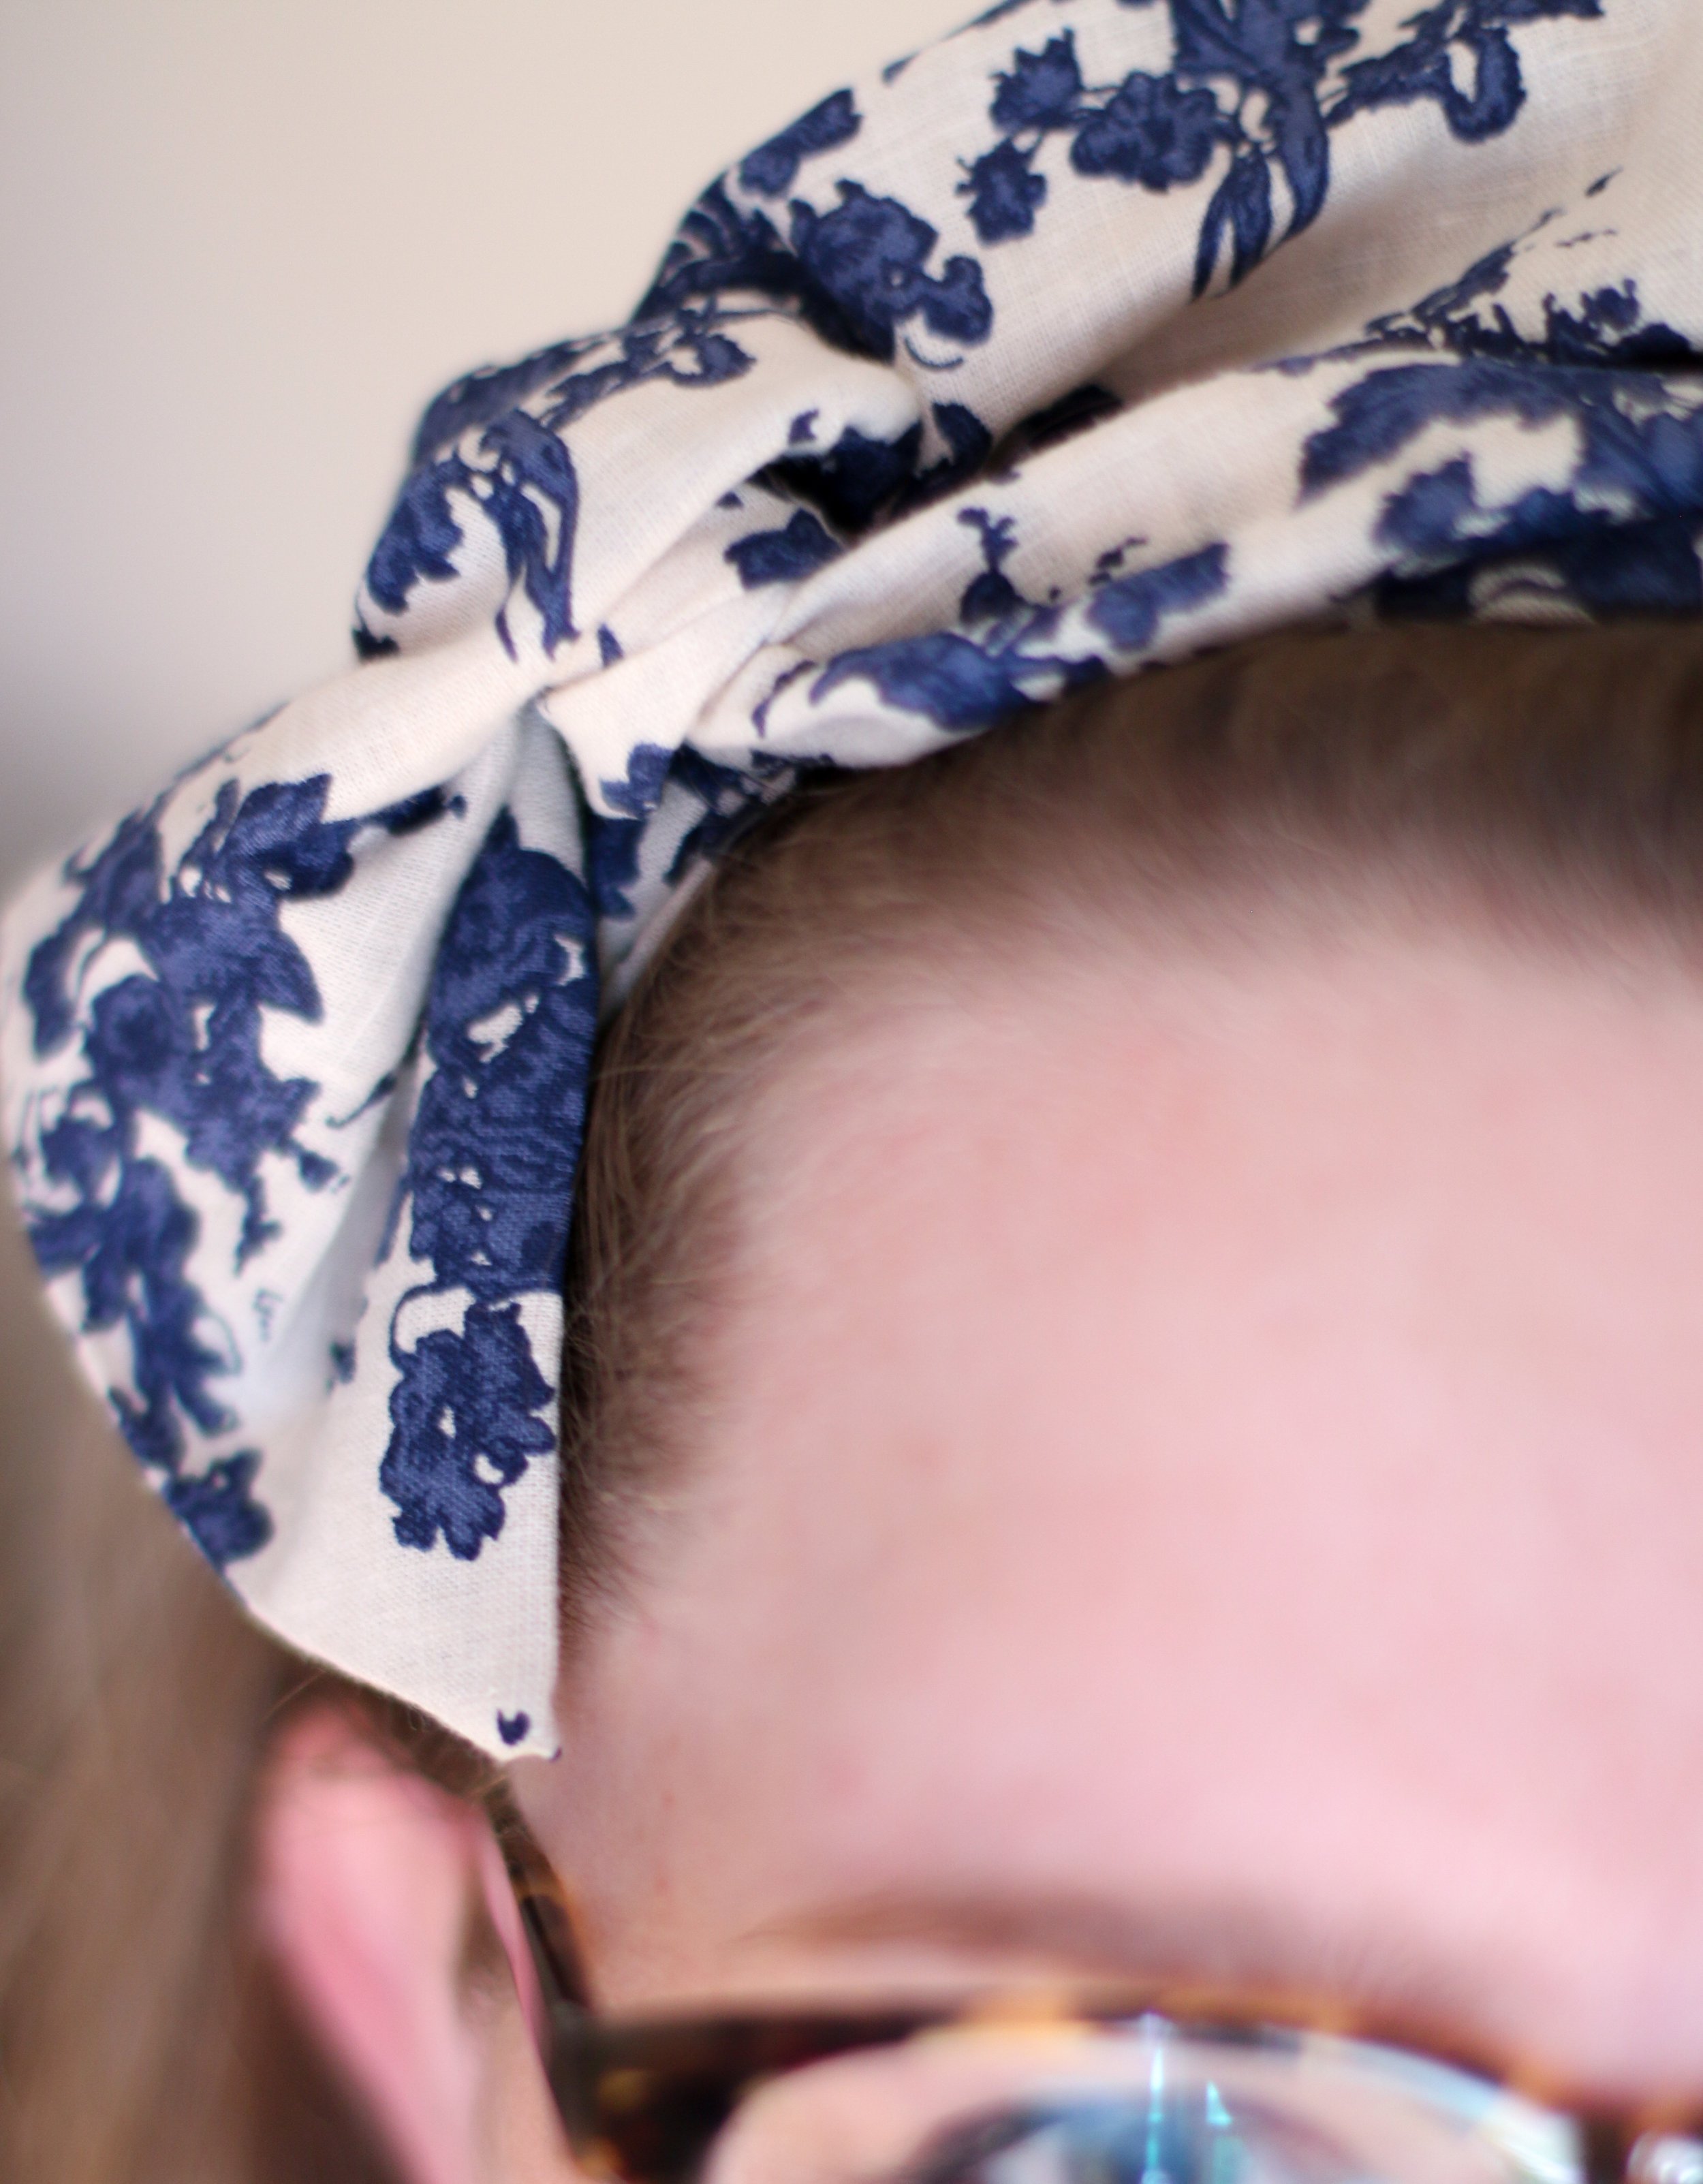
Give it a twist and a turn and wear it proud! And... more selfies!