let it burn, burn, burn...
So as I'm writing this post the only thing playing over and over in my head is Ellie Goulding's Burn... sooo... yes... this post has a soundtrack... you'll see why soon. This weekend we hit the road again and headed down to North Carolina for some friends, fun, and celebration! We had a wonderful time visiting with two of my favorite people, and then danced the night away at a beautiful lady's wedding. It was an almost perfect weekend, if you ignore the bazillion hours it took us to drive what should be a less than five hour drive, I mean c'mon I got to eat grits almost every meal so of course I'm going to ignore the terrible traffic.
The first night, we stayed in Winston-Salem with two magnificent people I've known for almost all of my life. We had some amazing food at Milner's (the night before we were there, Oprah was there, soooo...yeah.), we drank delicious wine (Darioush...if you ever get the chance...take it), we got a tour of Old Salem and the Wake Forest campus, and then we headed over to Greensboro to celebrate the marriage of two precious people.
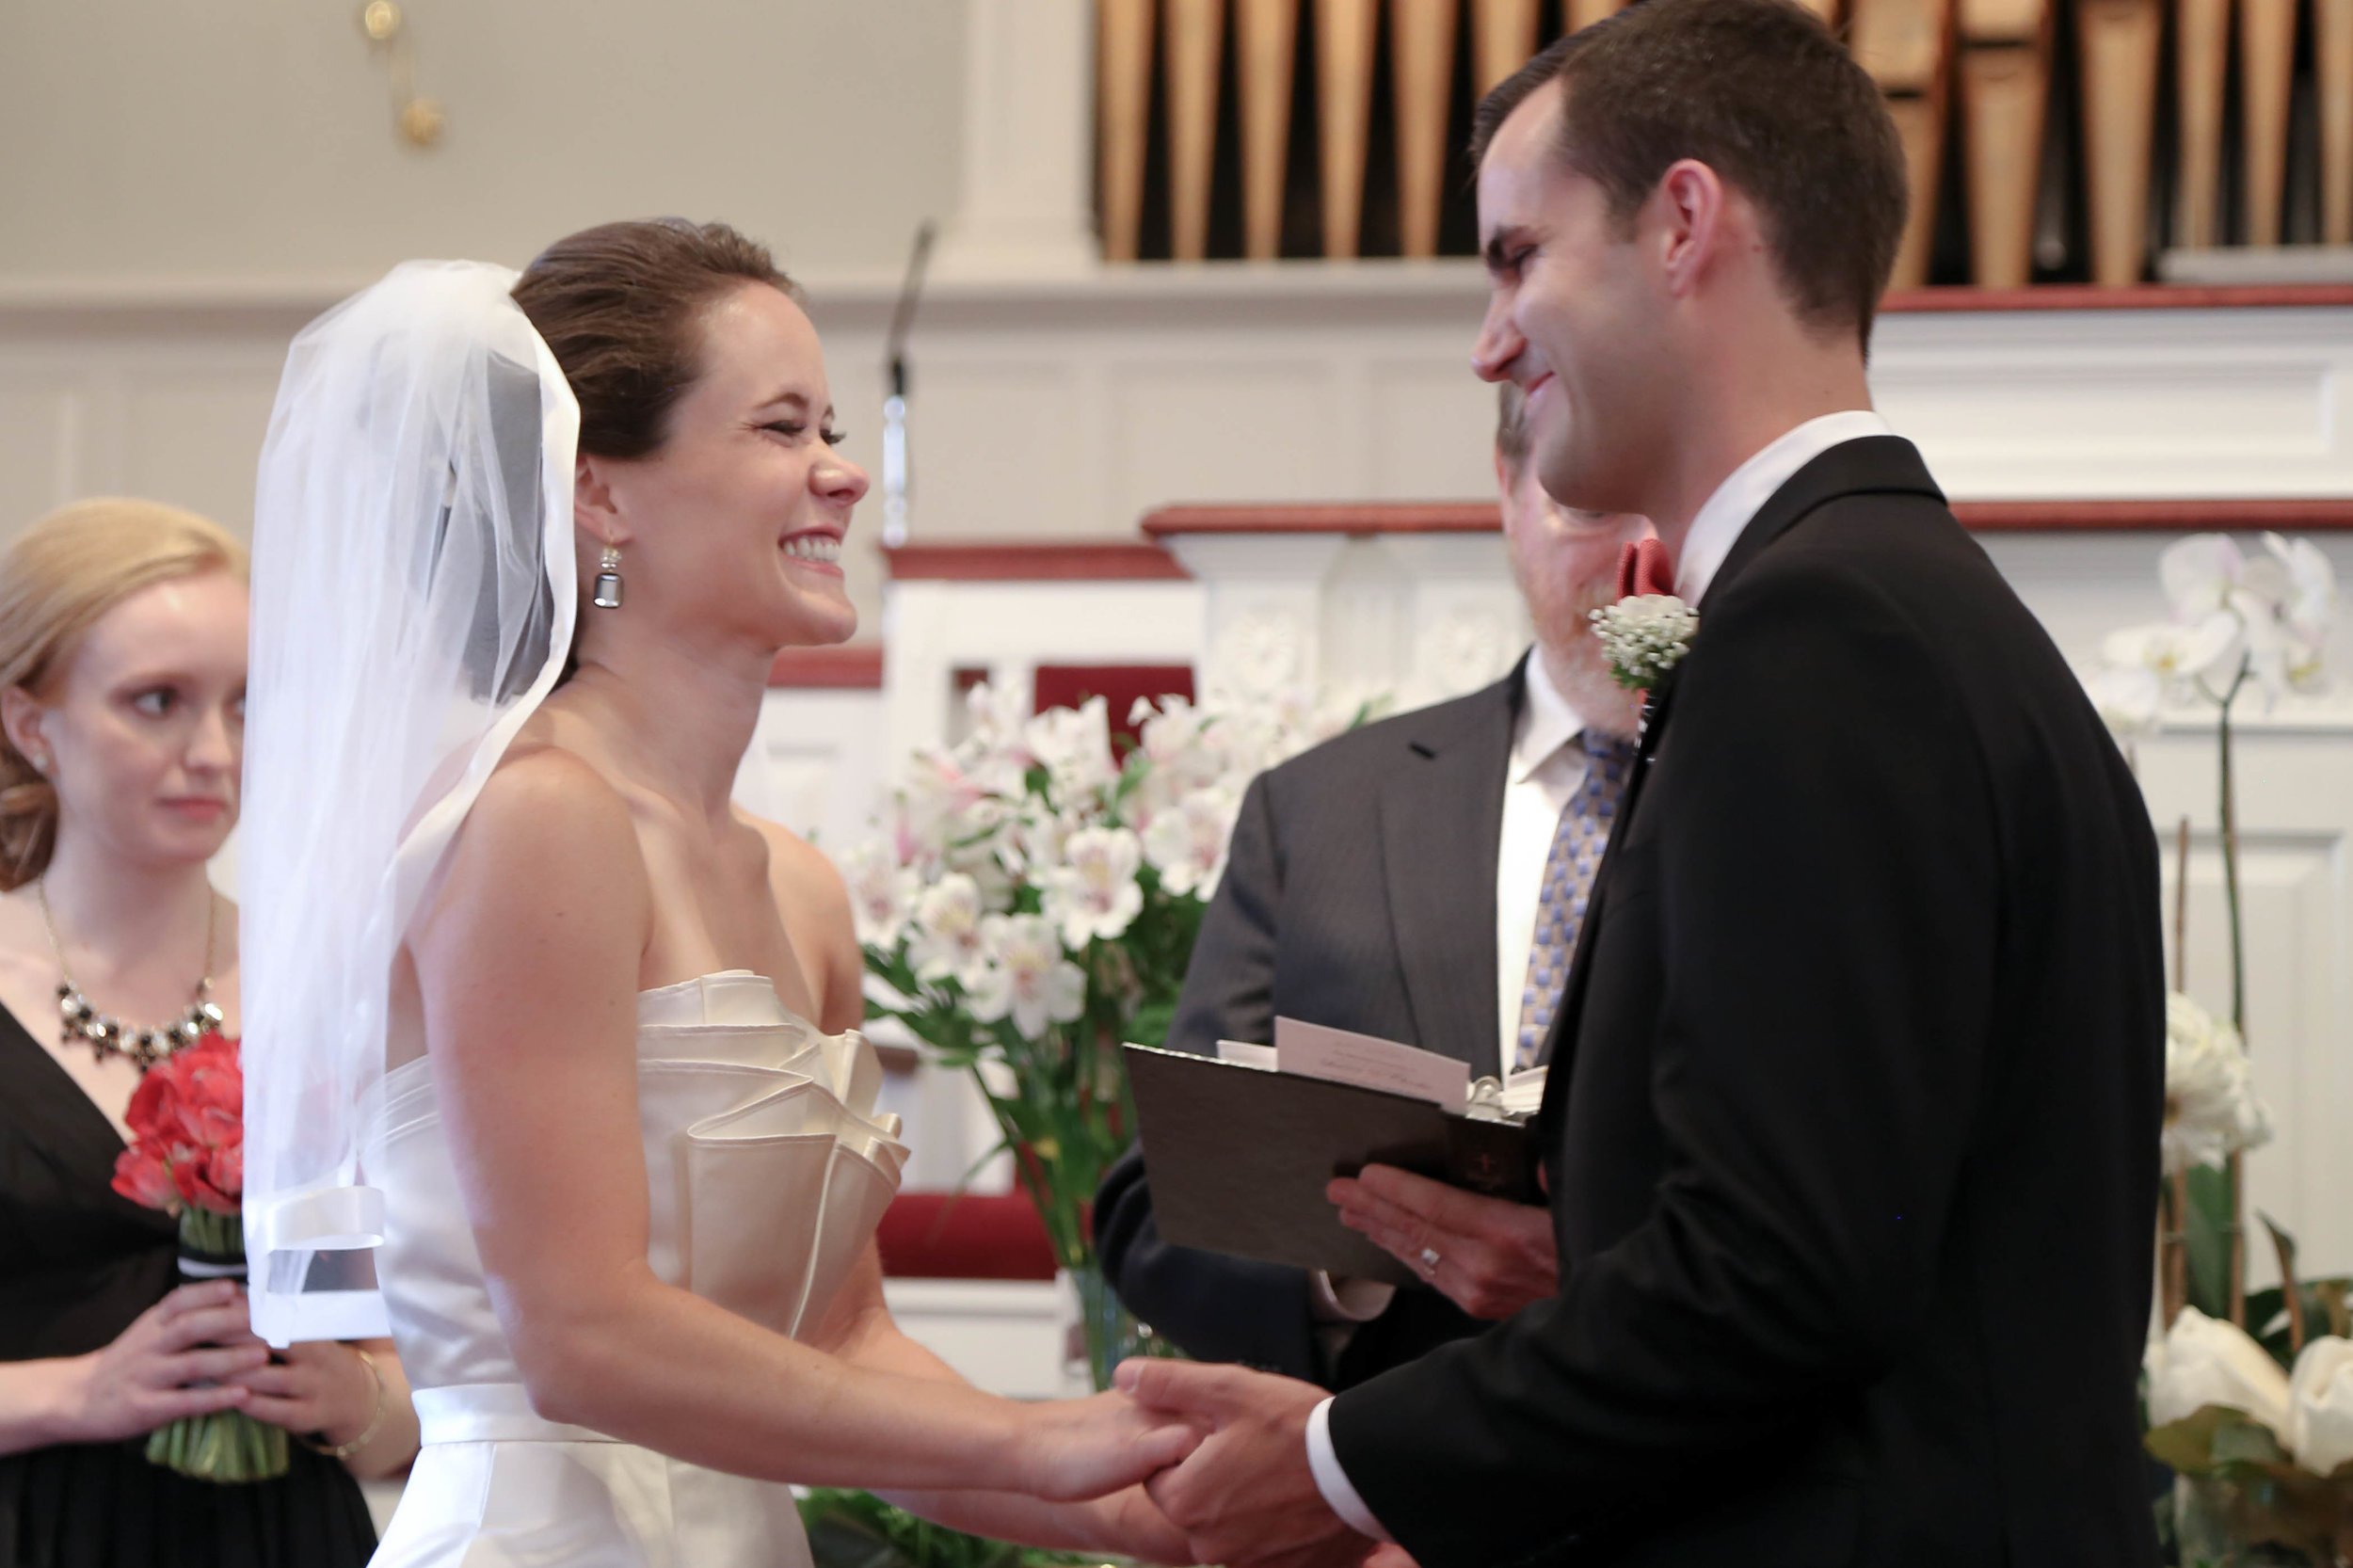
The wedding was perfection. I know 90% of my readership (Allie, Maddy, Amy, and Amanda) are a tiny bit obsessed with wedding photos so here are a few of the beautiful Lauren Estridge Owens... oh and Charles you were quite handsome as well! Have you ever seen two people who looked so happy?!
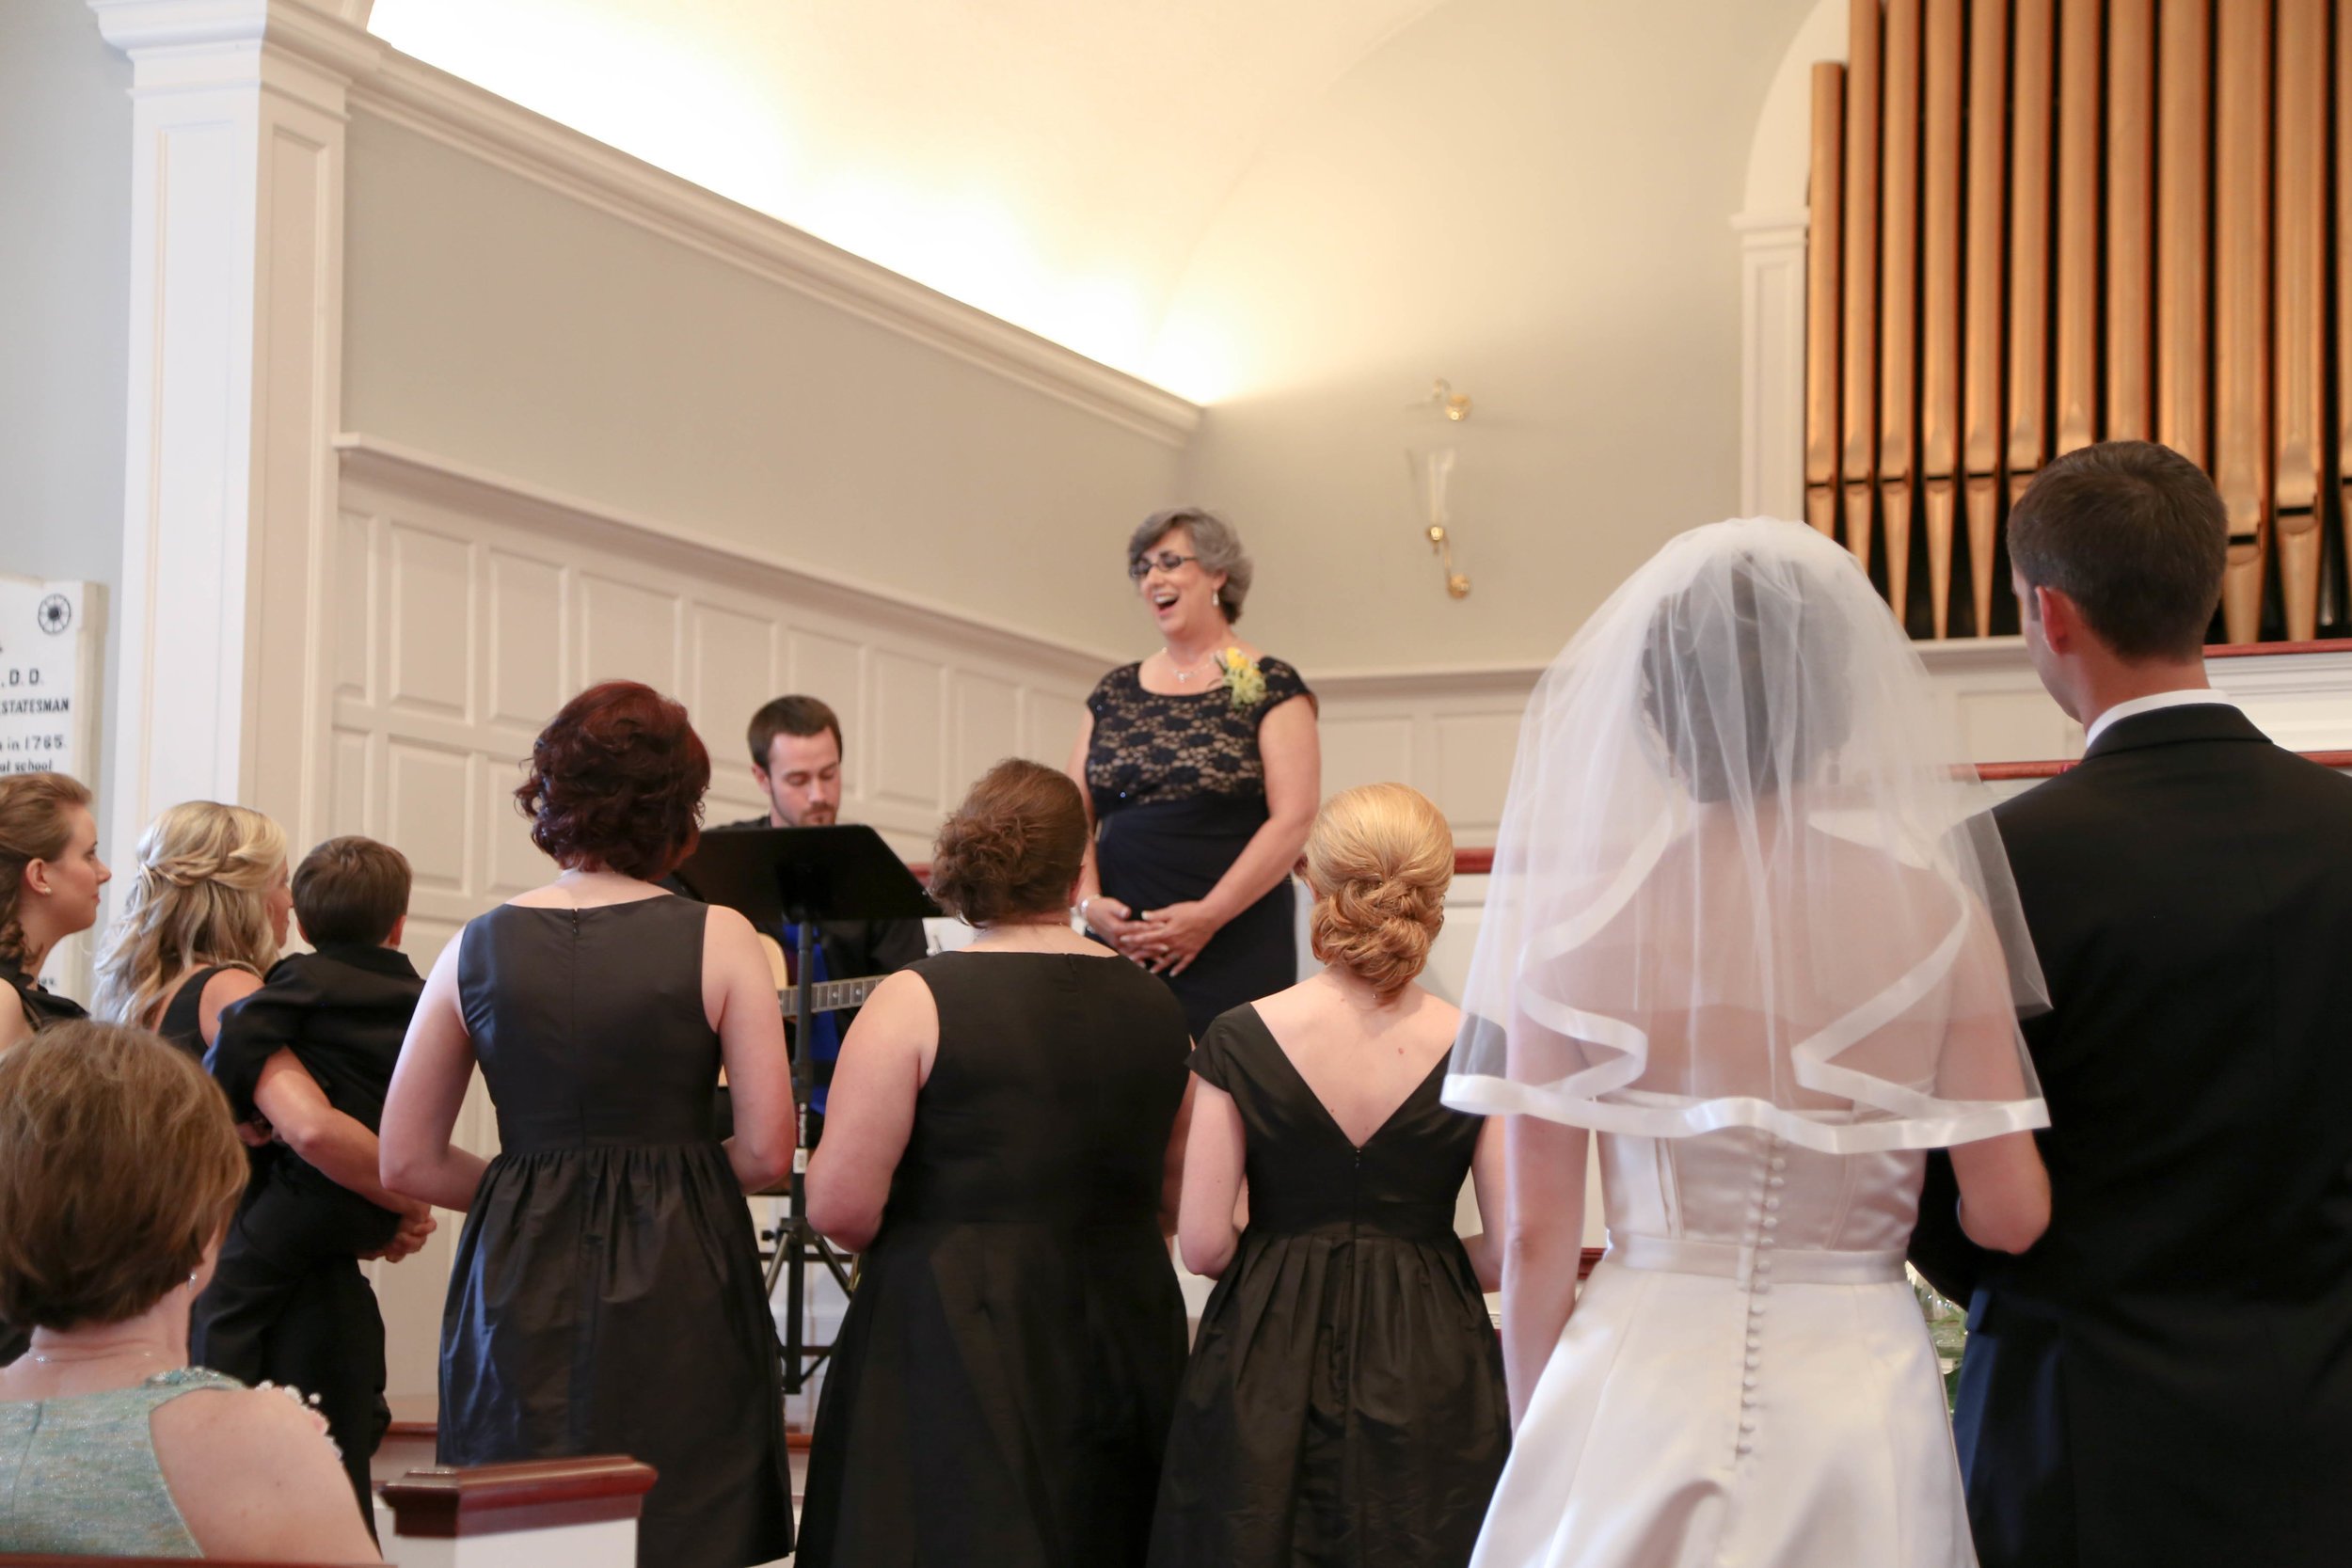
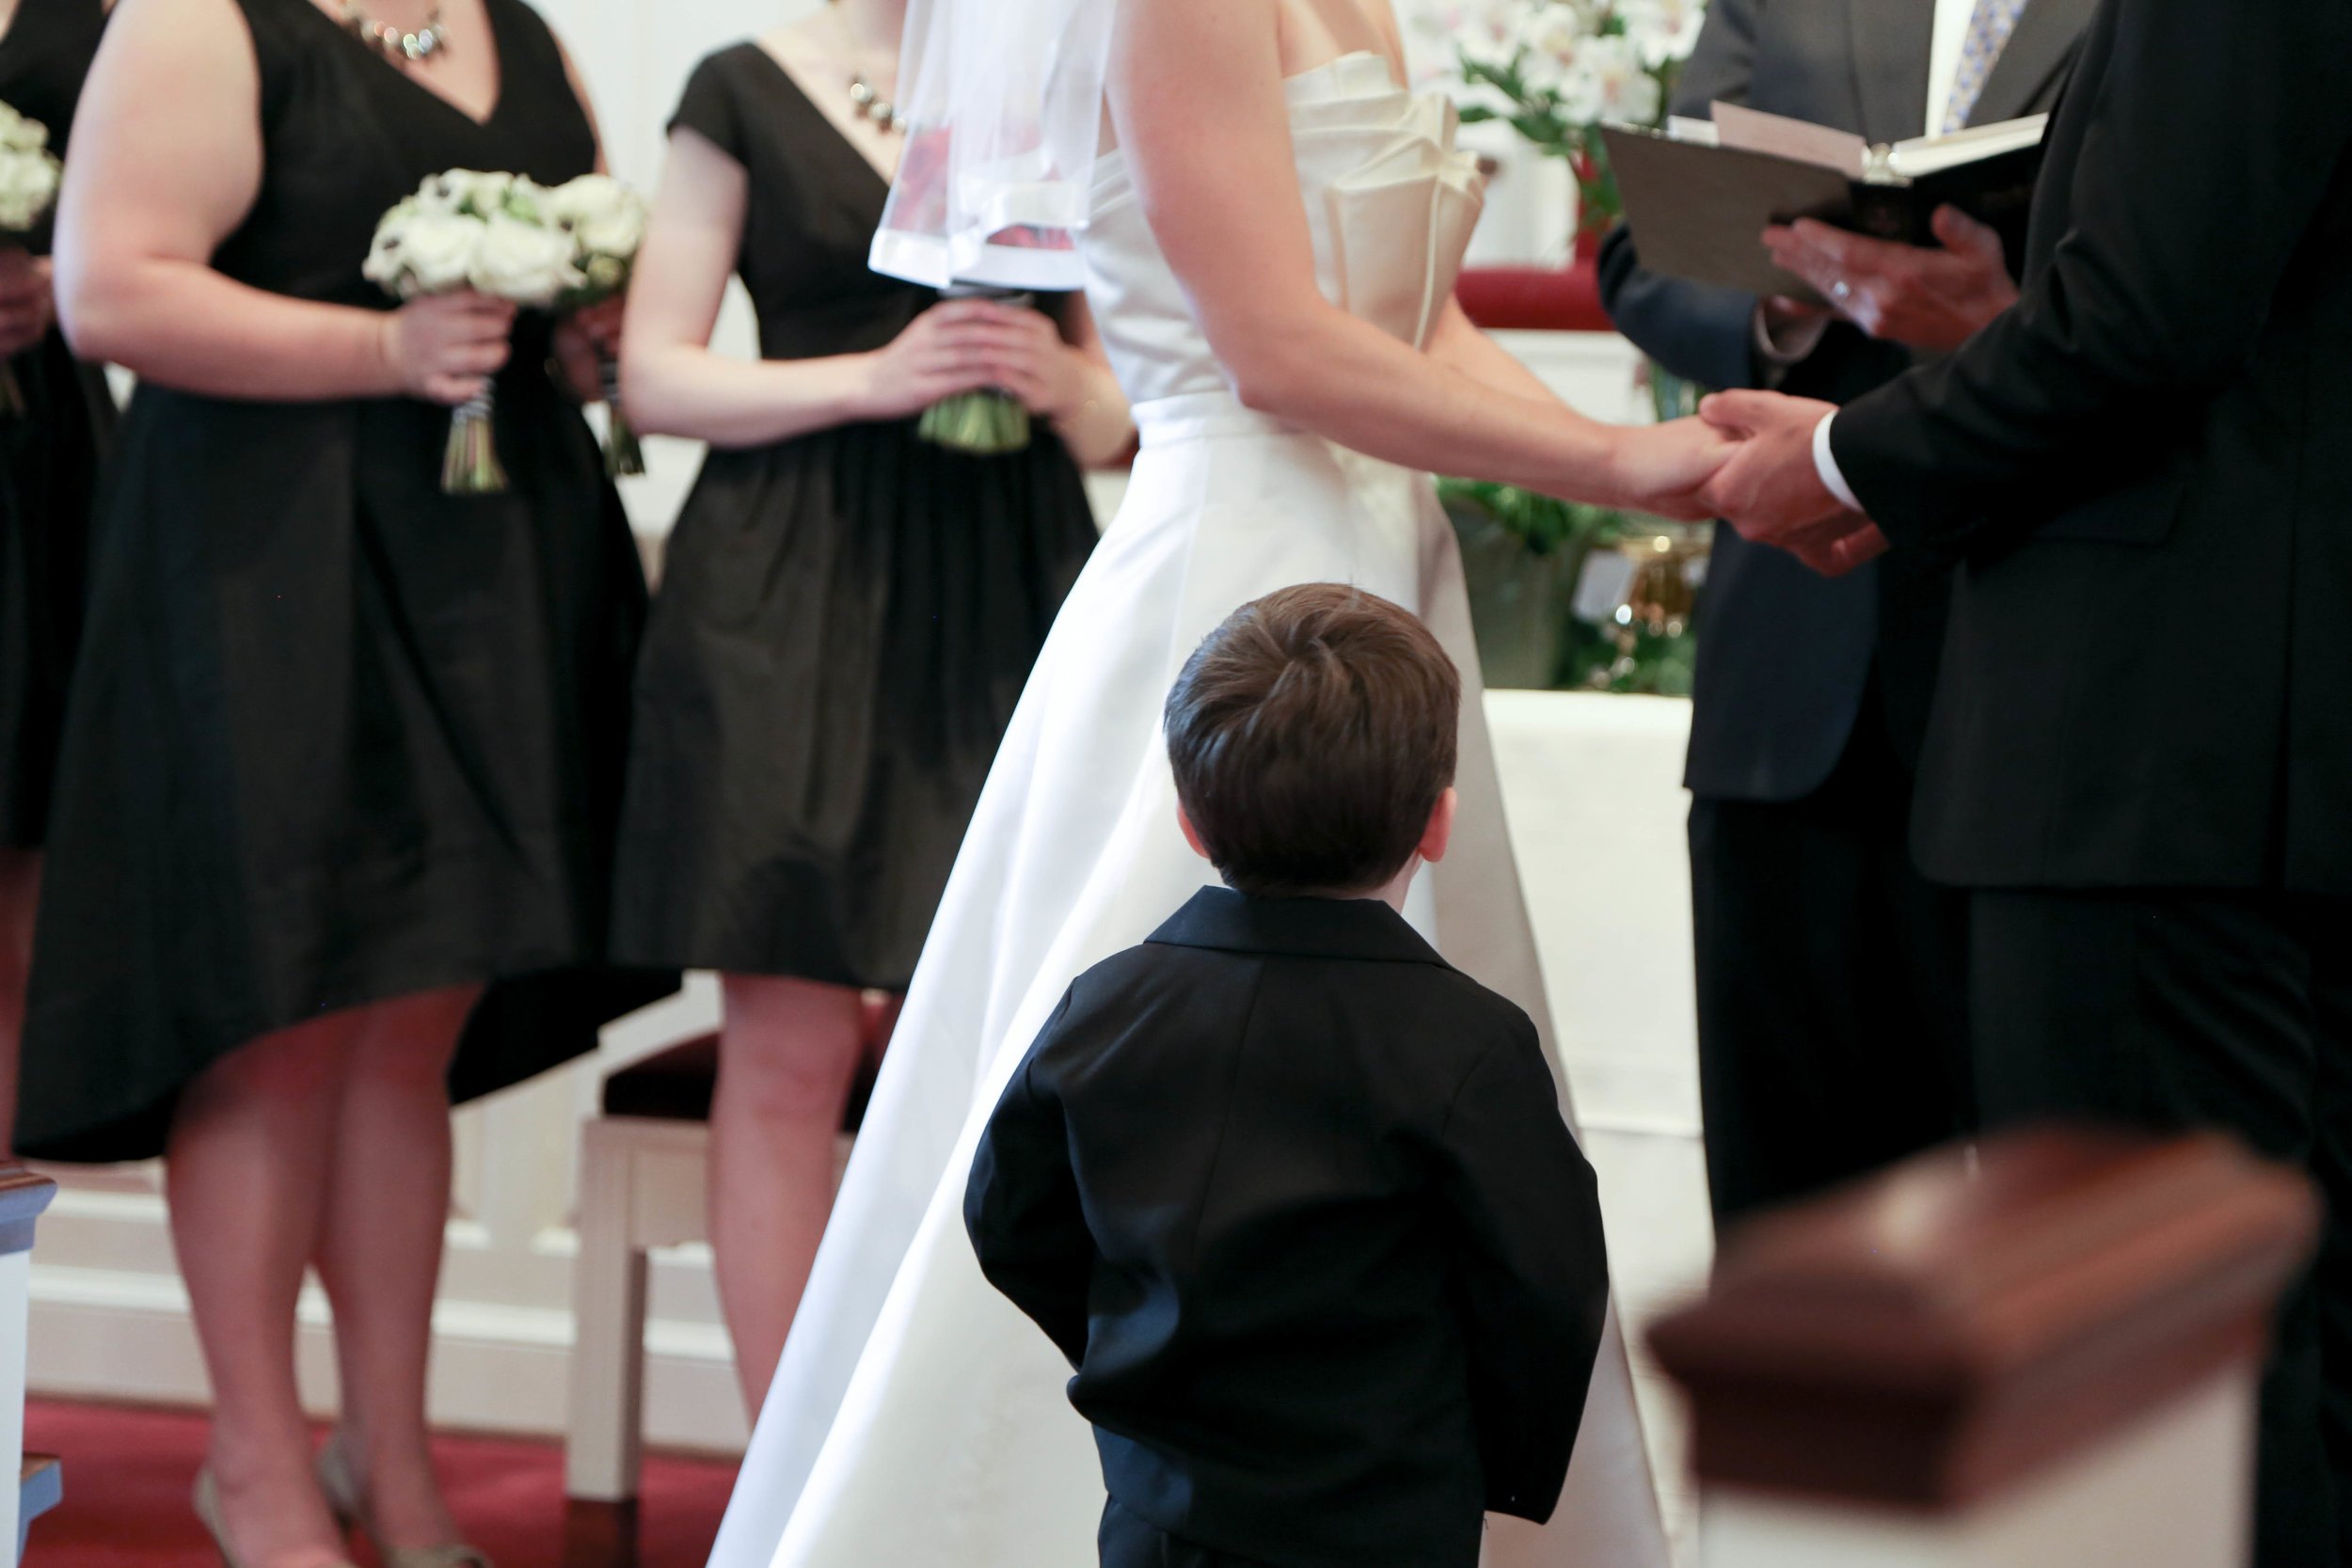
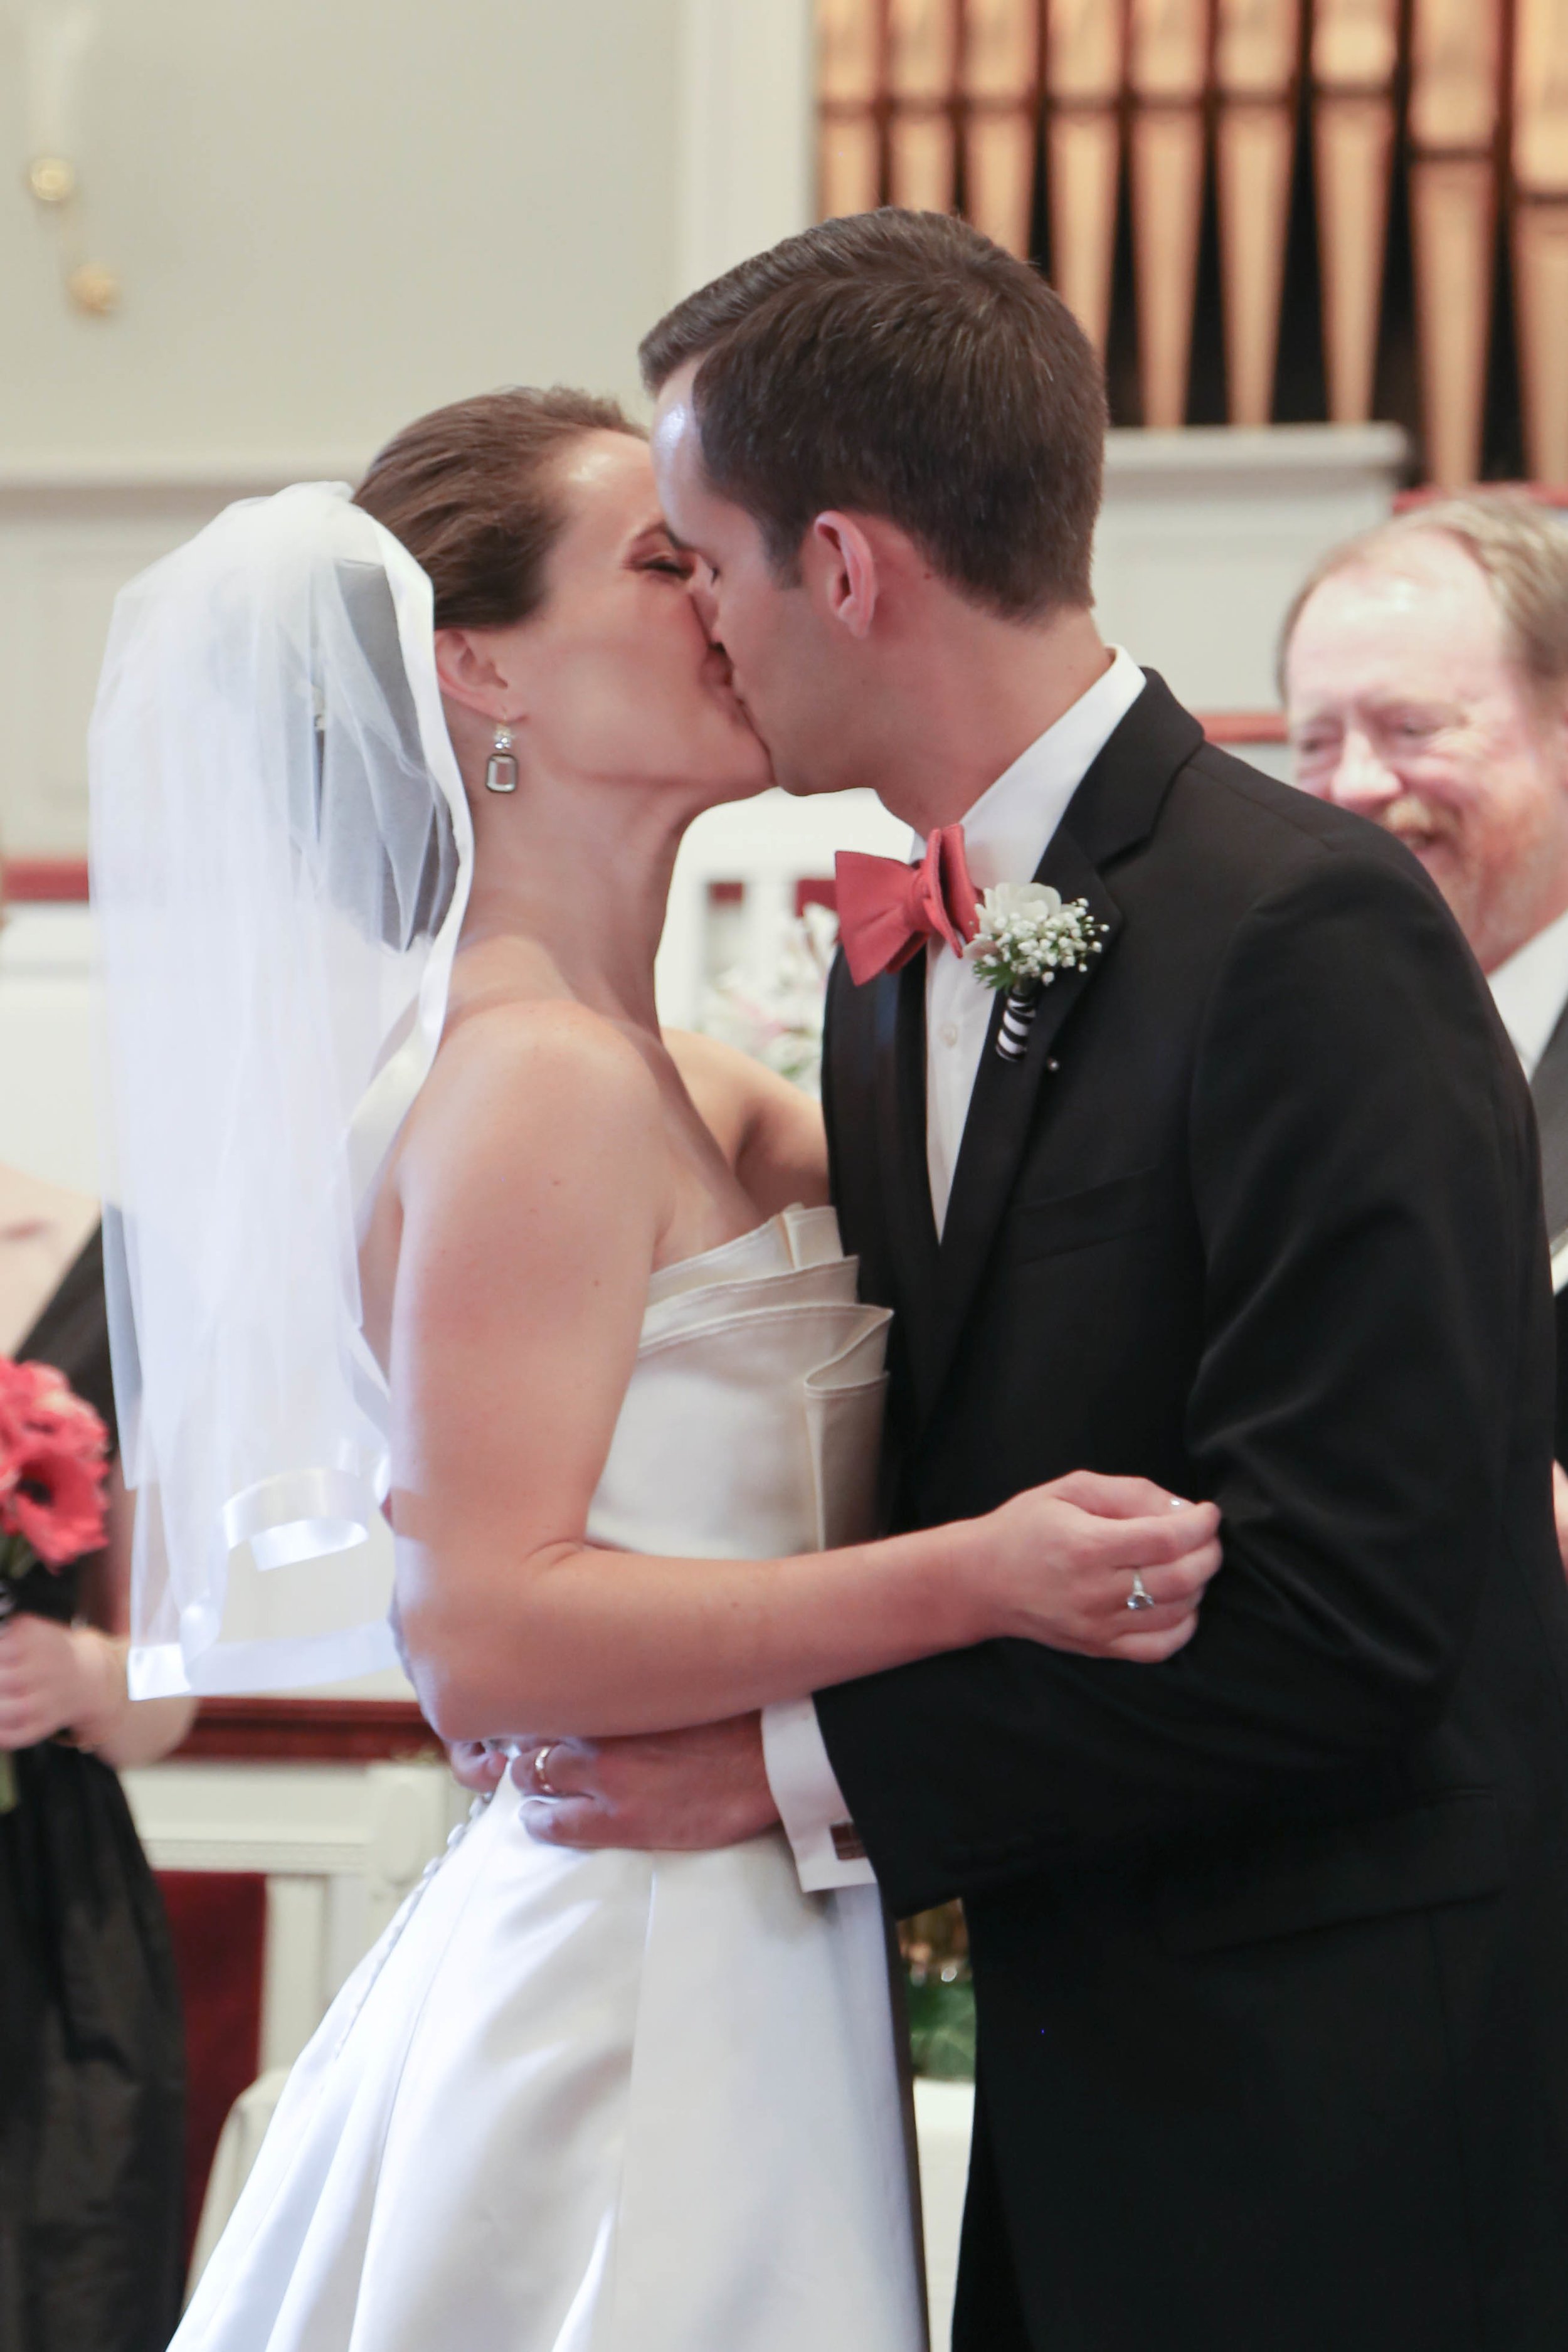
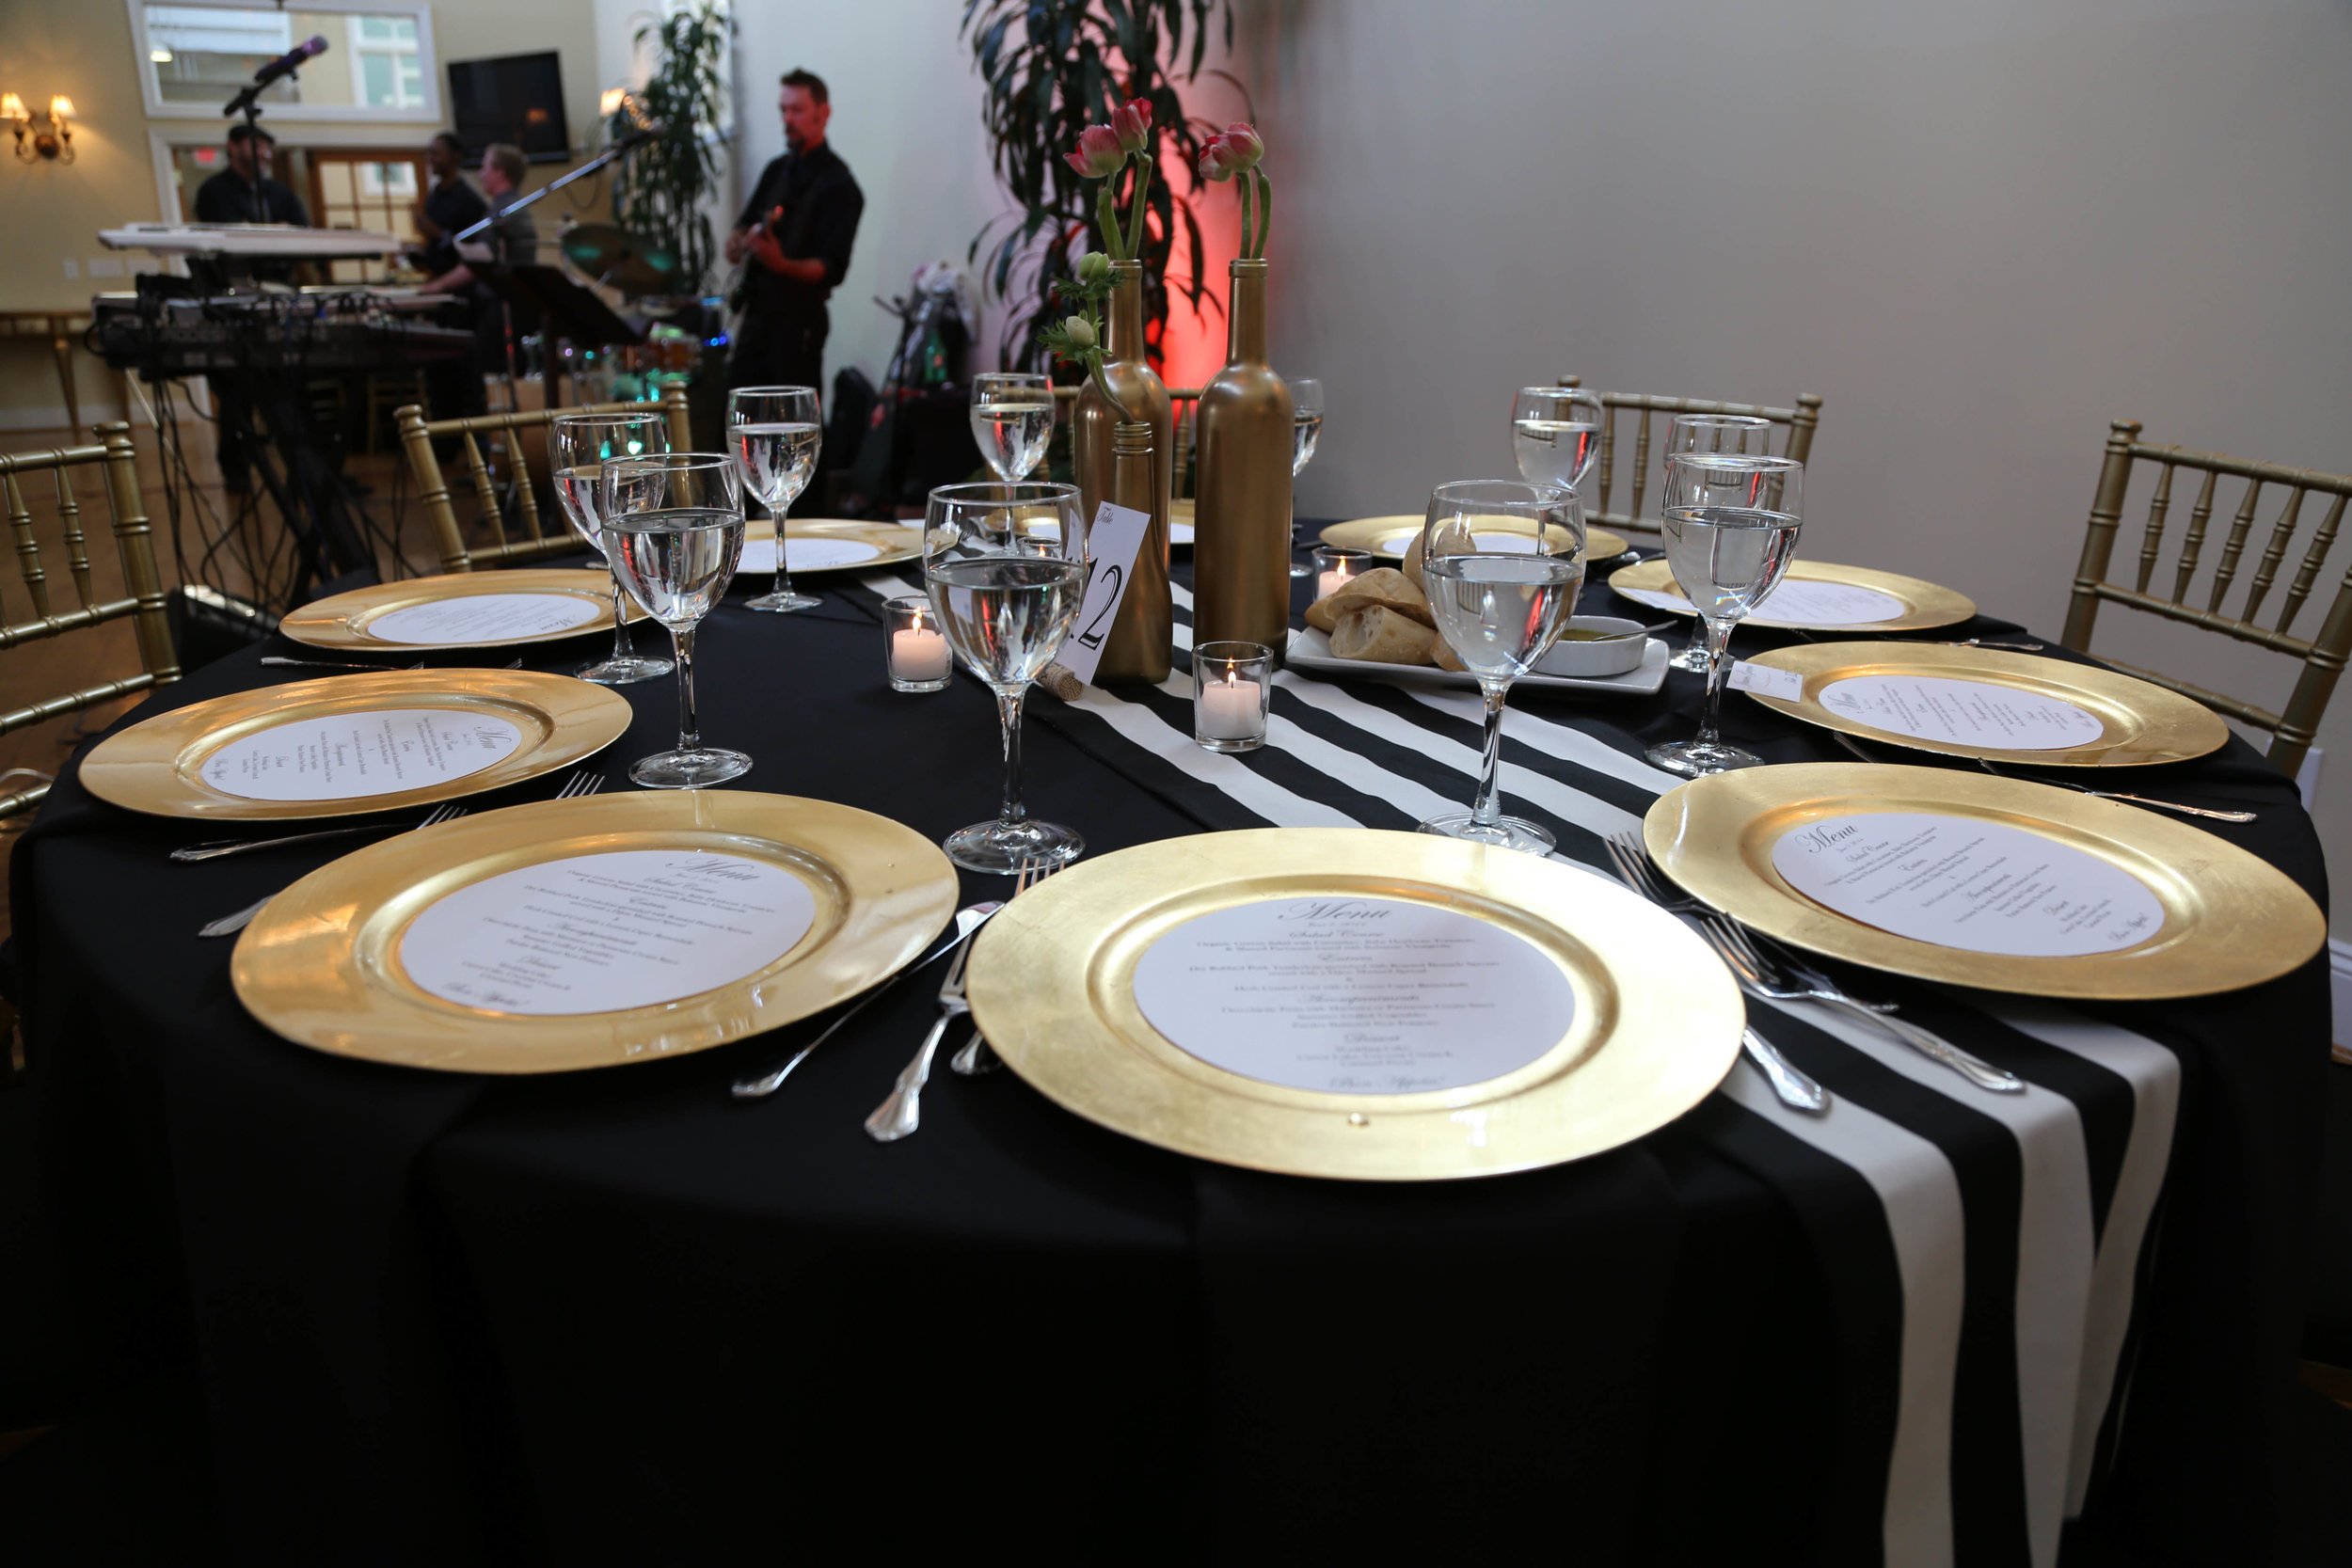
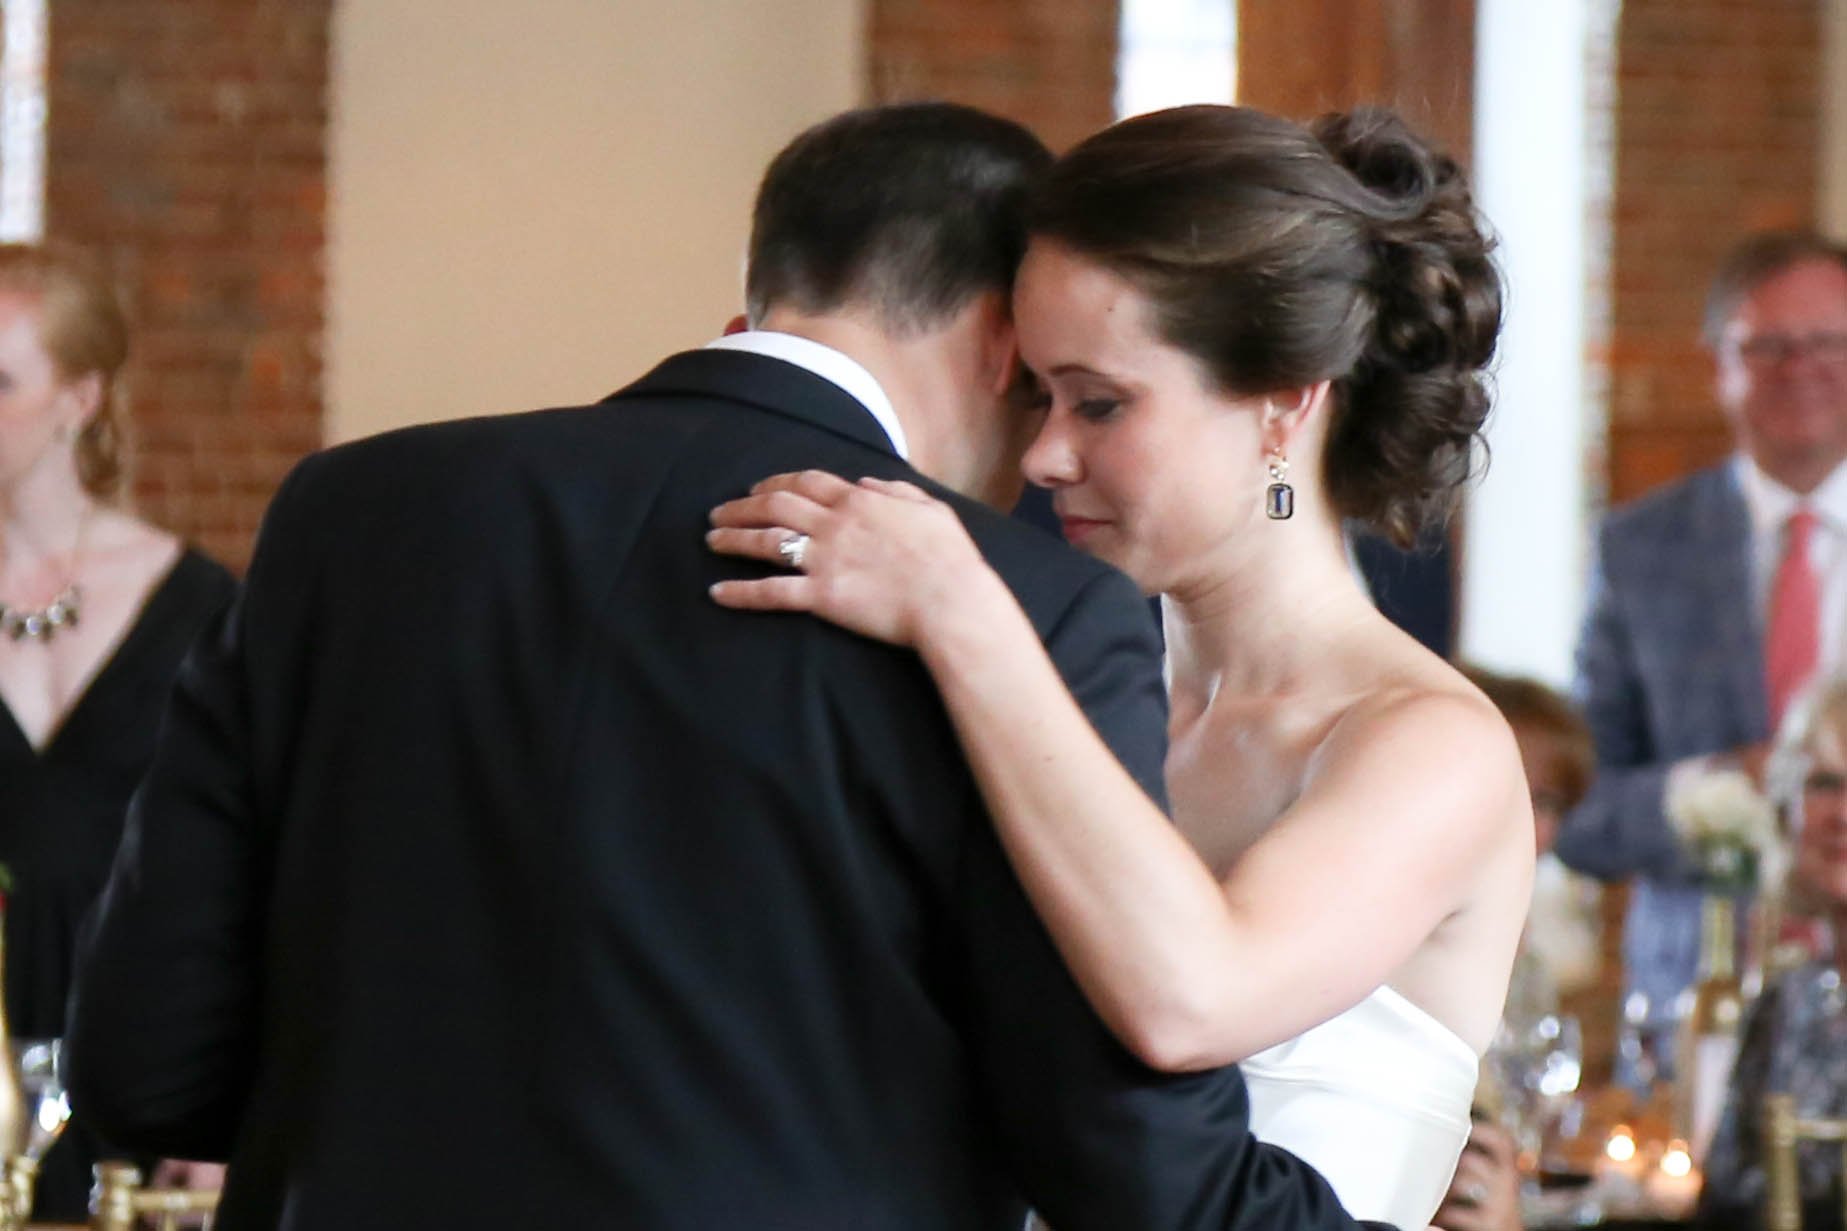
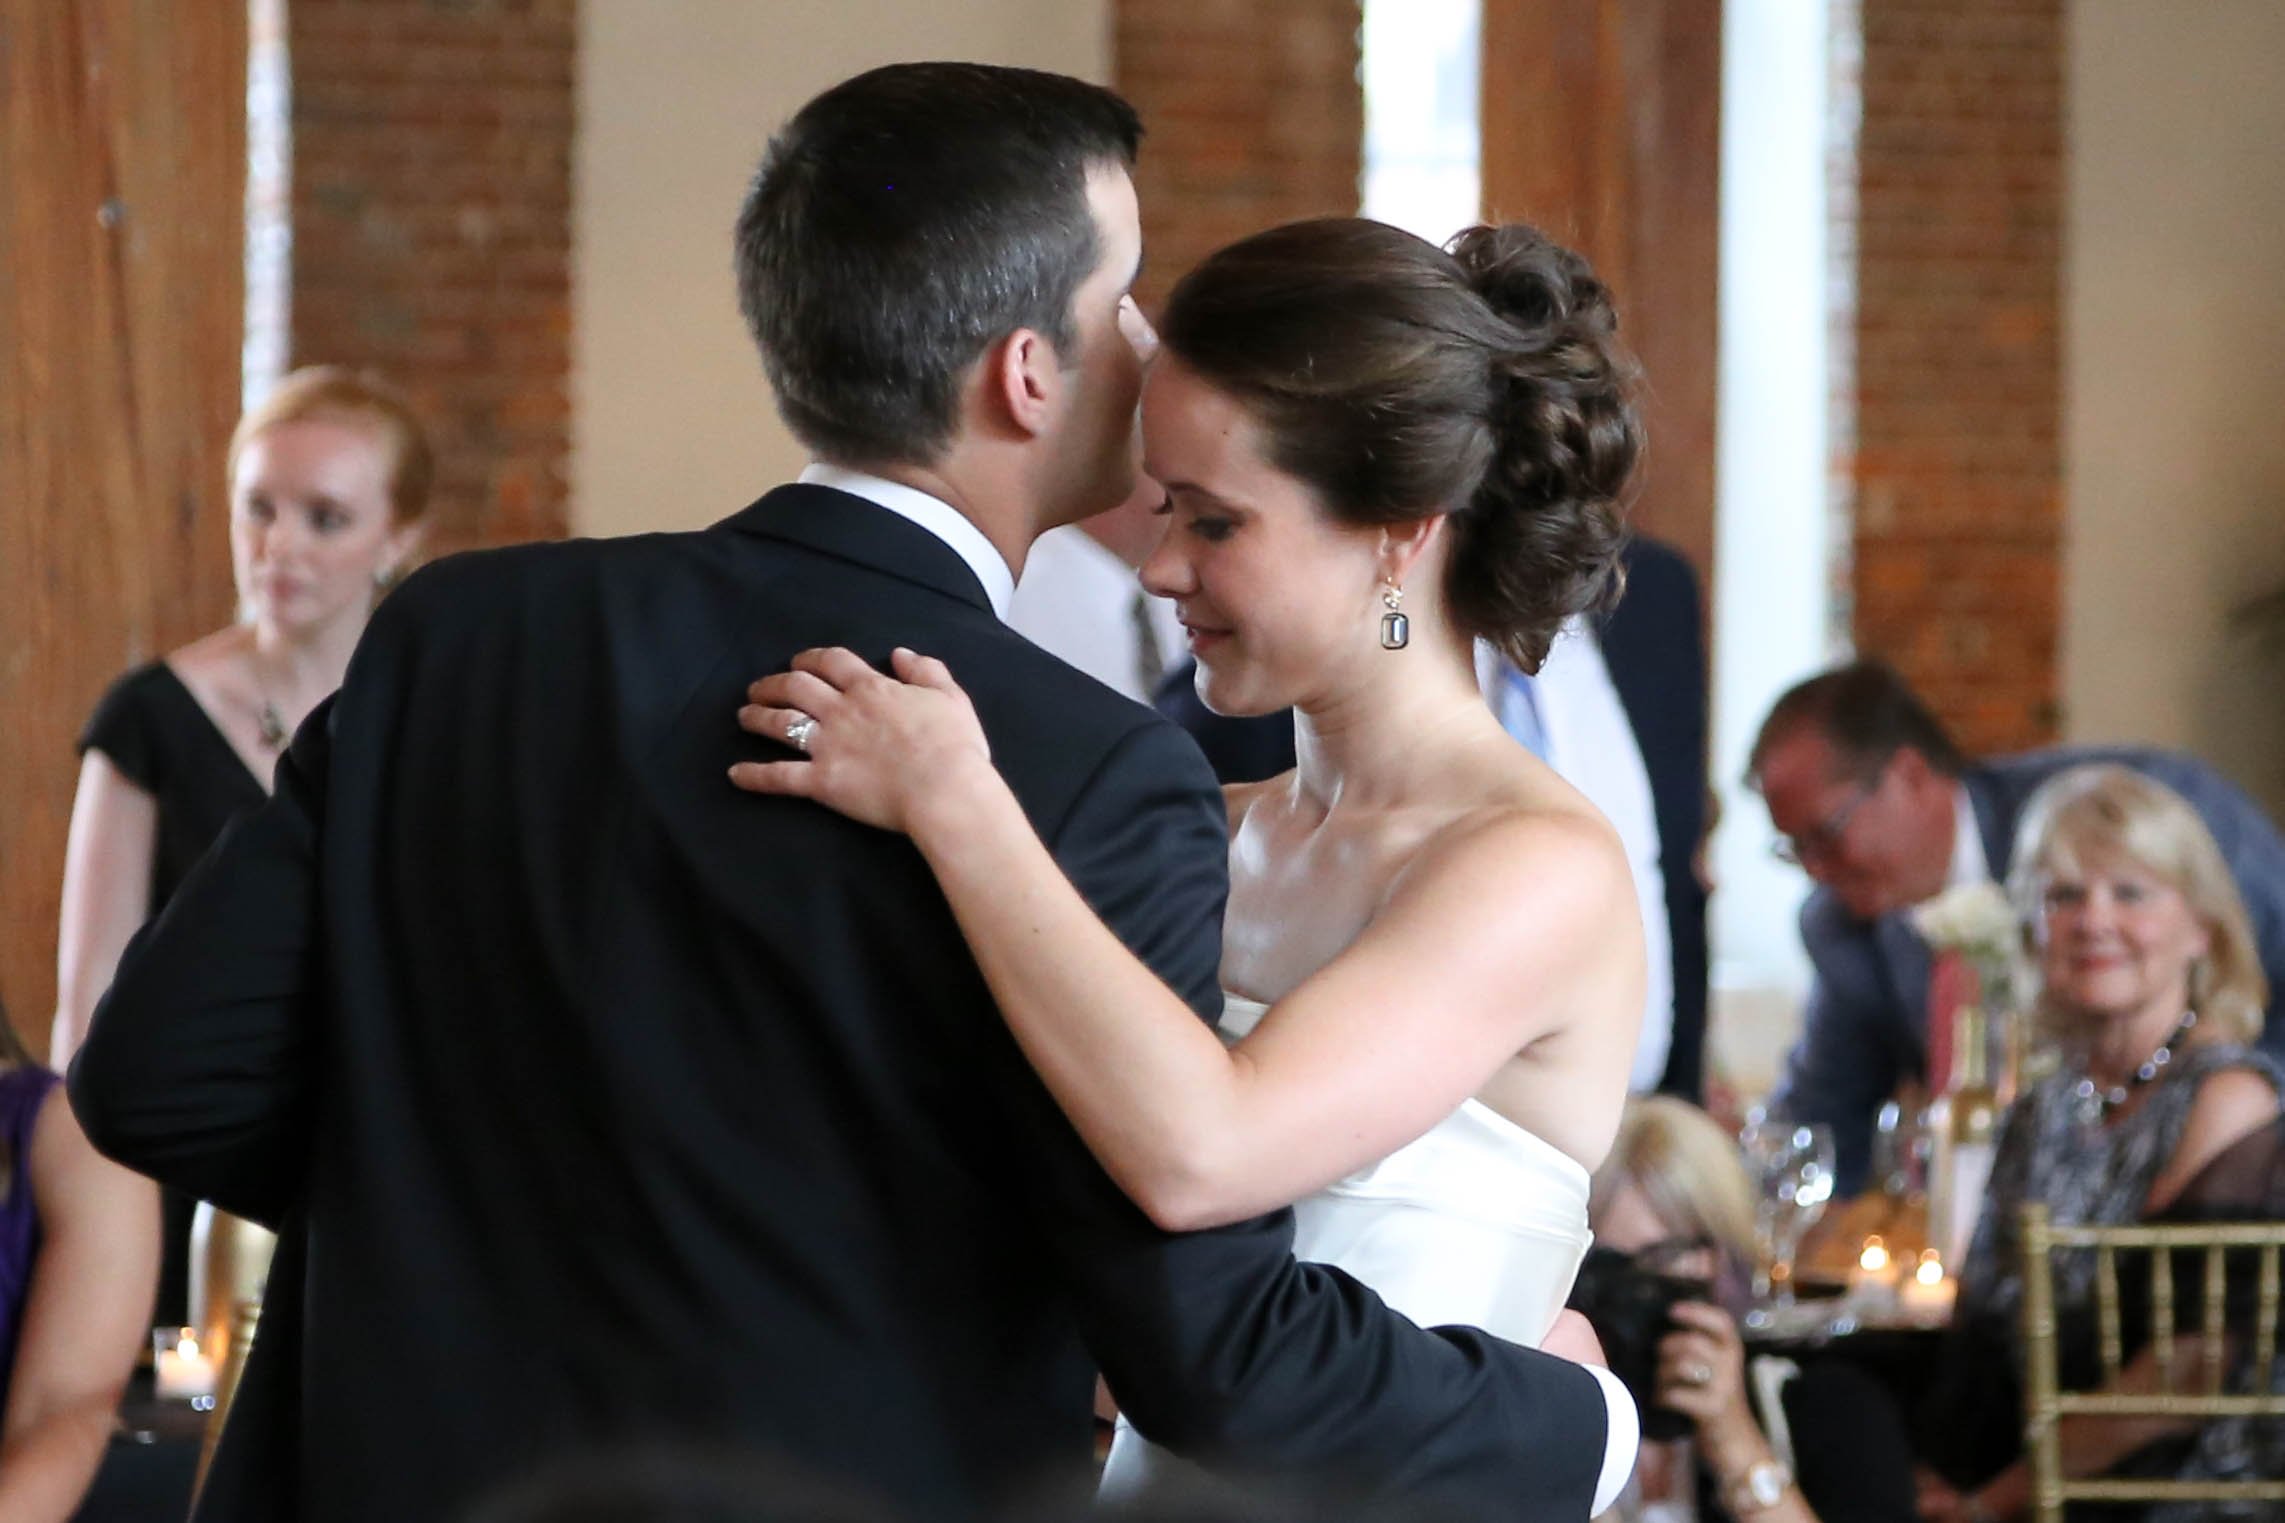
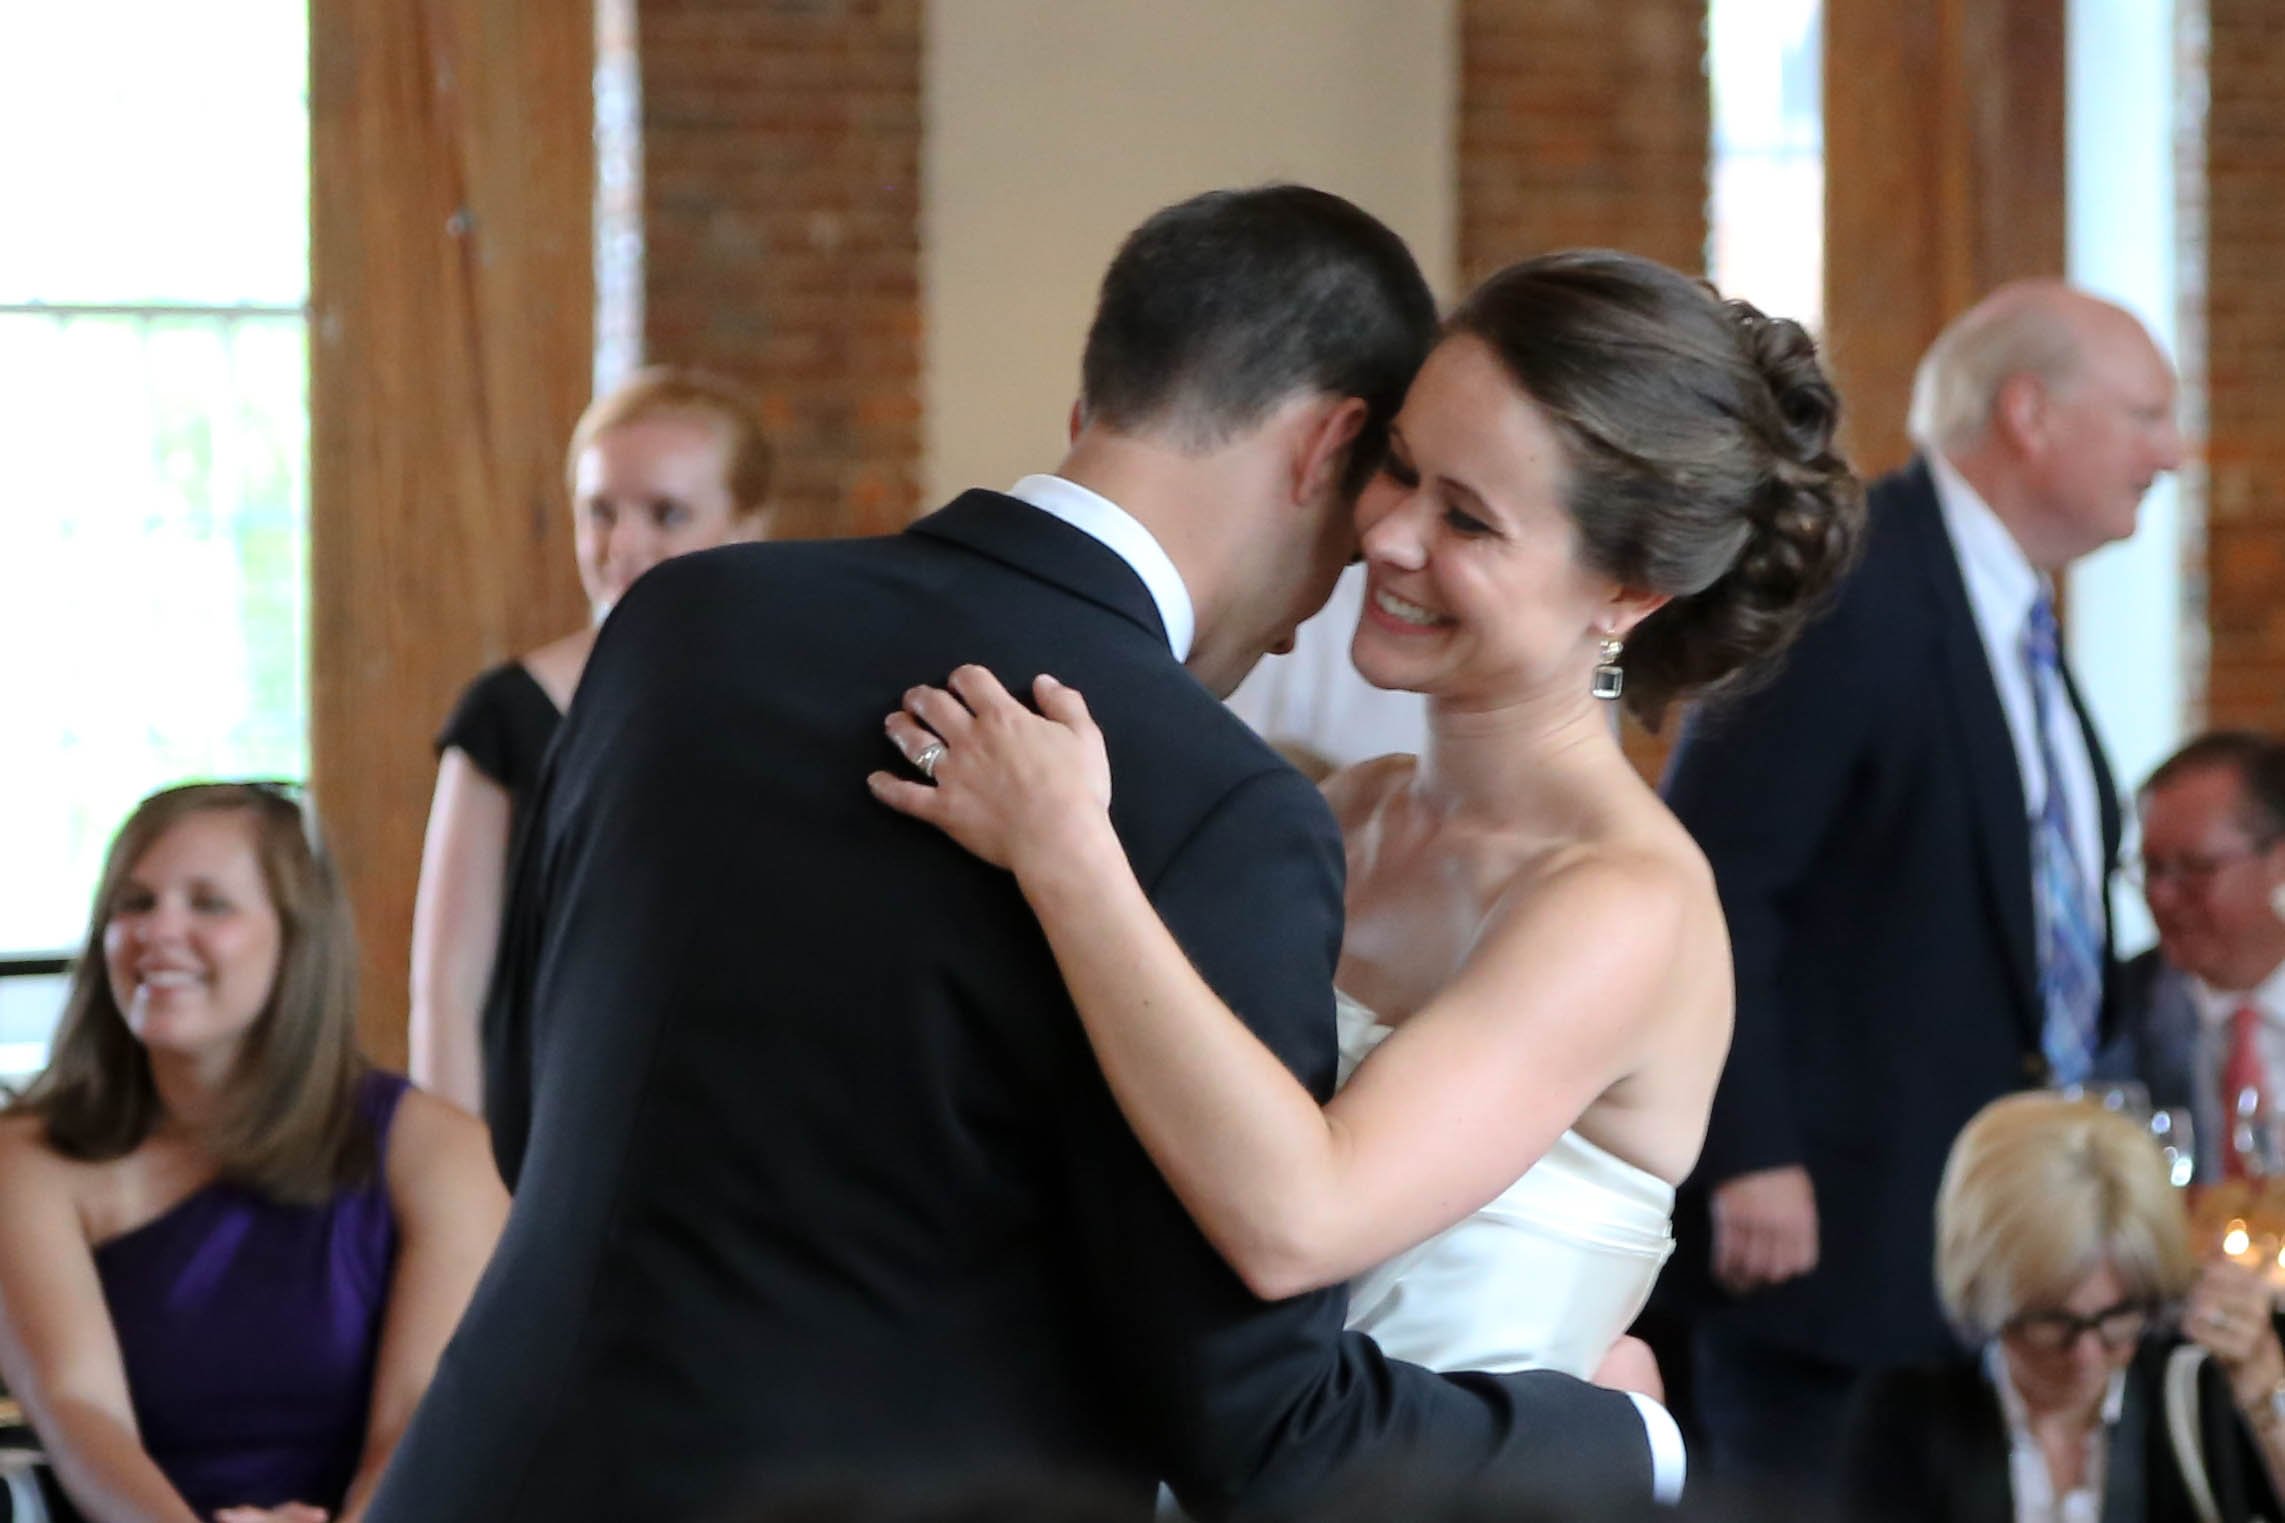
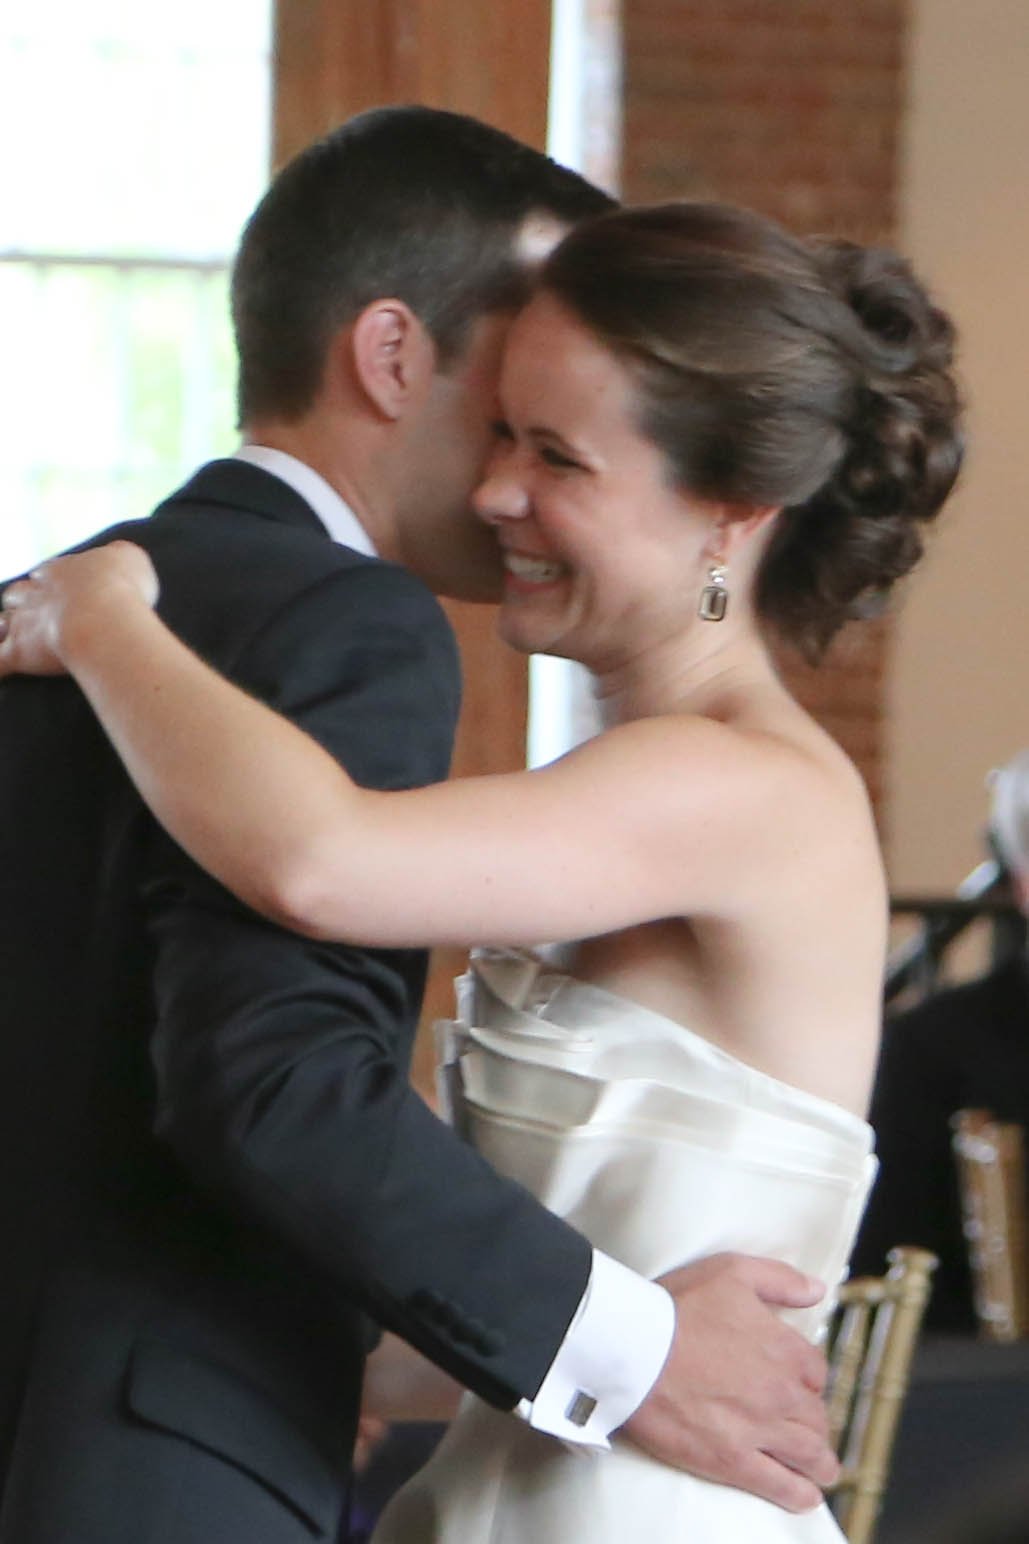
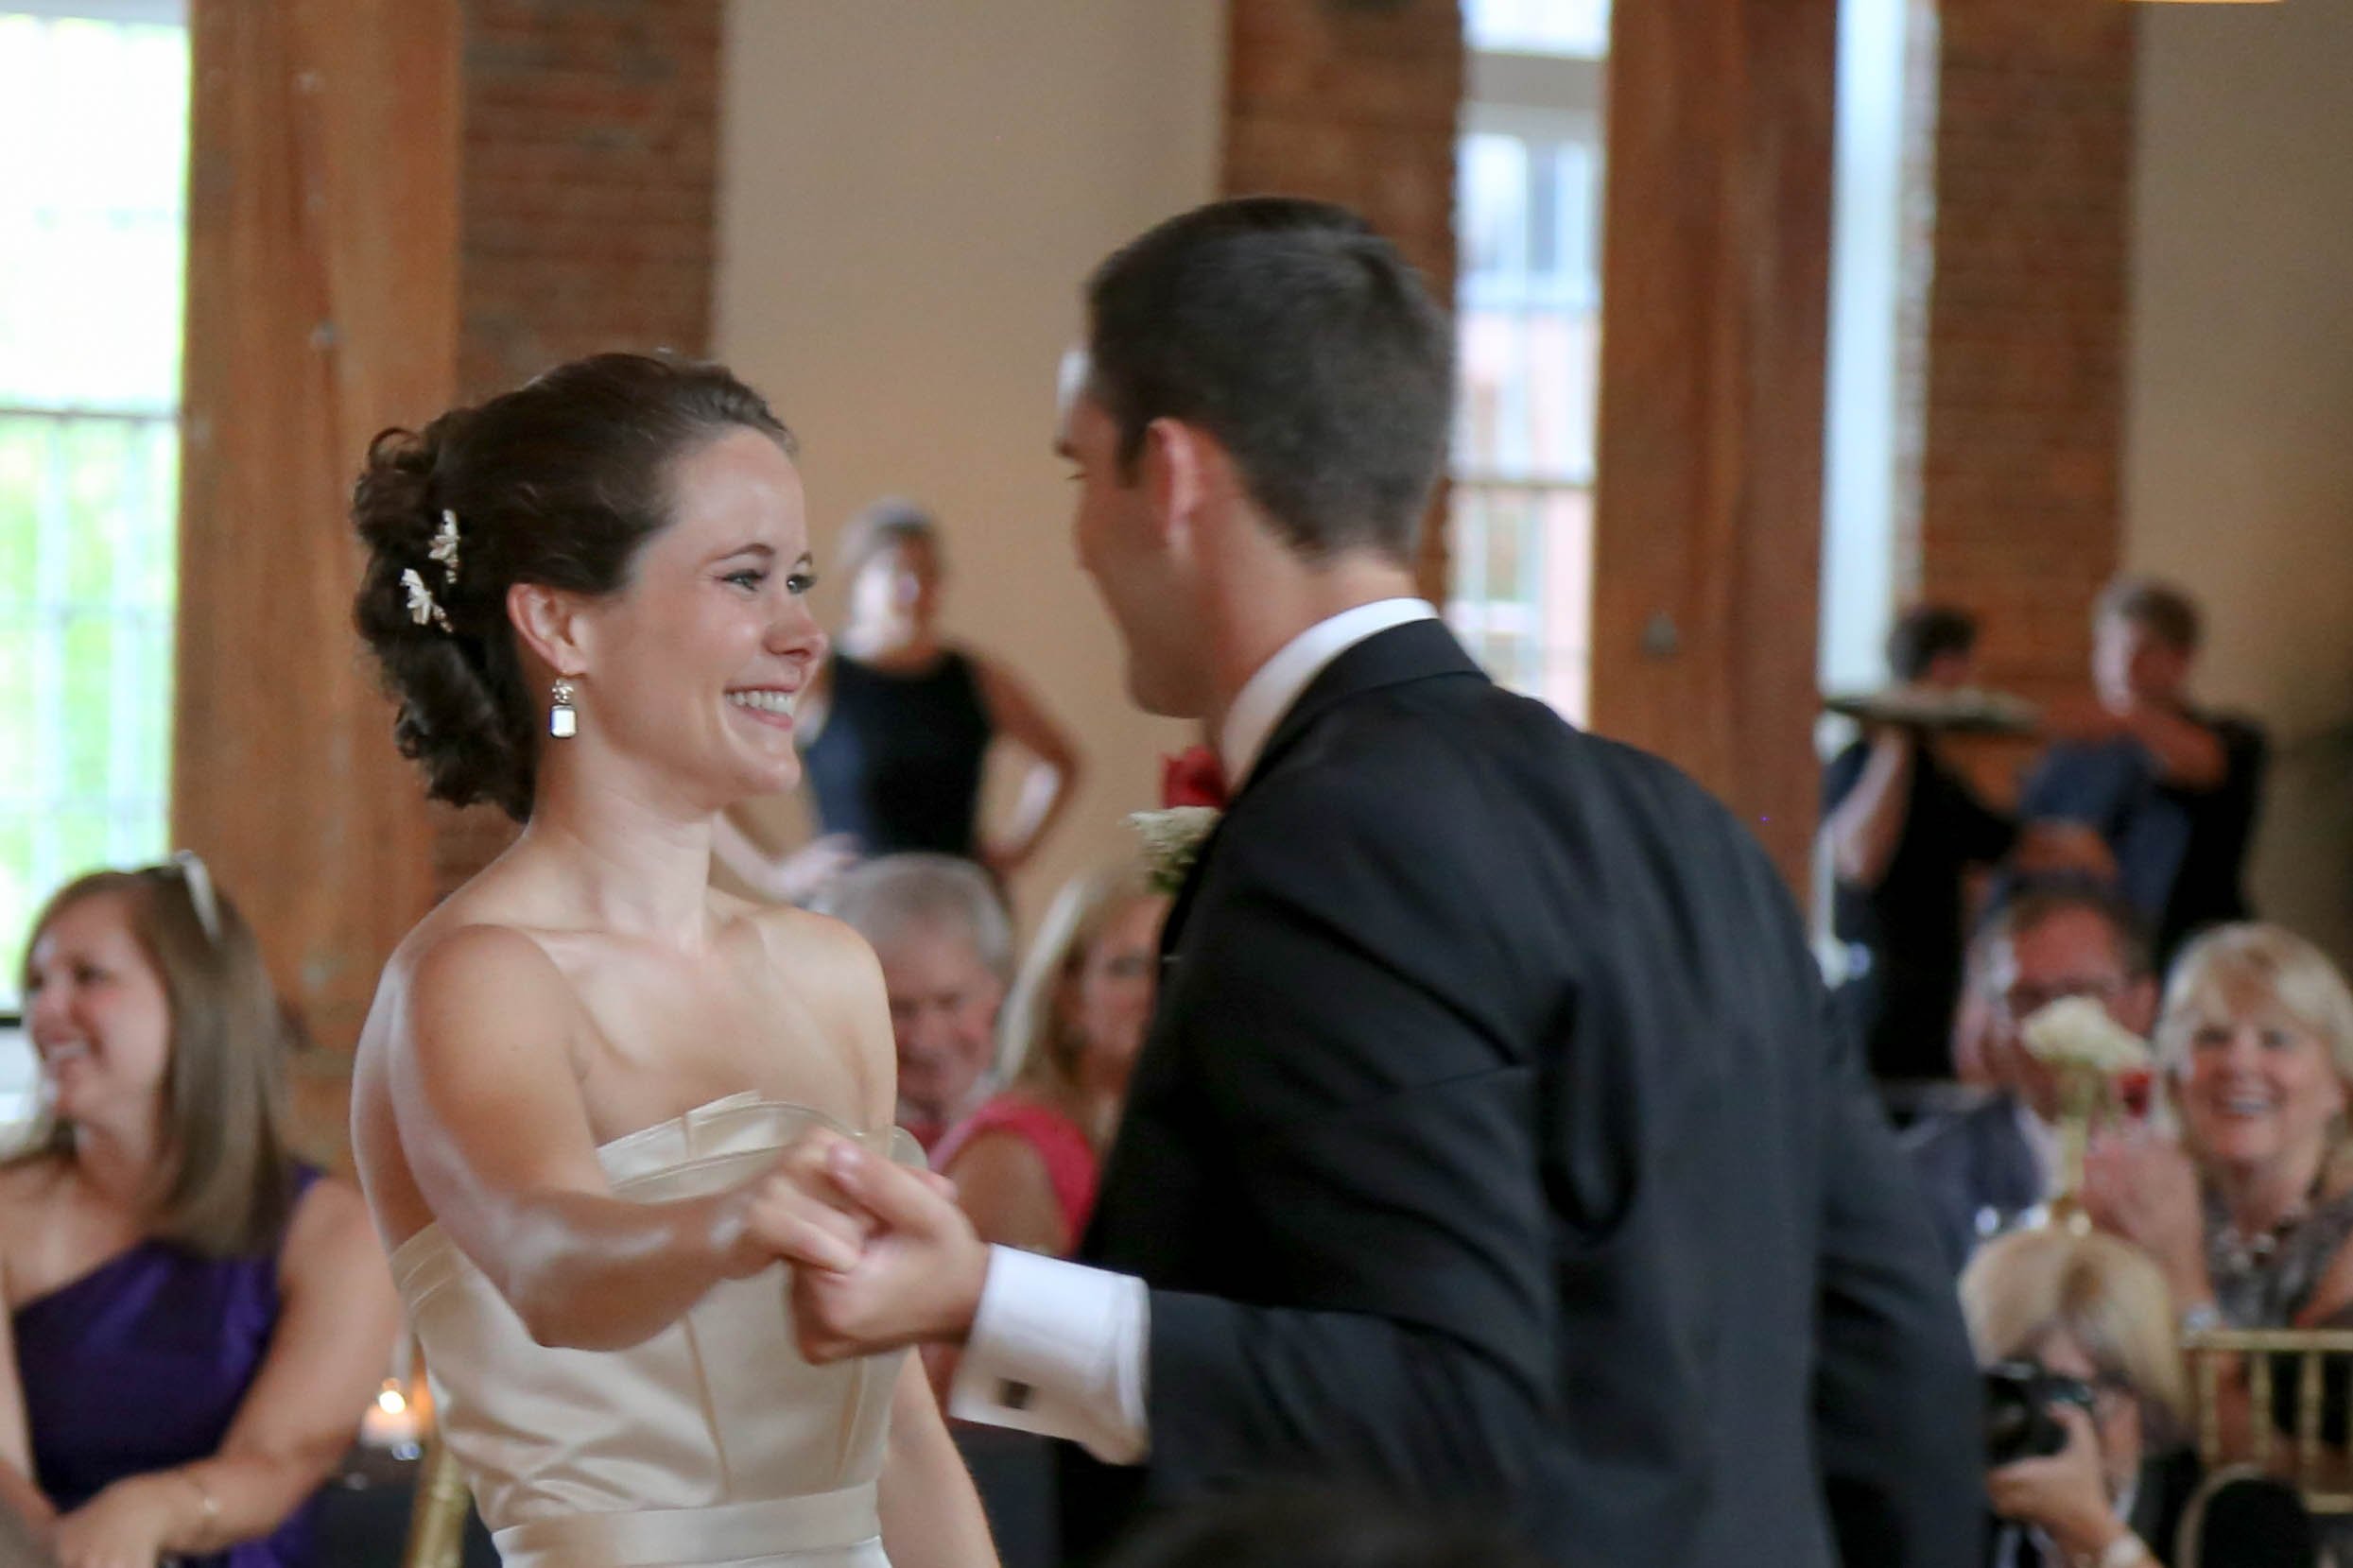
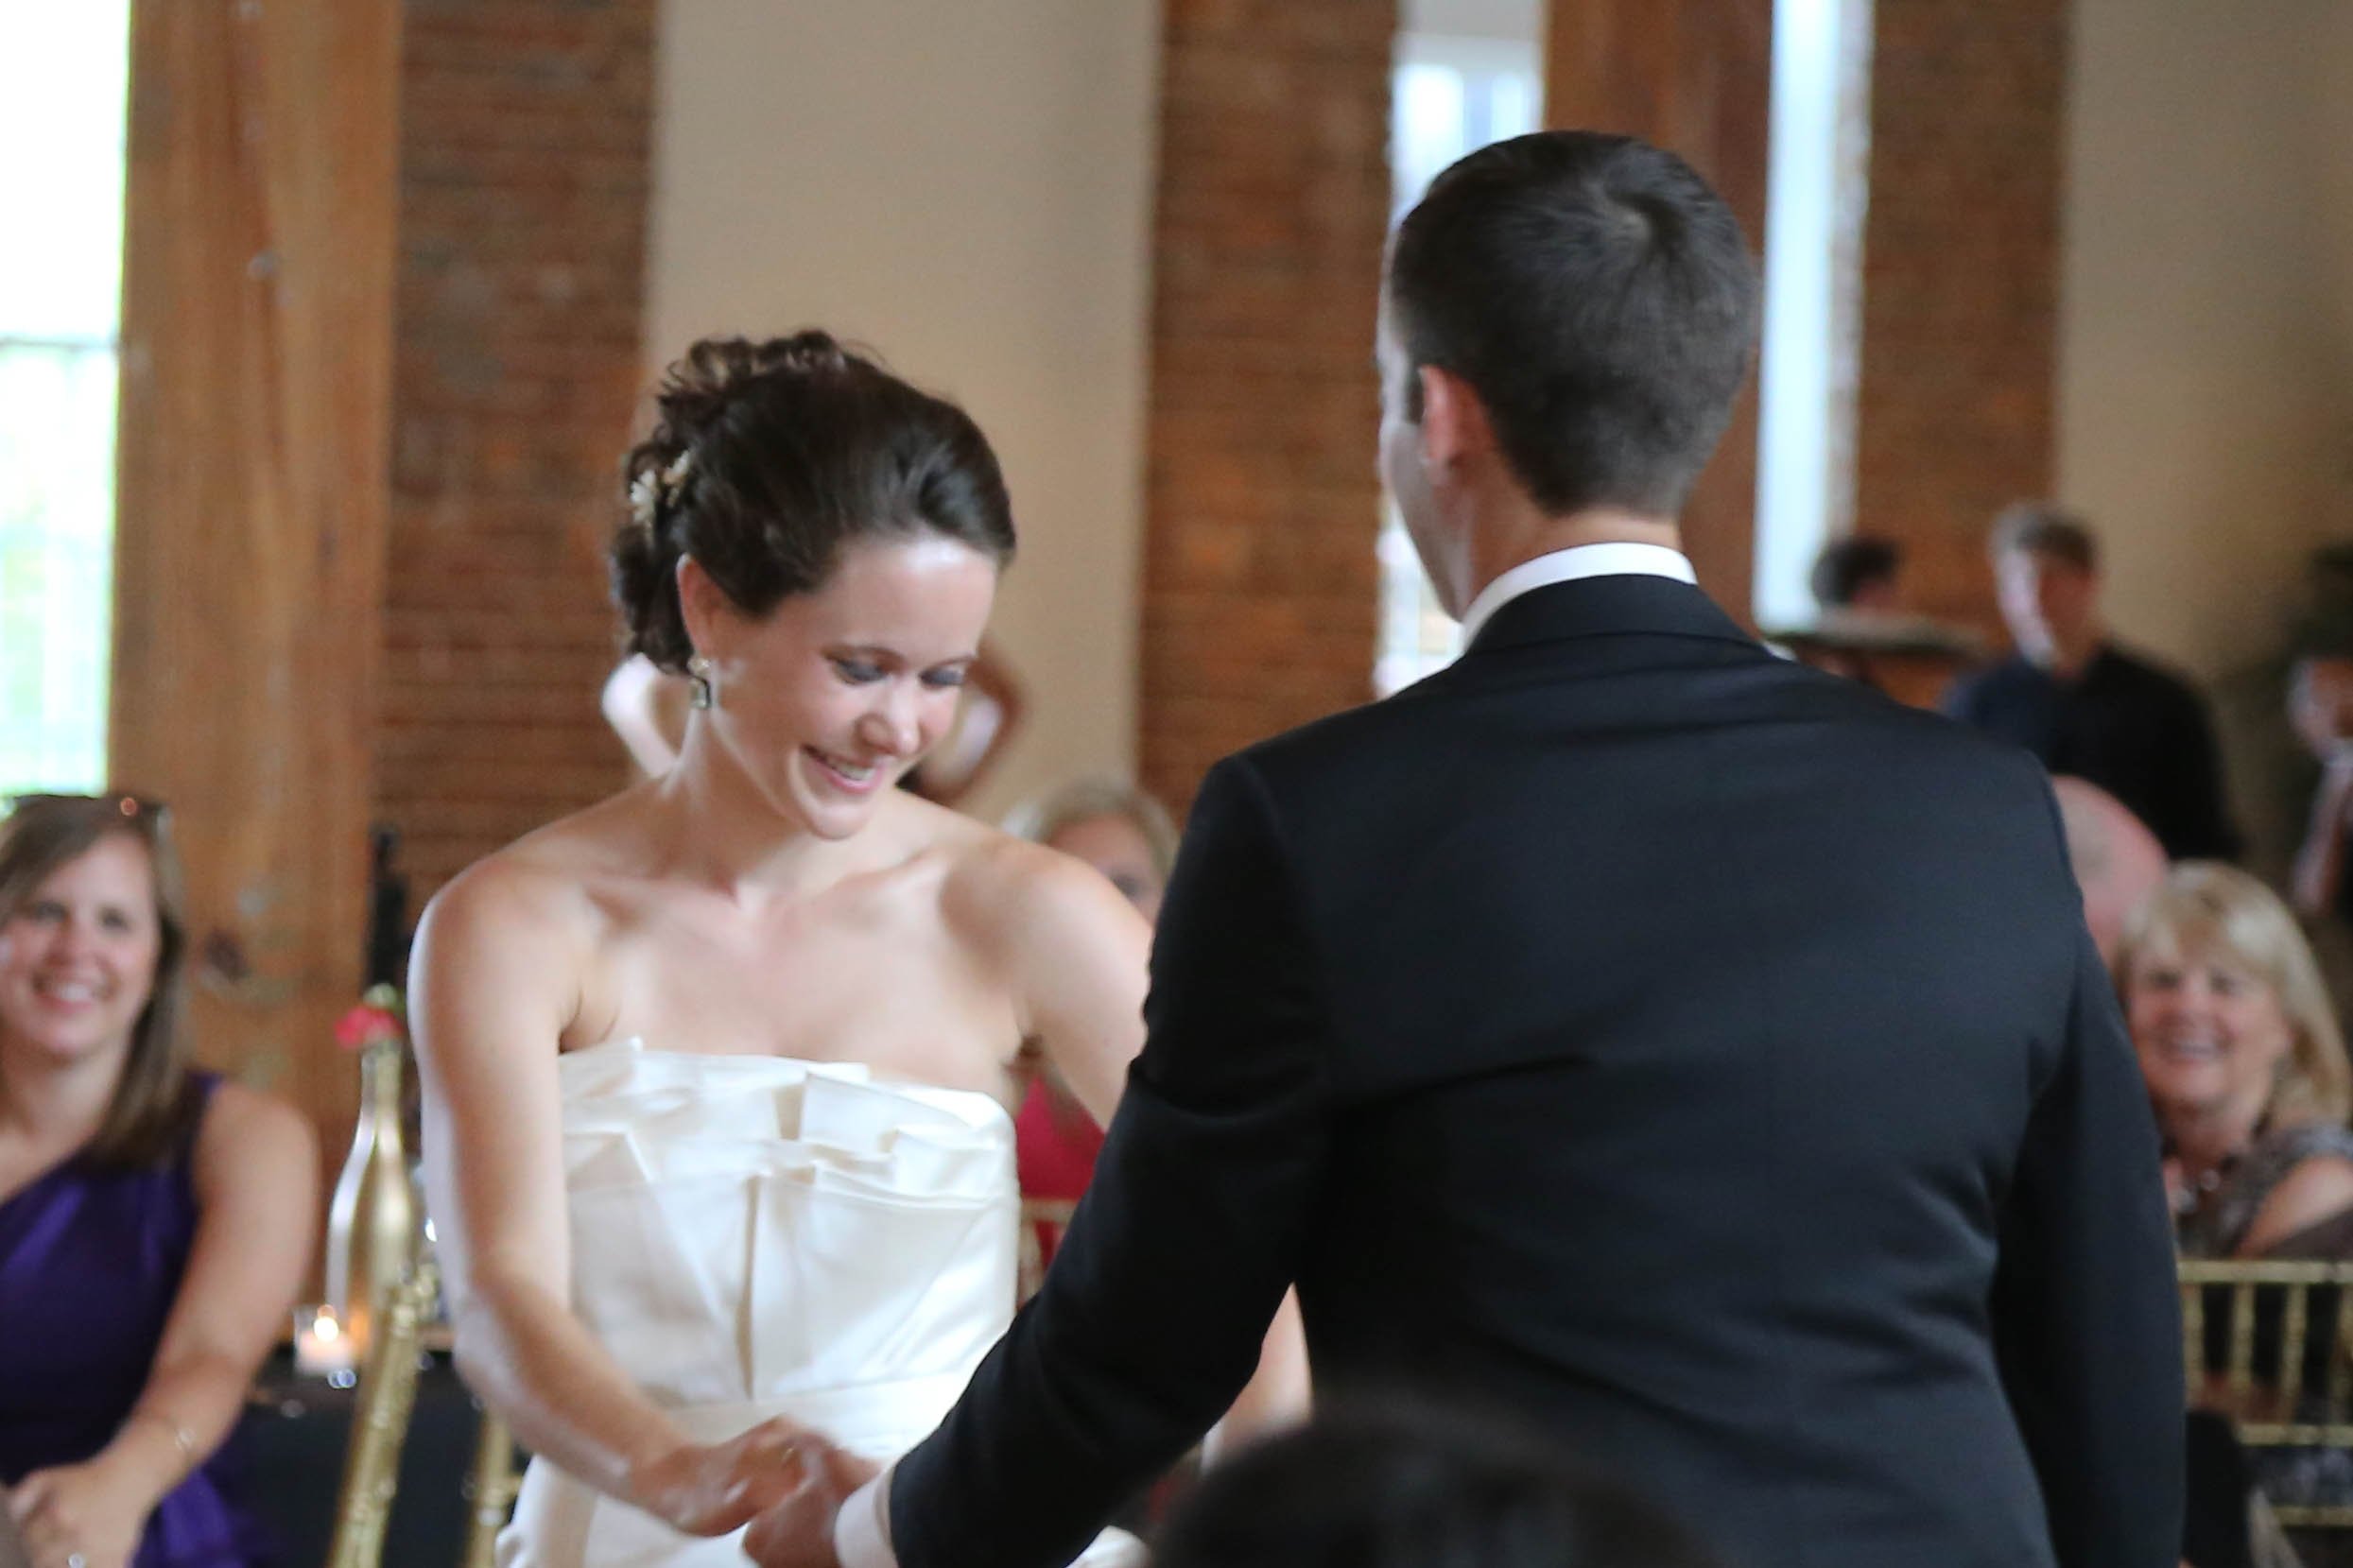
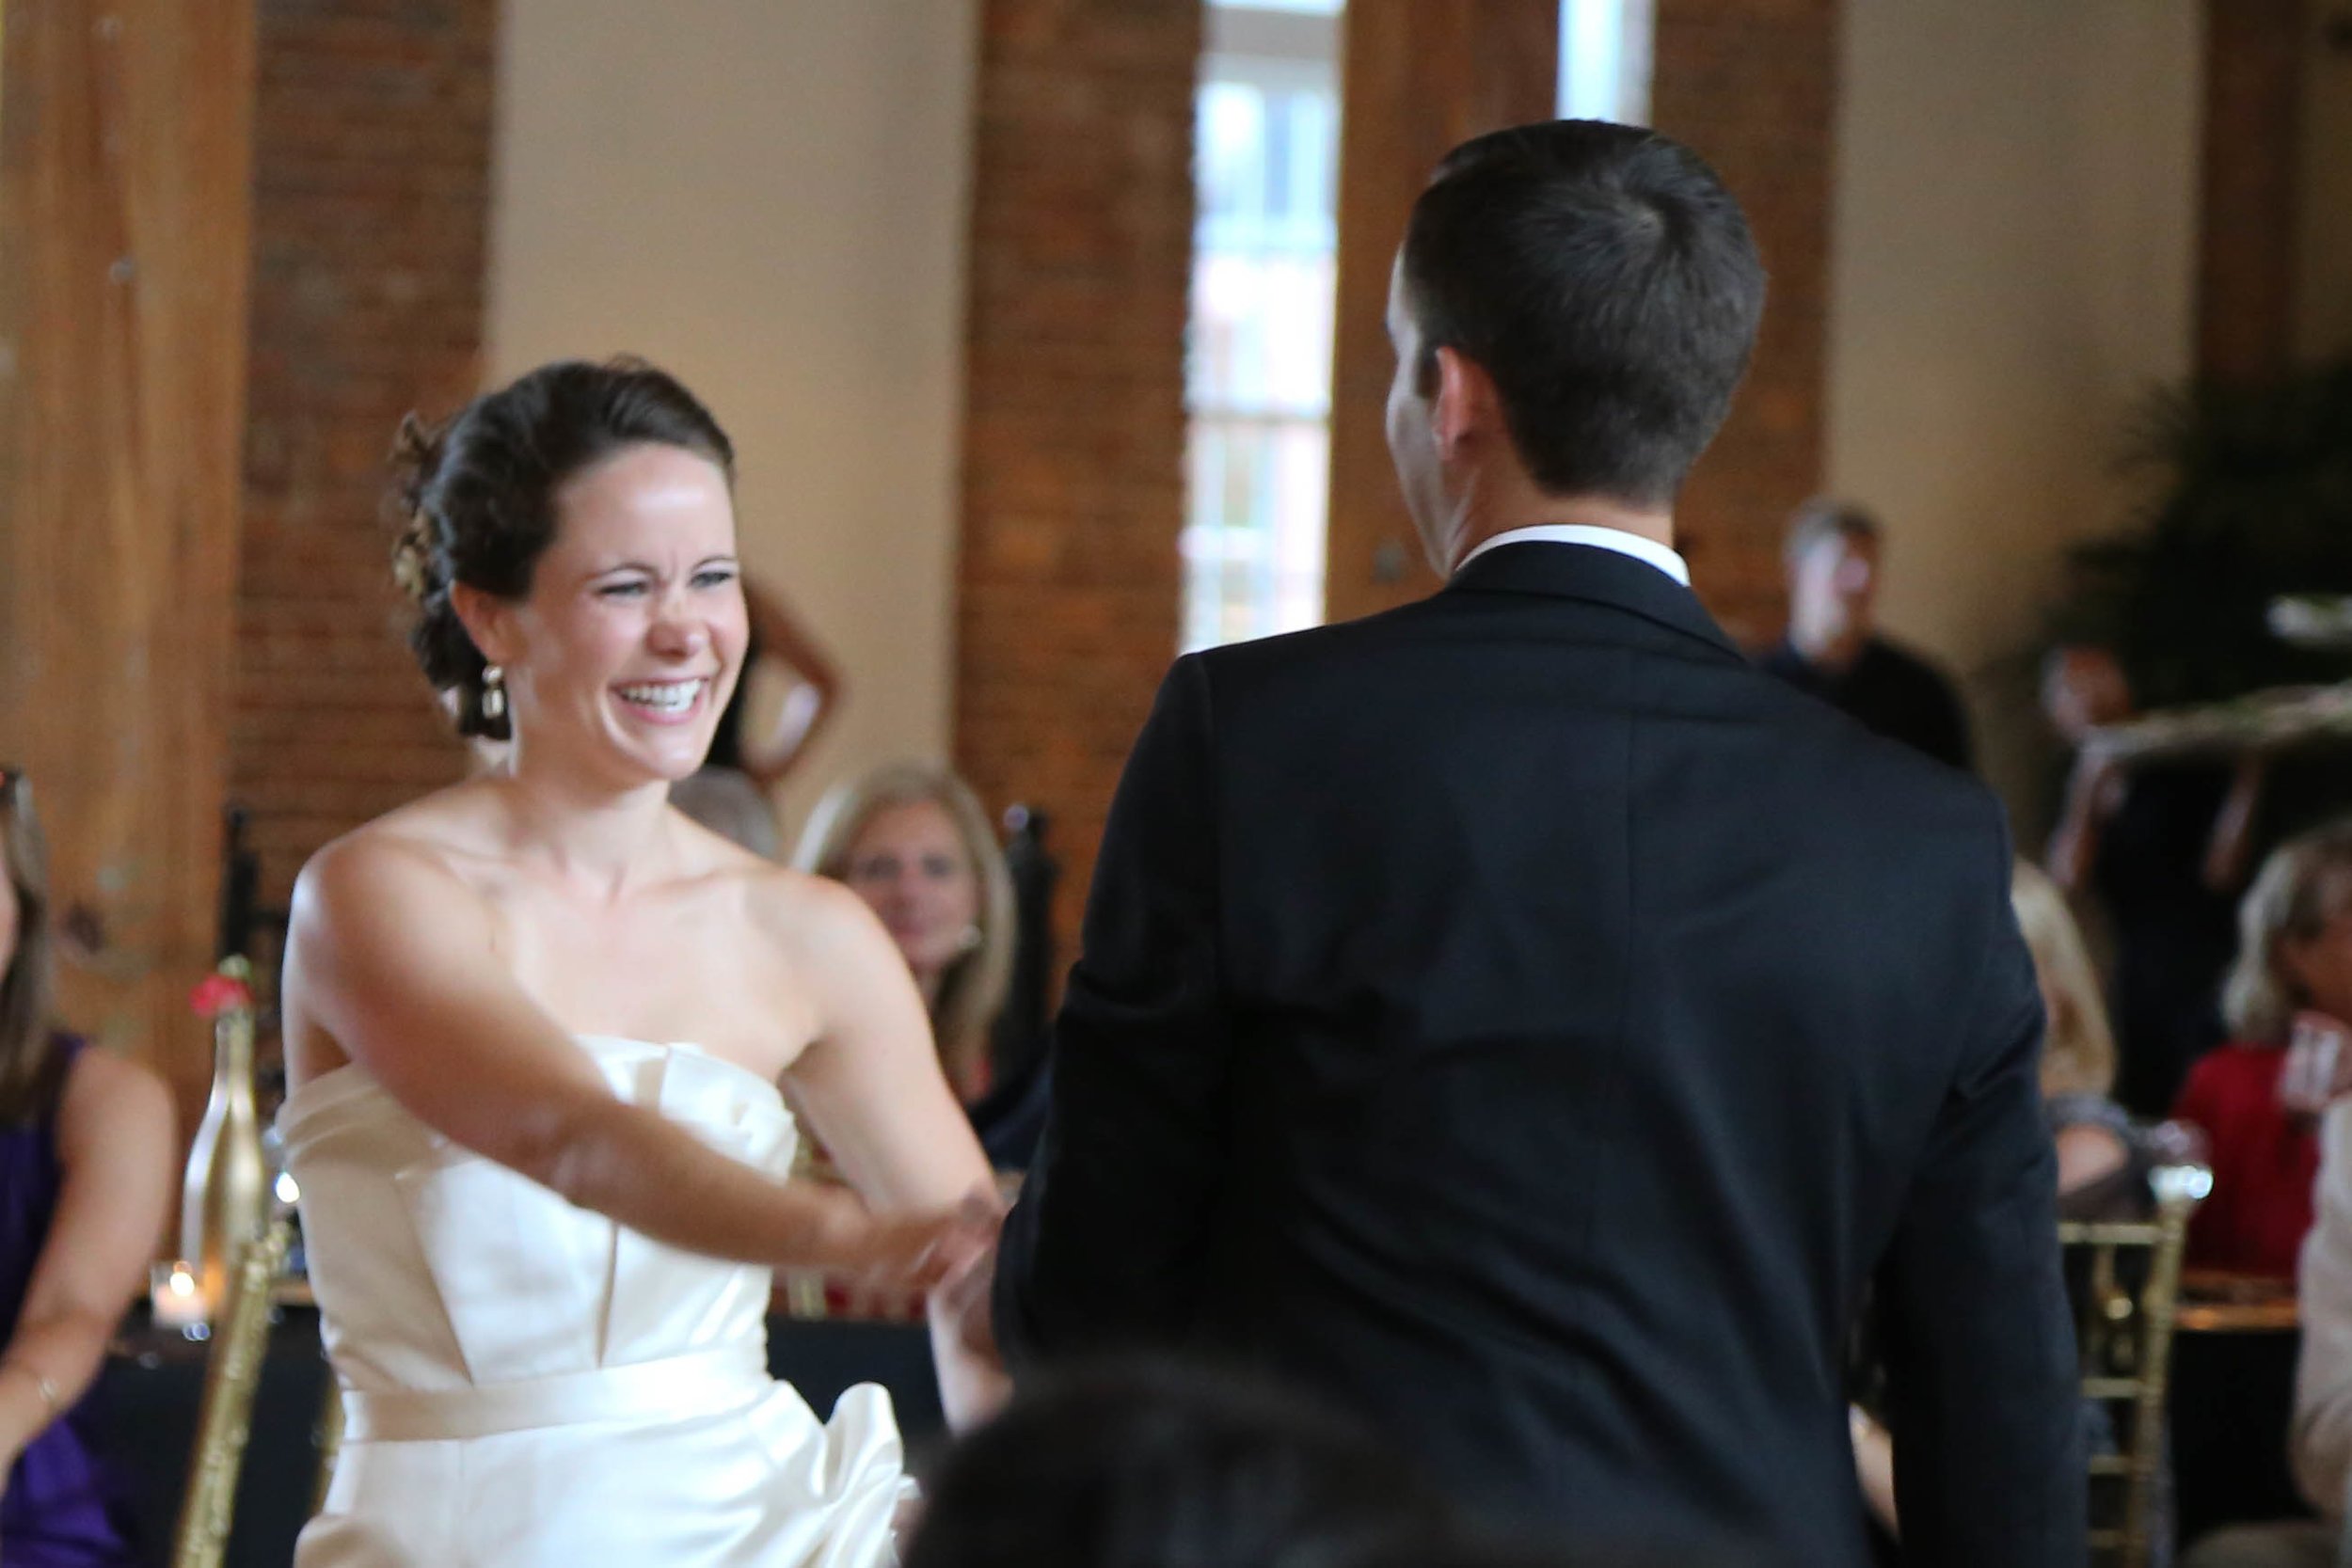
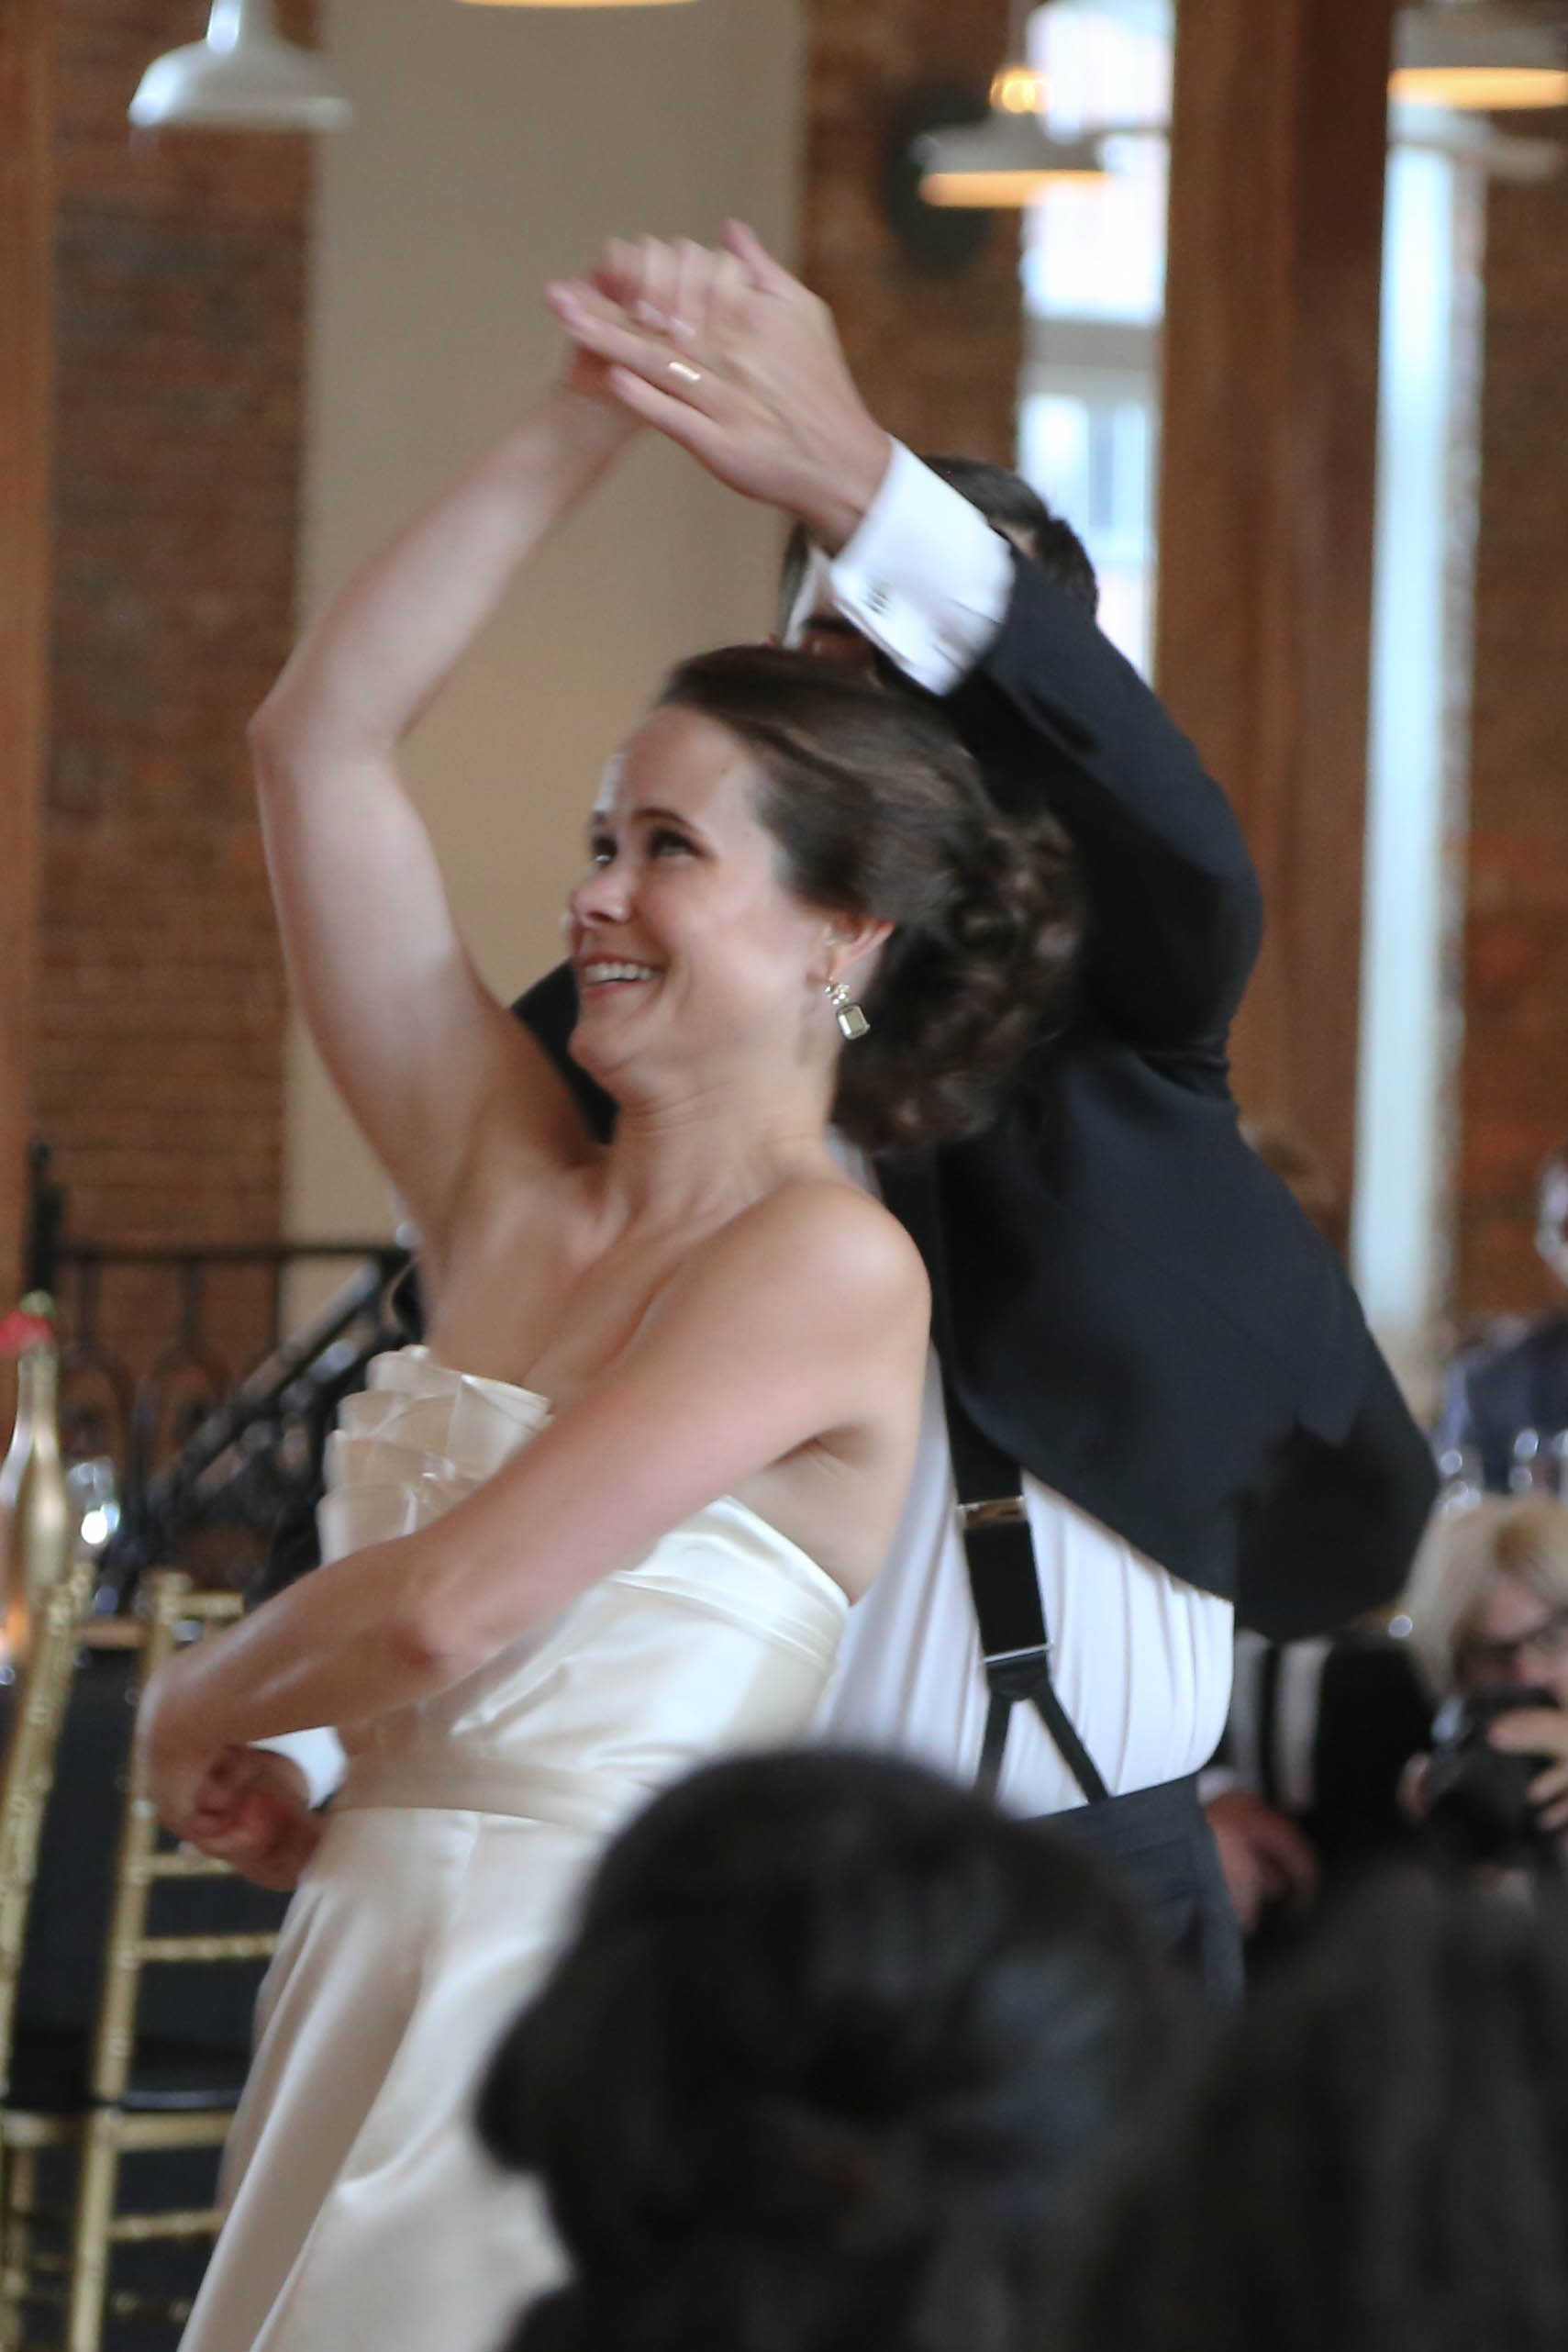
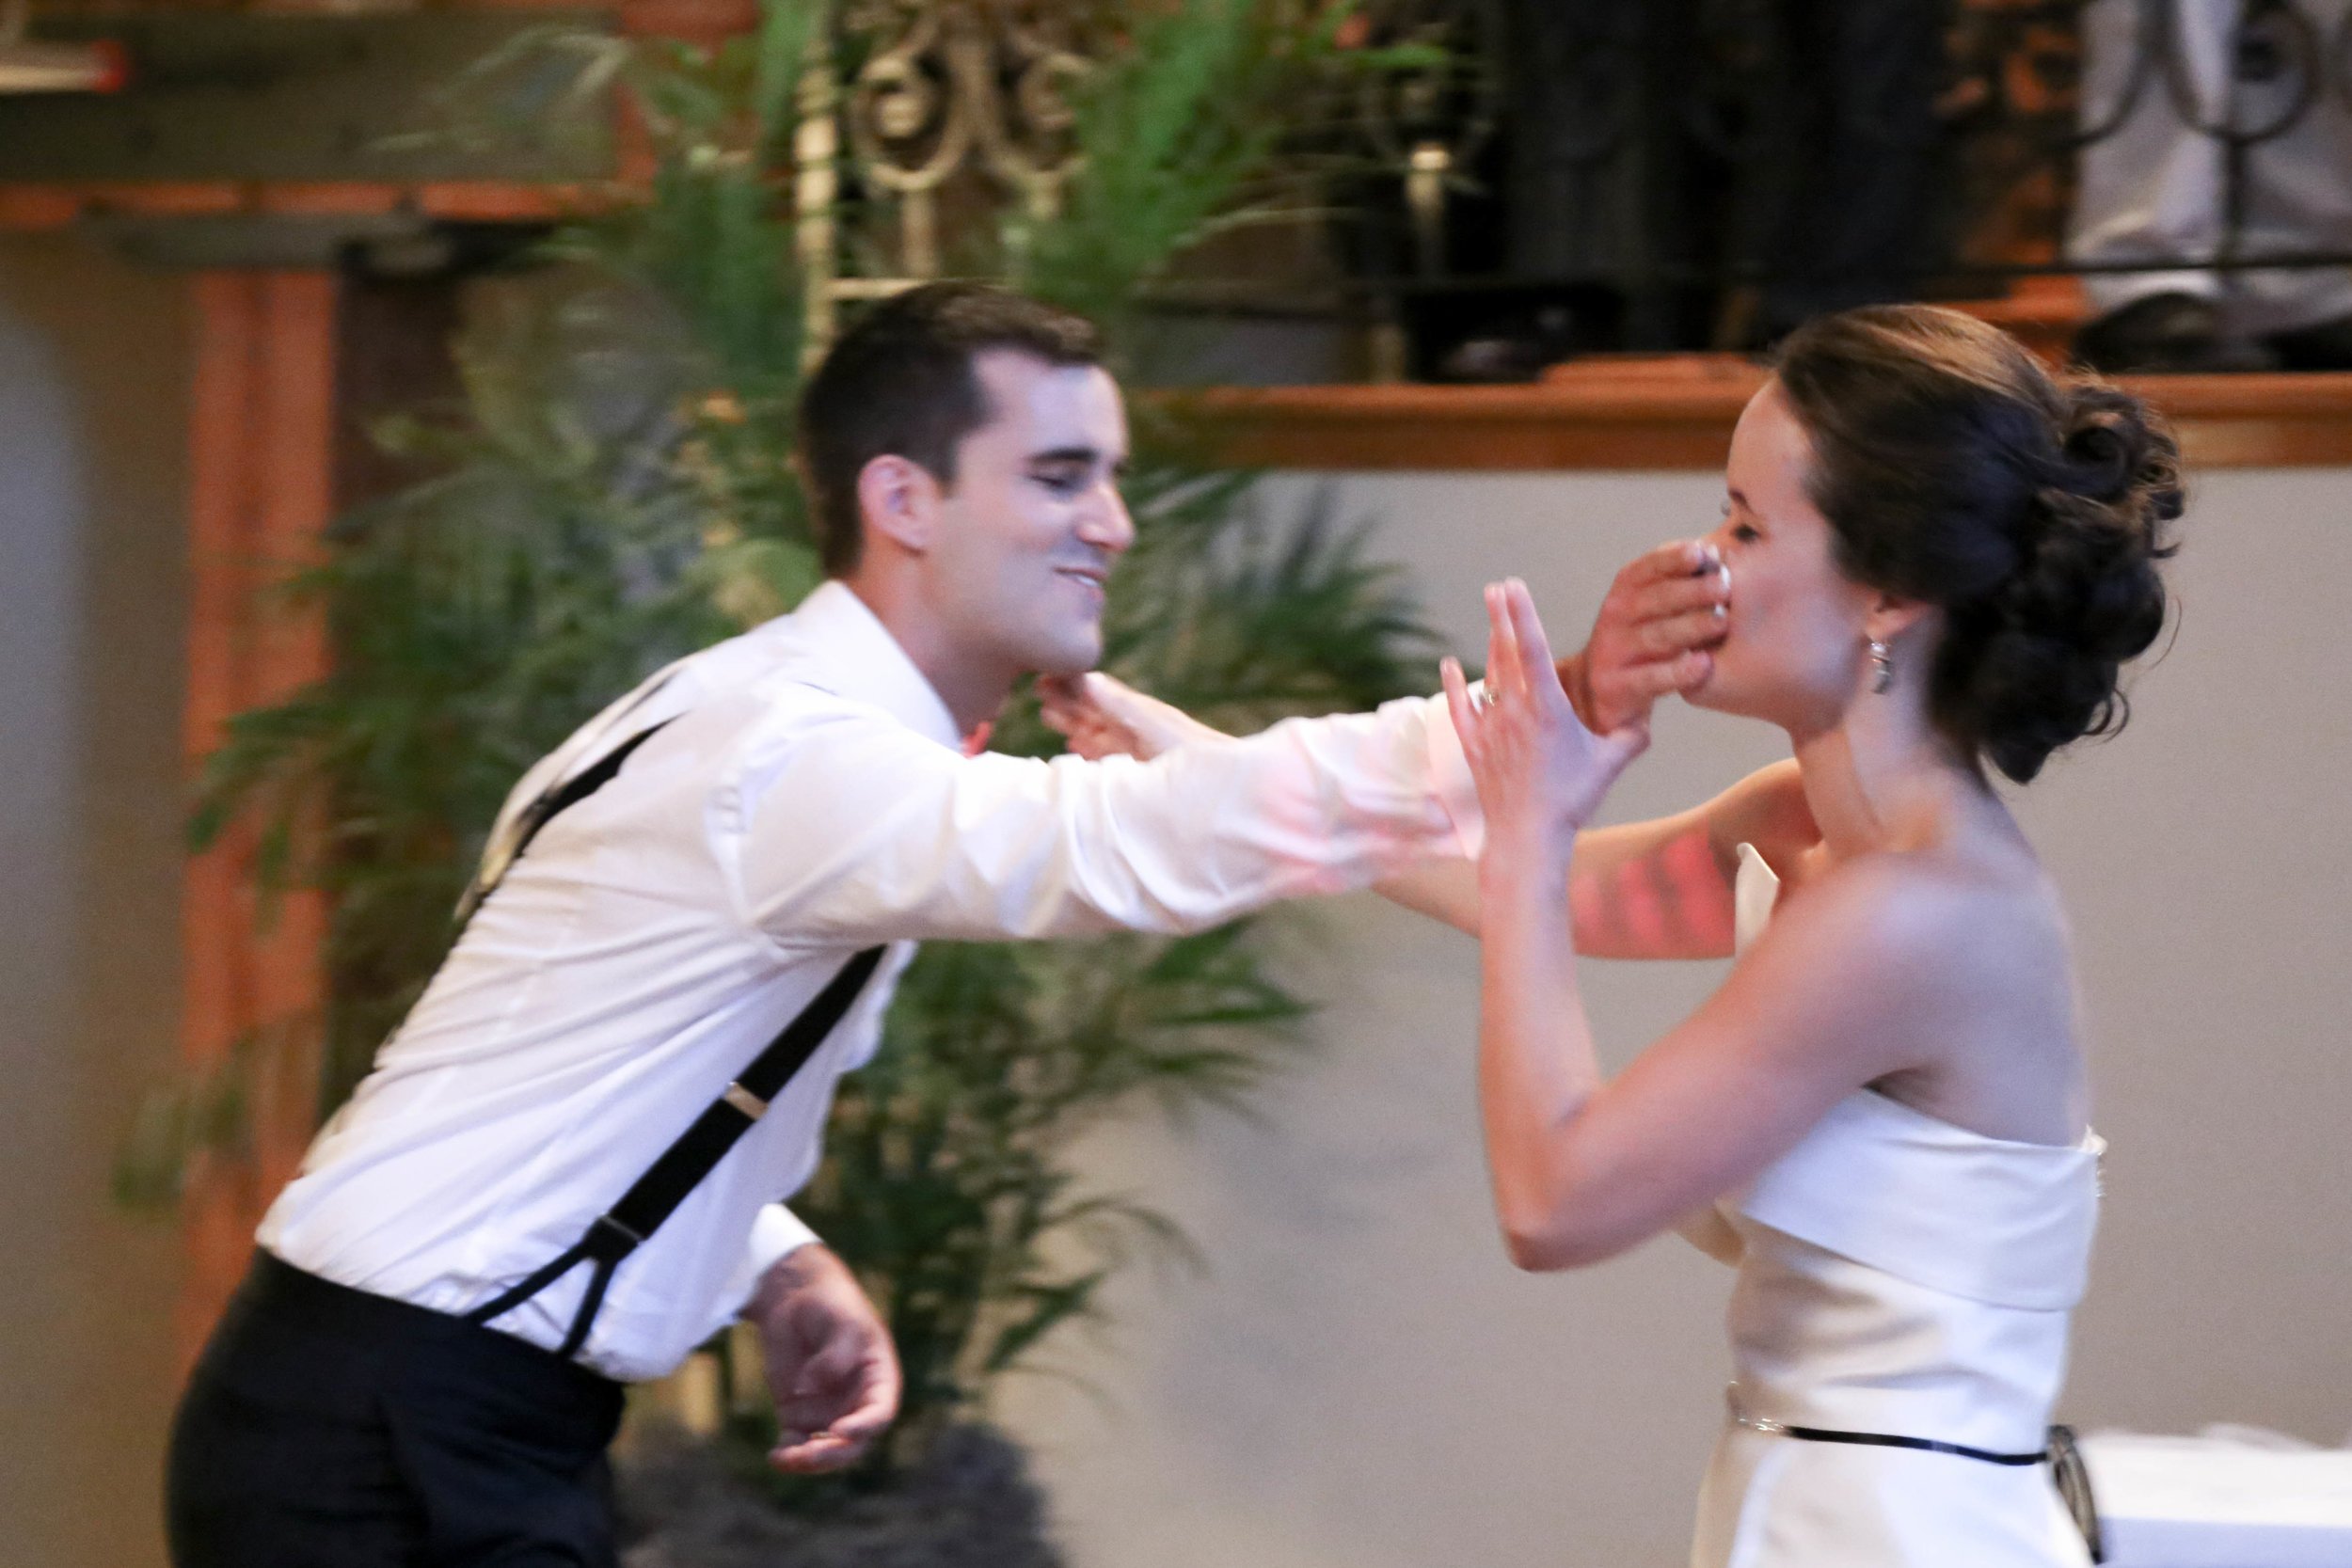
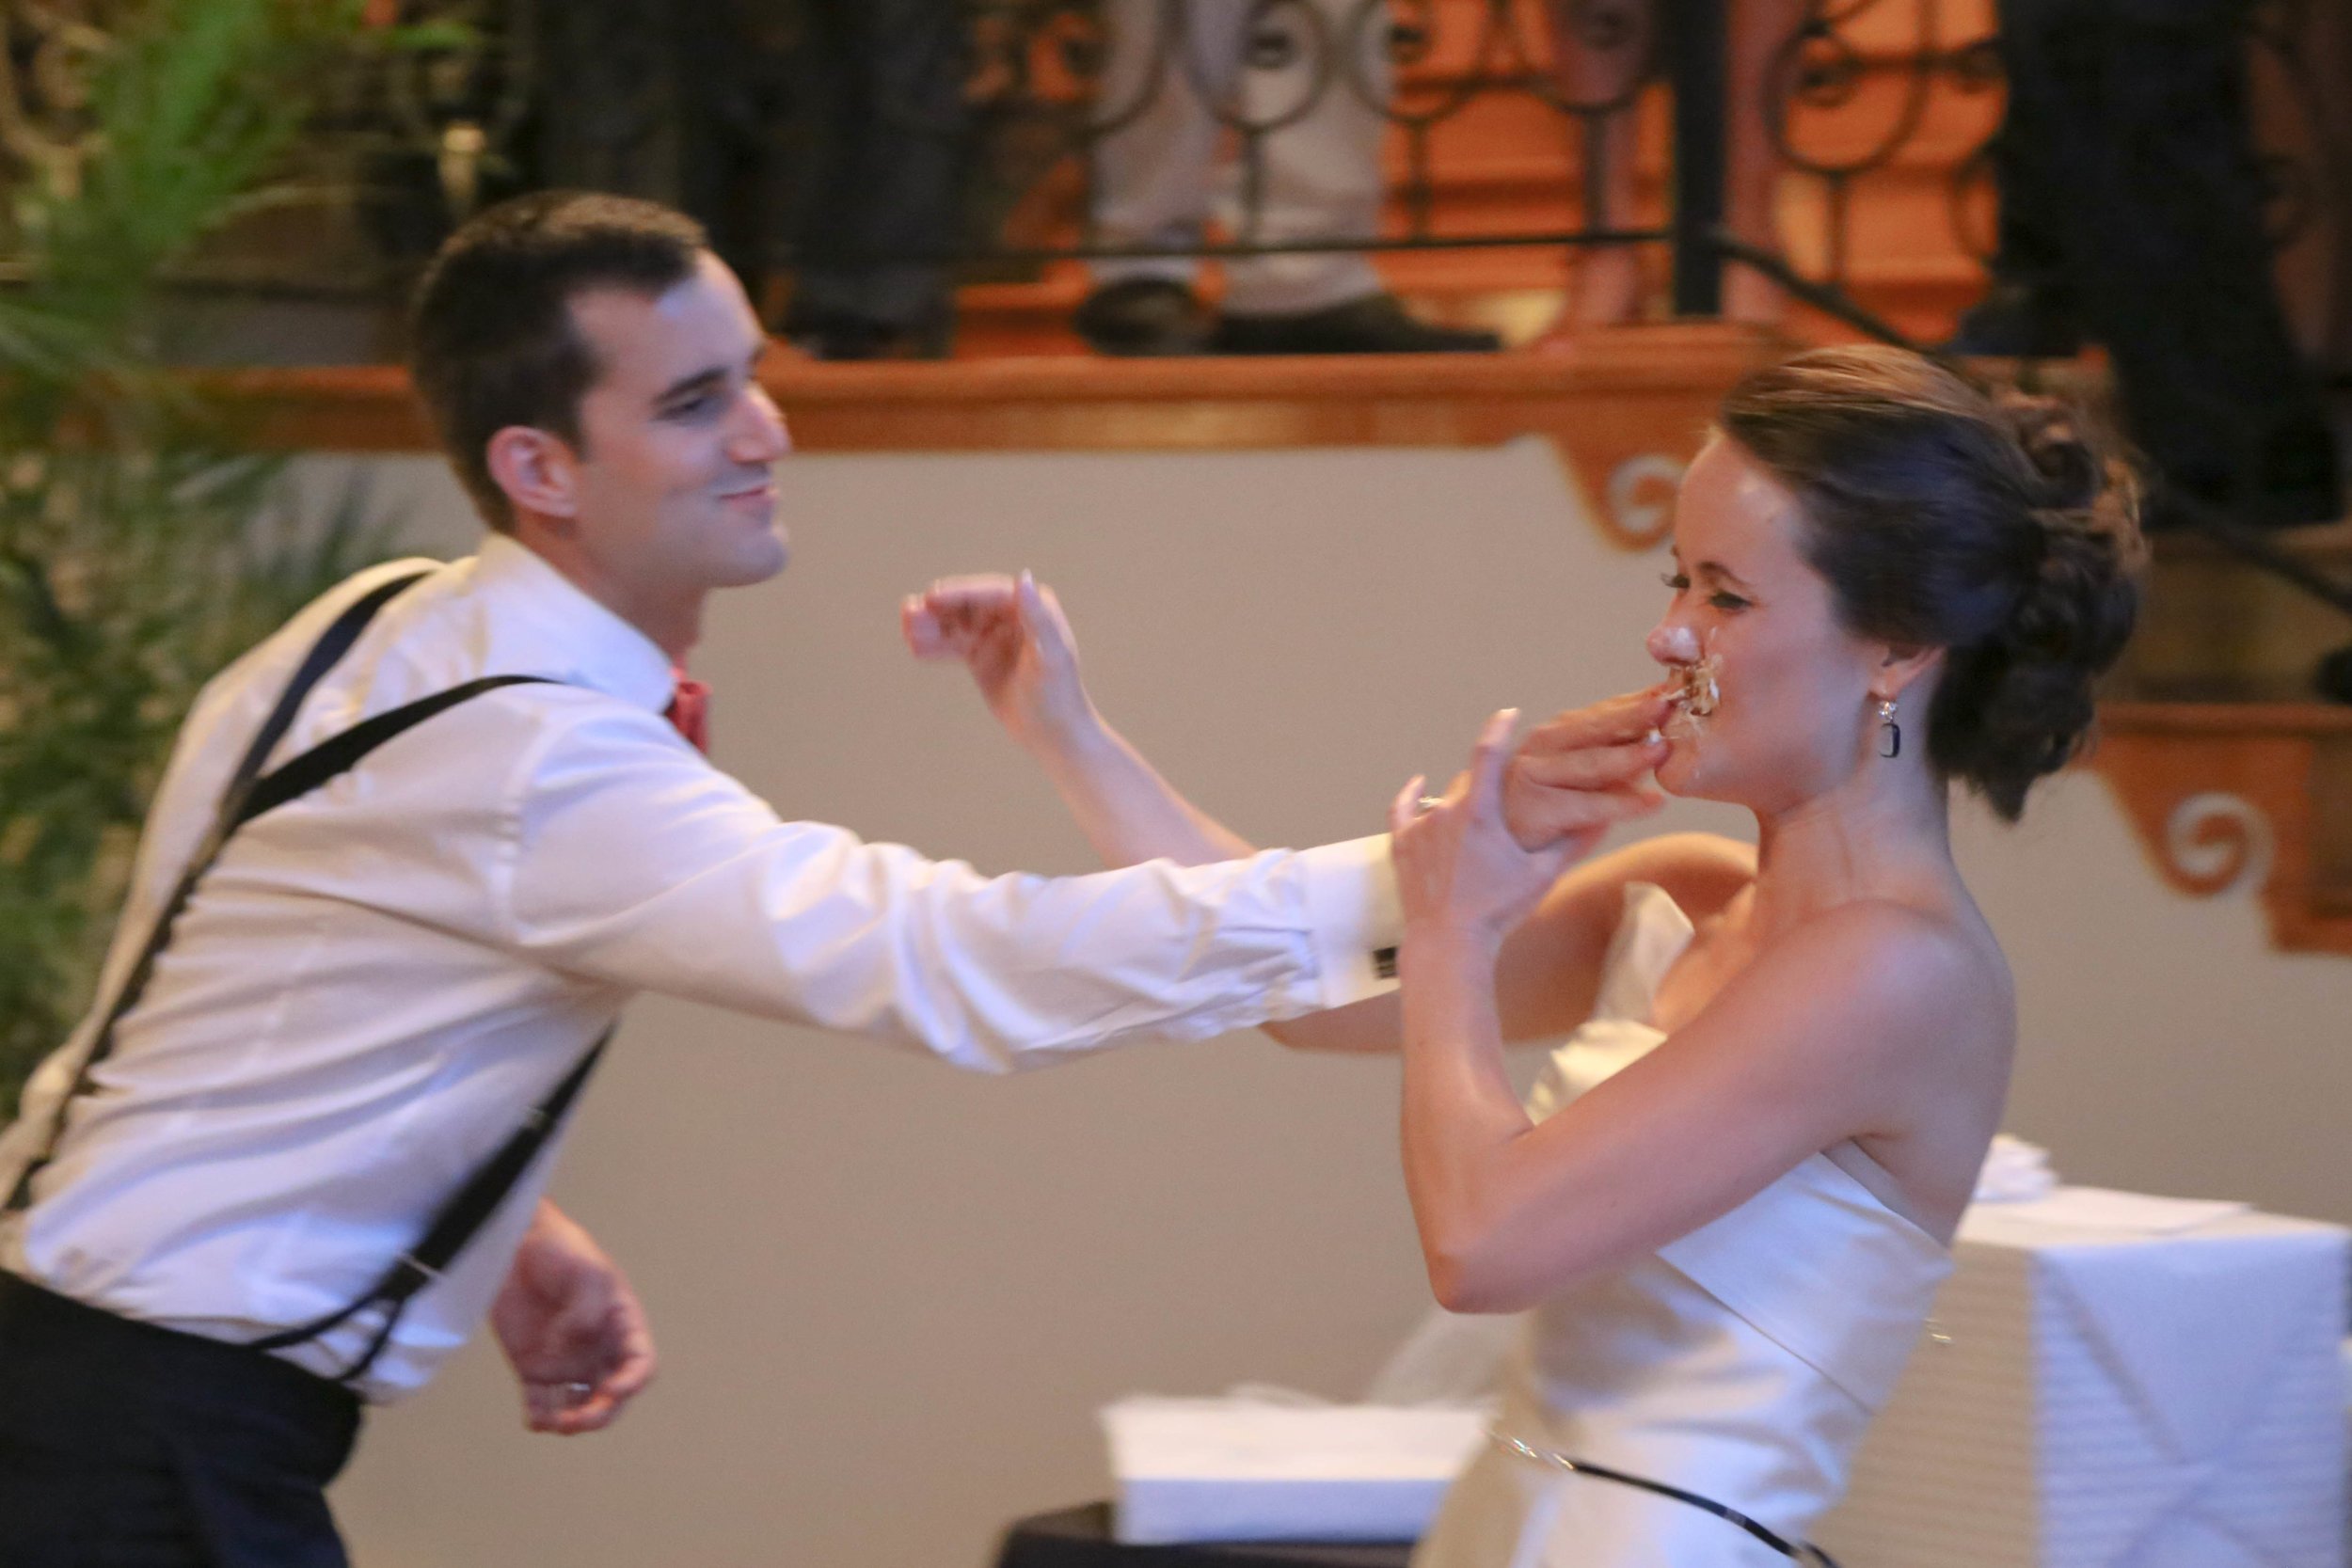
The wedding was perfection complete with one of the cutest ring bearers you could ask for, delicious food, one of the best first and second dances I've ever seen, and incredible, delectable, scrumptious CAKE! (there were three choices and I definitely tried all three...duh.)
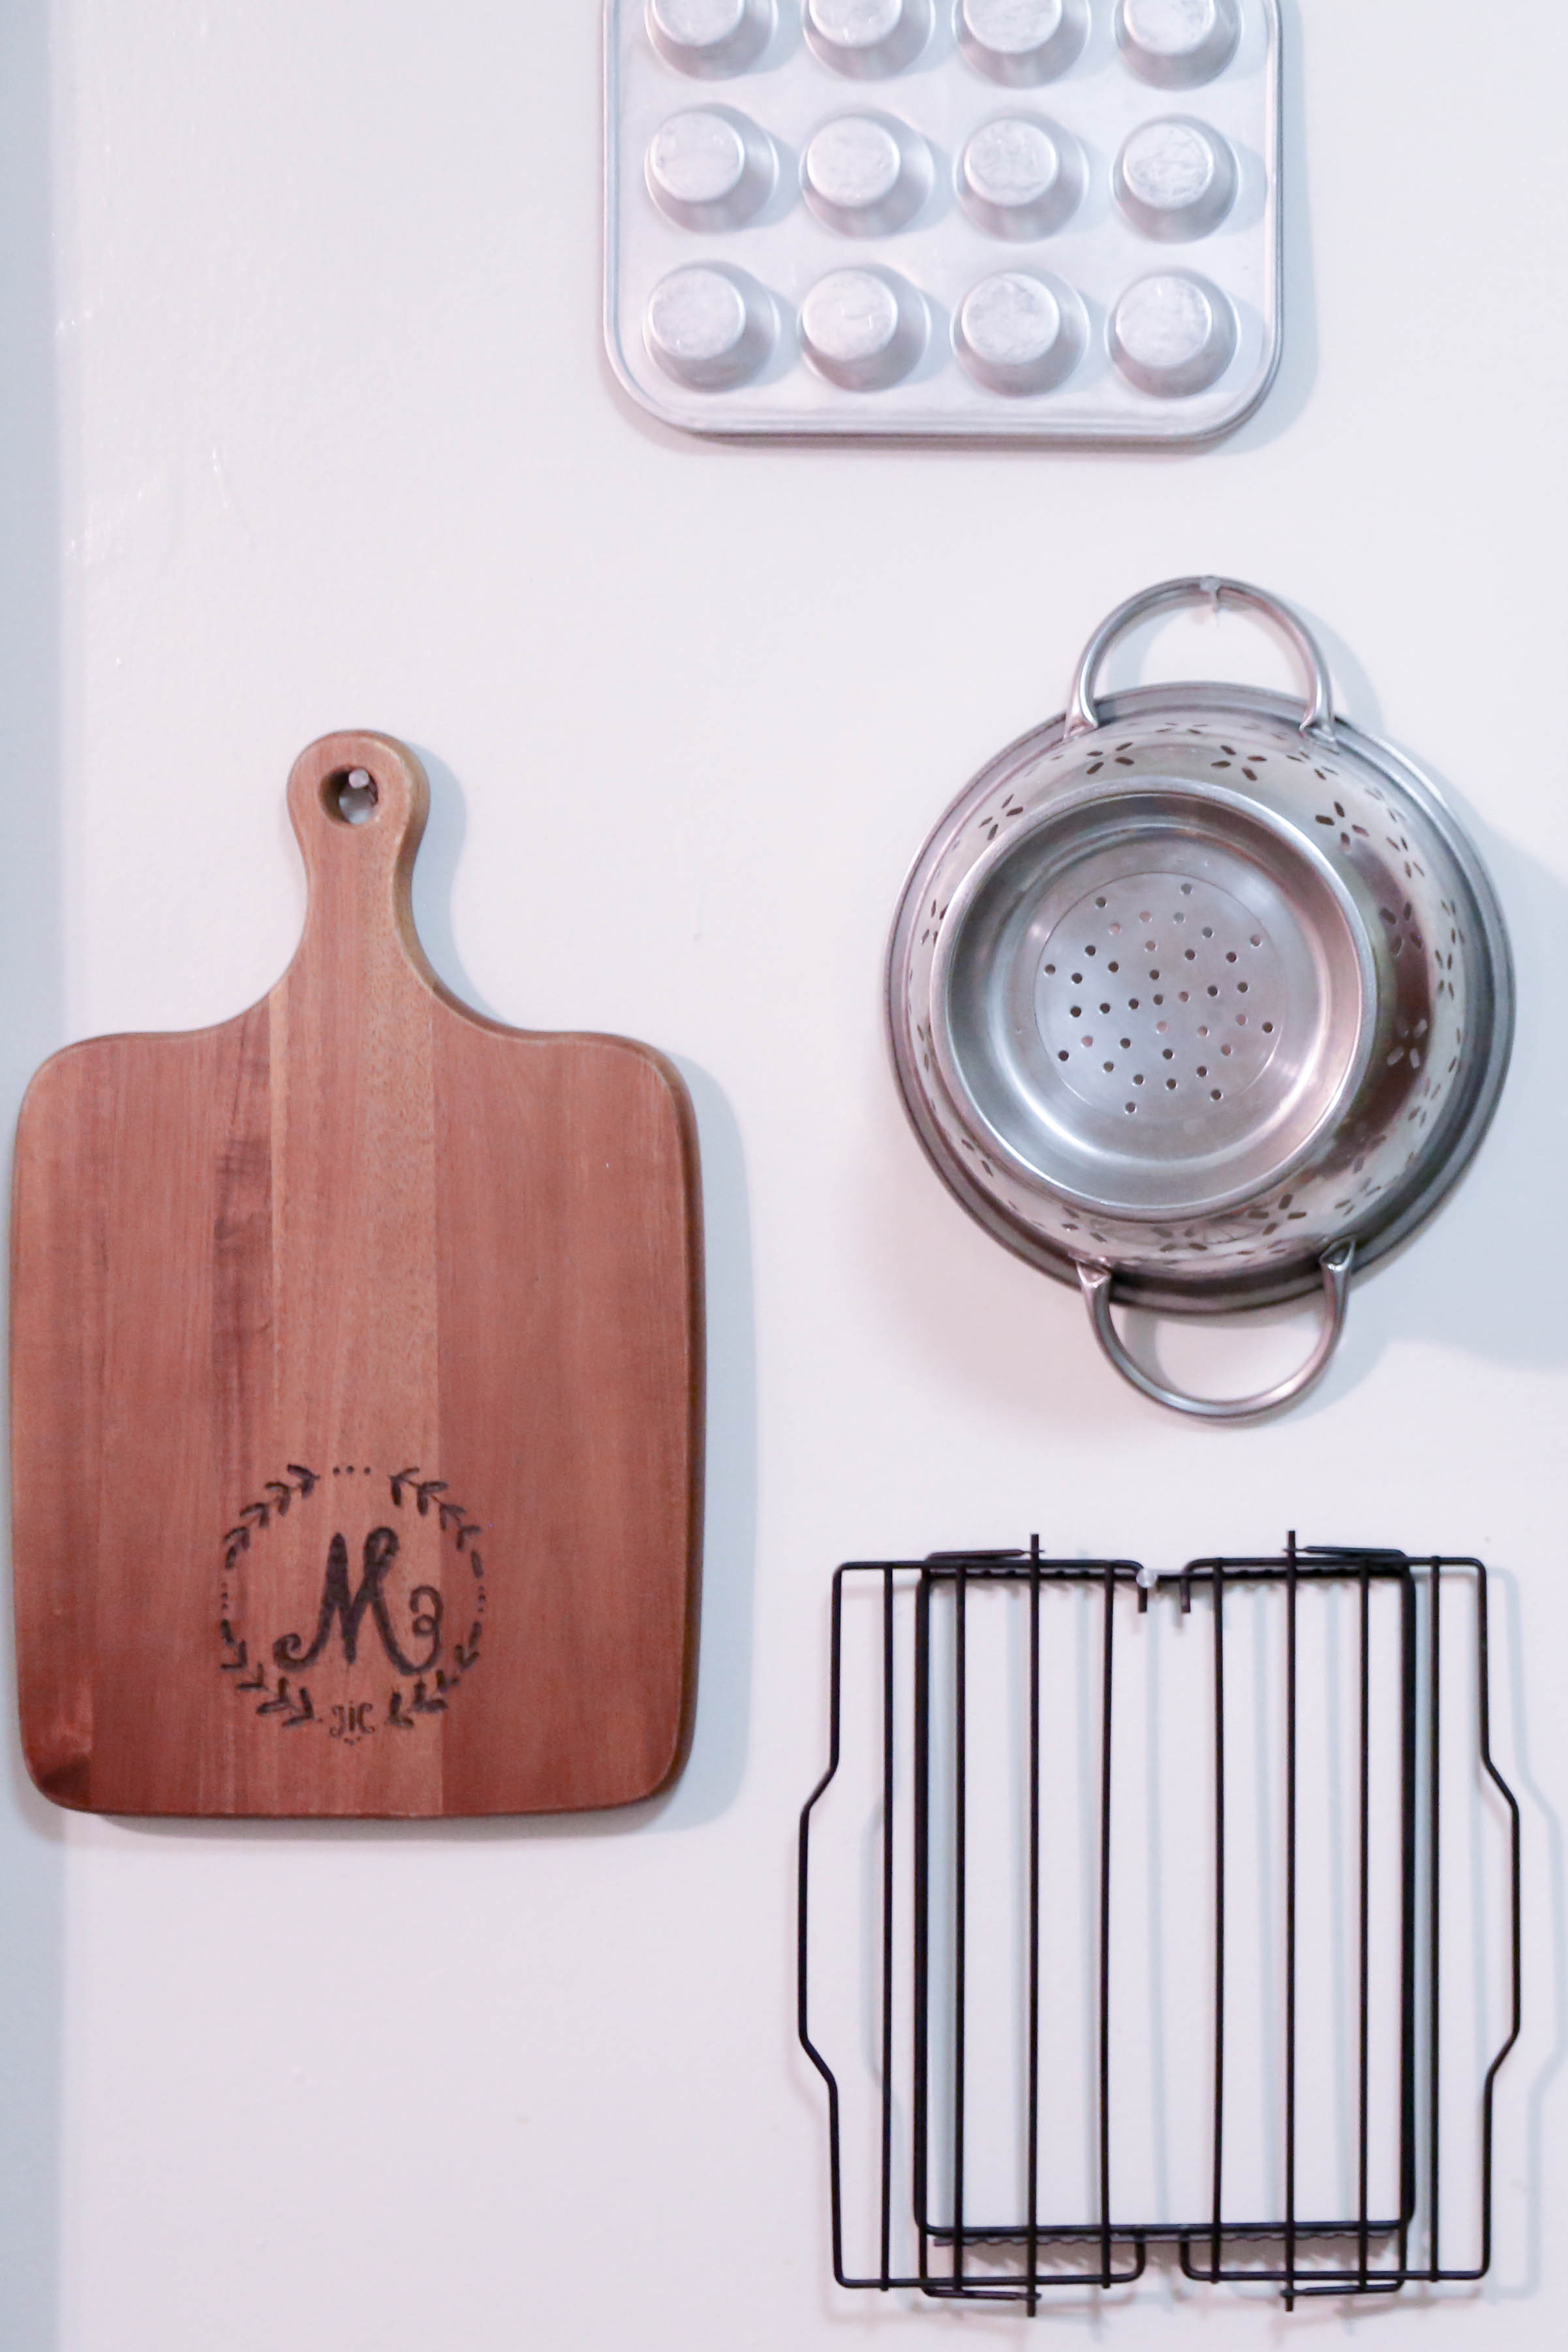
All in all the weekend was more than I could ask for, and I'll admit, it was hard to cross that border and head back to DC. So, to ease the Monday blues, I made dinner in my tiny little kitchen and used the newest addition to my Julia Child wall (I've outgrown all my kitchen storage so I've resorted to throwing up a nail and hanging anything and everything, just like Julia). What is my newest addition you ask? My freshly burned, DIY cutting board! It's so adorable and so doable you have to make one for yourself (don't worry I'm going to show you how)!

What you'll need:
- Cutting Board
- Wood Burner
- Cookie Sheet
- Transfer Paper
- Cute Design (printed out)
- Tape
- A Pencil
- PATIENCE.
Step One: Go to TJ Maxx/Home Goods and pick out a cutting board (or two) - try to pick ones with consistent grain/hardly any grain
Step Two: Go to Michael's/Hobby Lobby and pick up a wood burner and transfer paper - get a wood burner with a couple of tips if you can find one, if not get one with a basic round end
Step Three: Go online, find a cute design/monogram/whatever you want to burn and print it out
Step Four: Gather all your stuff, attach the round tip, turn on the wood burner and lay it on a cookie sheet - watch out it gets SUPER hot!

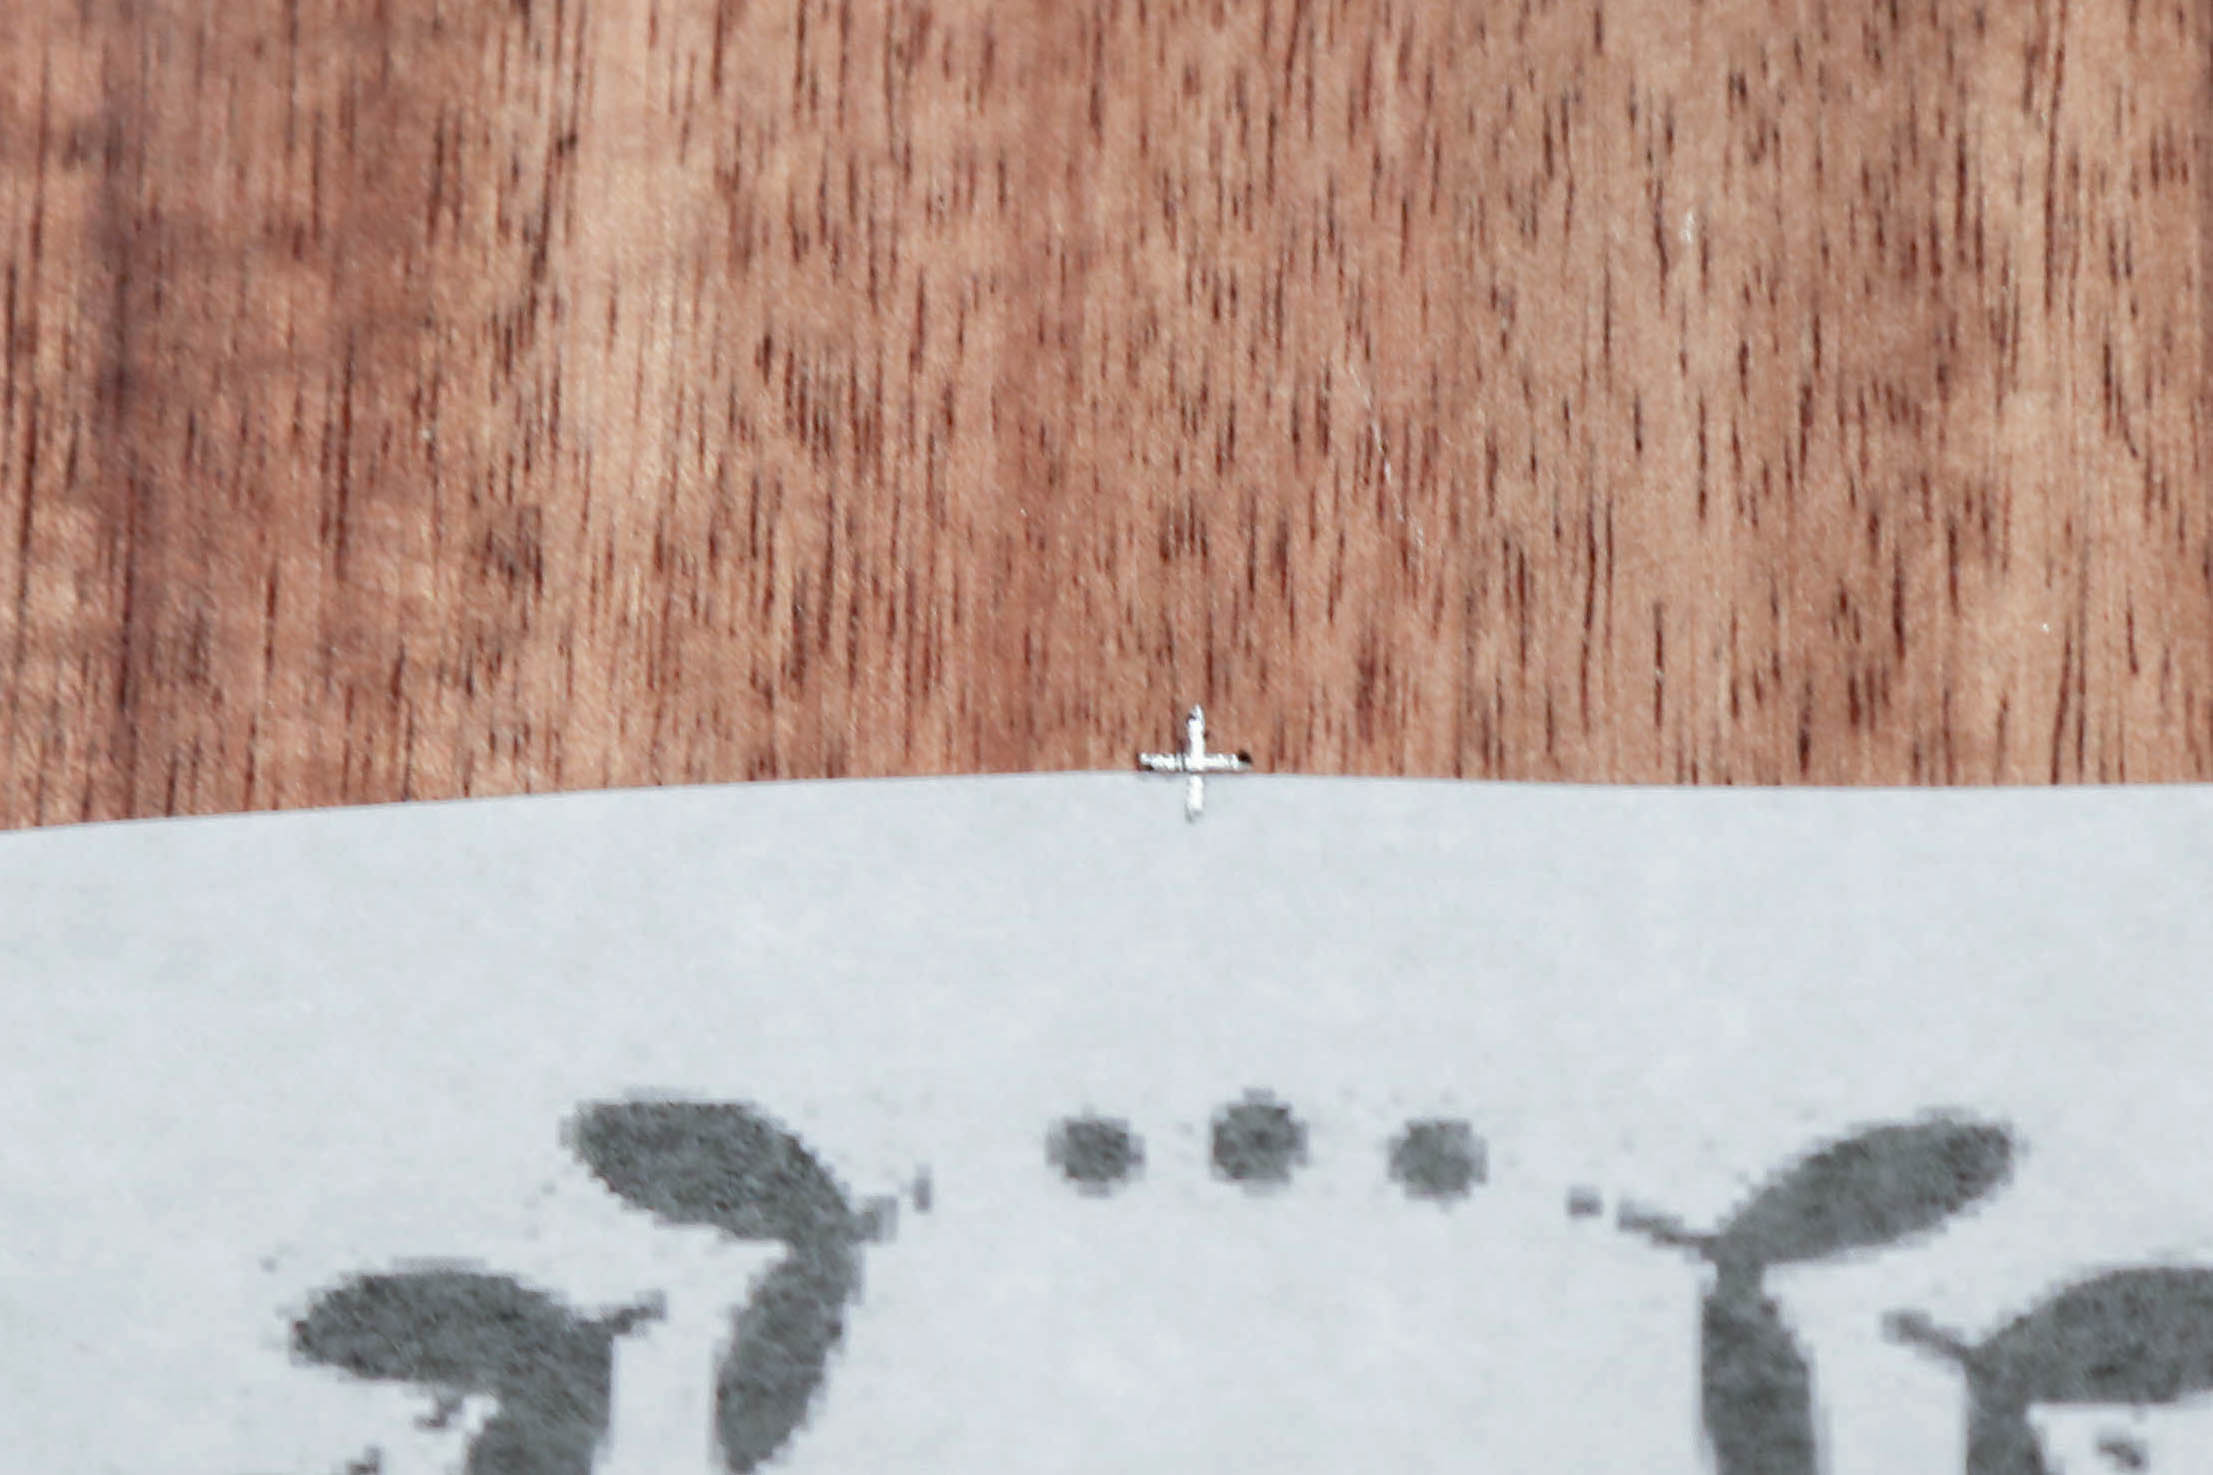
Step Five: Figure out where you want your design and mark the paper and the cutting board so you can line them up again in just a minute (shown below... see the little cross on the right hand picture, make the line going left to right just above the top of the paper and make the one up and down go from the paper to the cutting board)

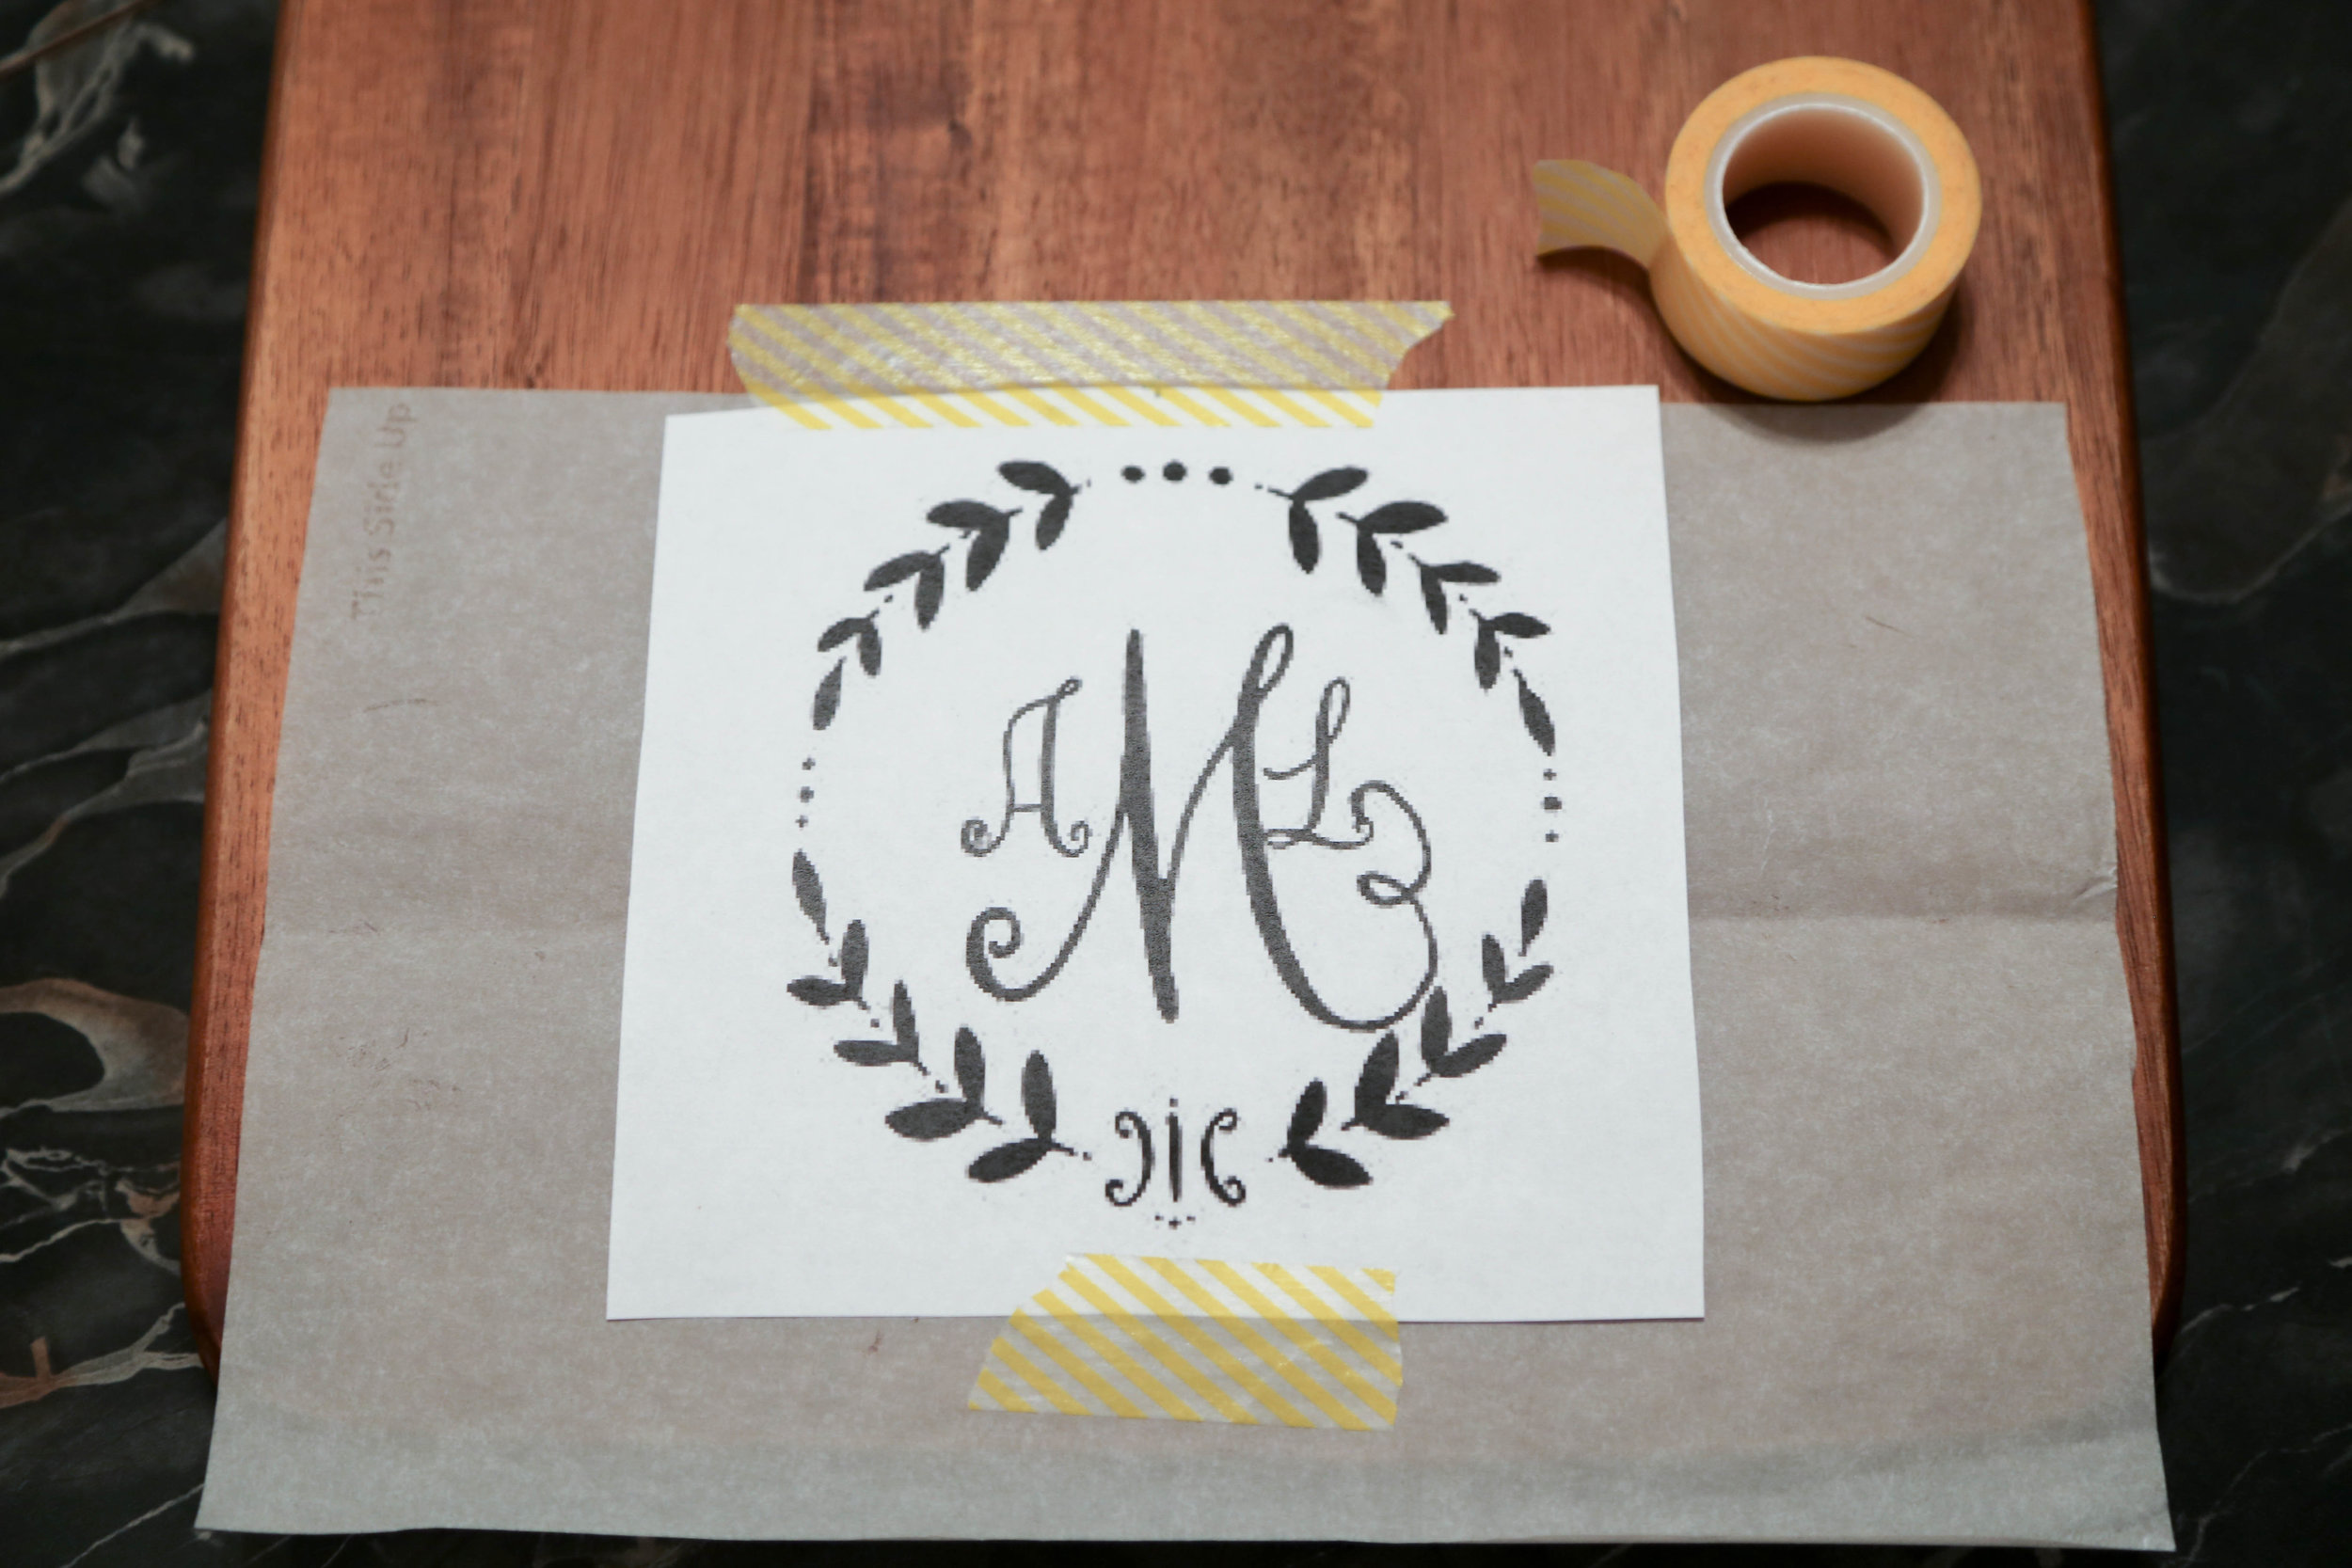
Step Six: Place the transfer paper under the design, line it up to where you want it, and tape it down
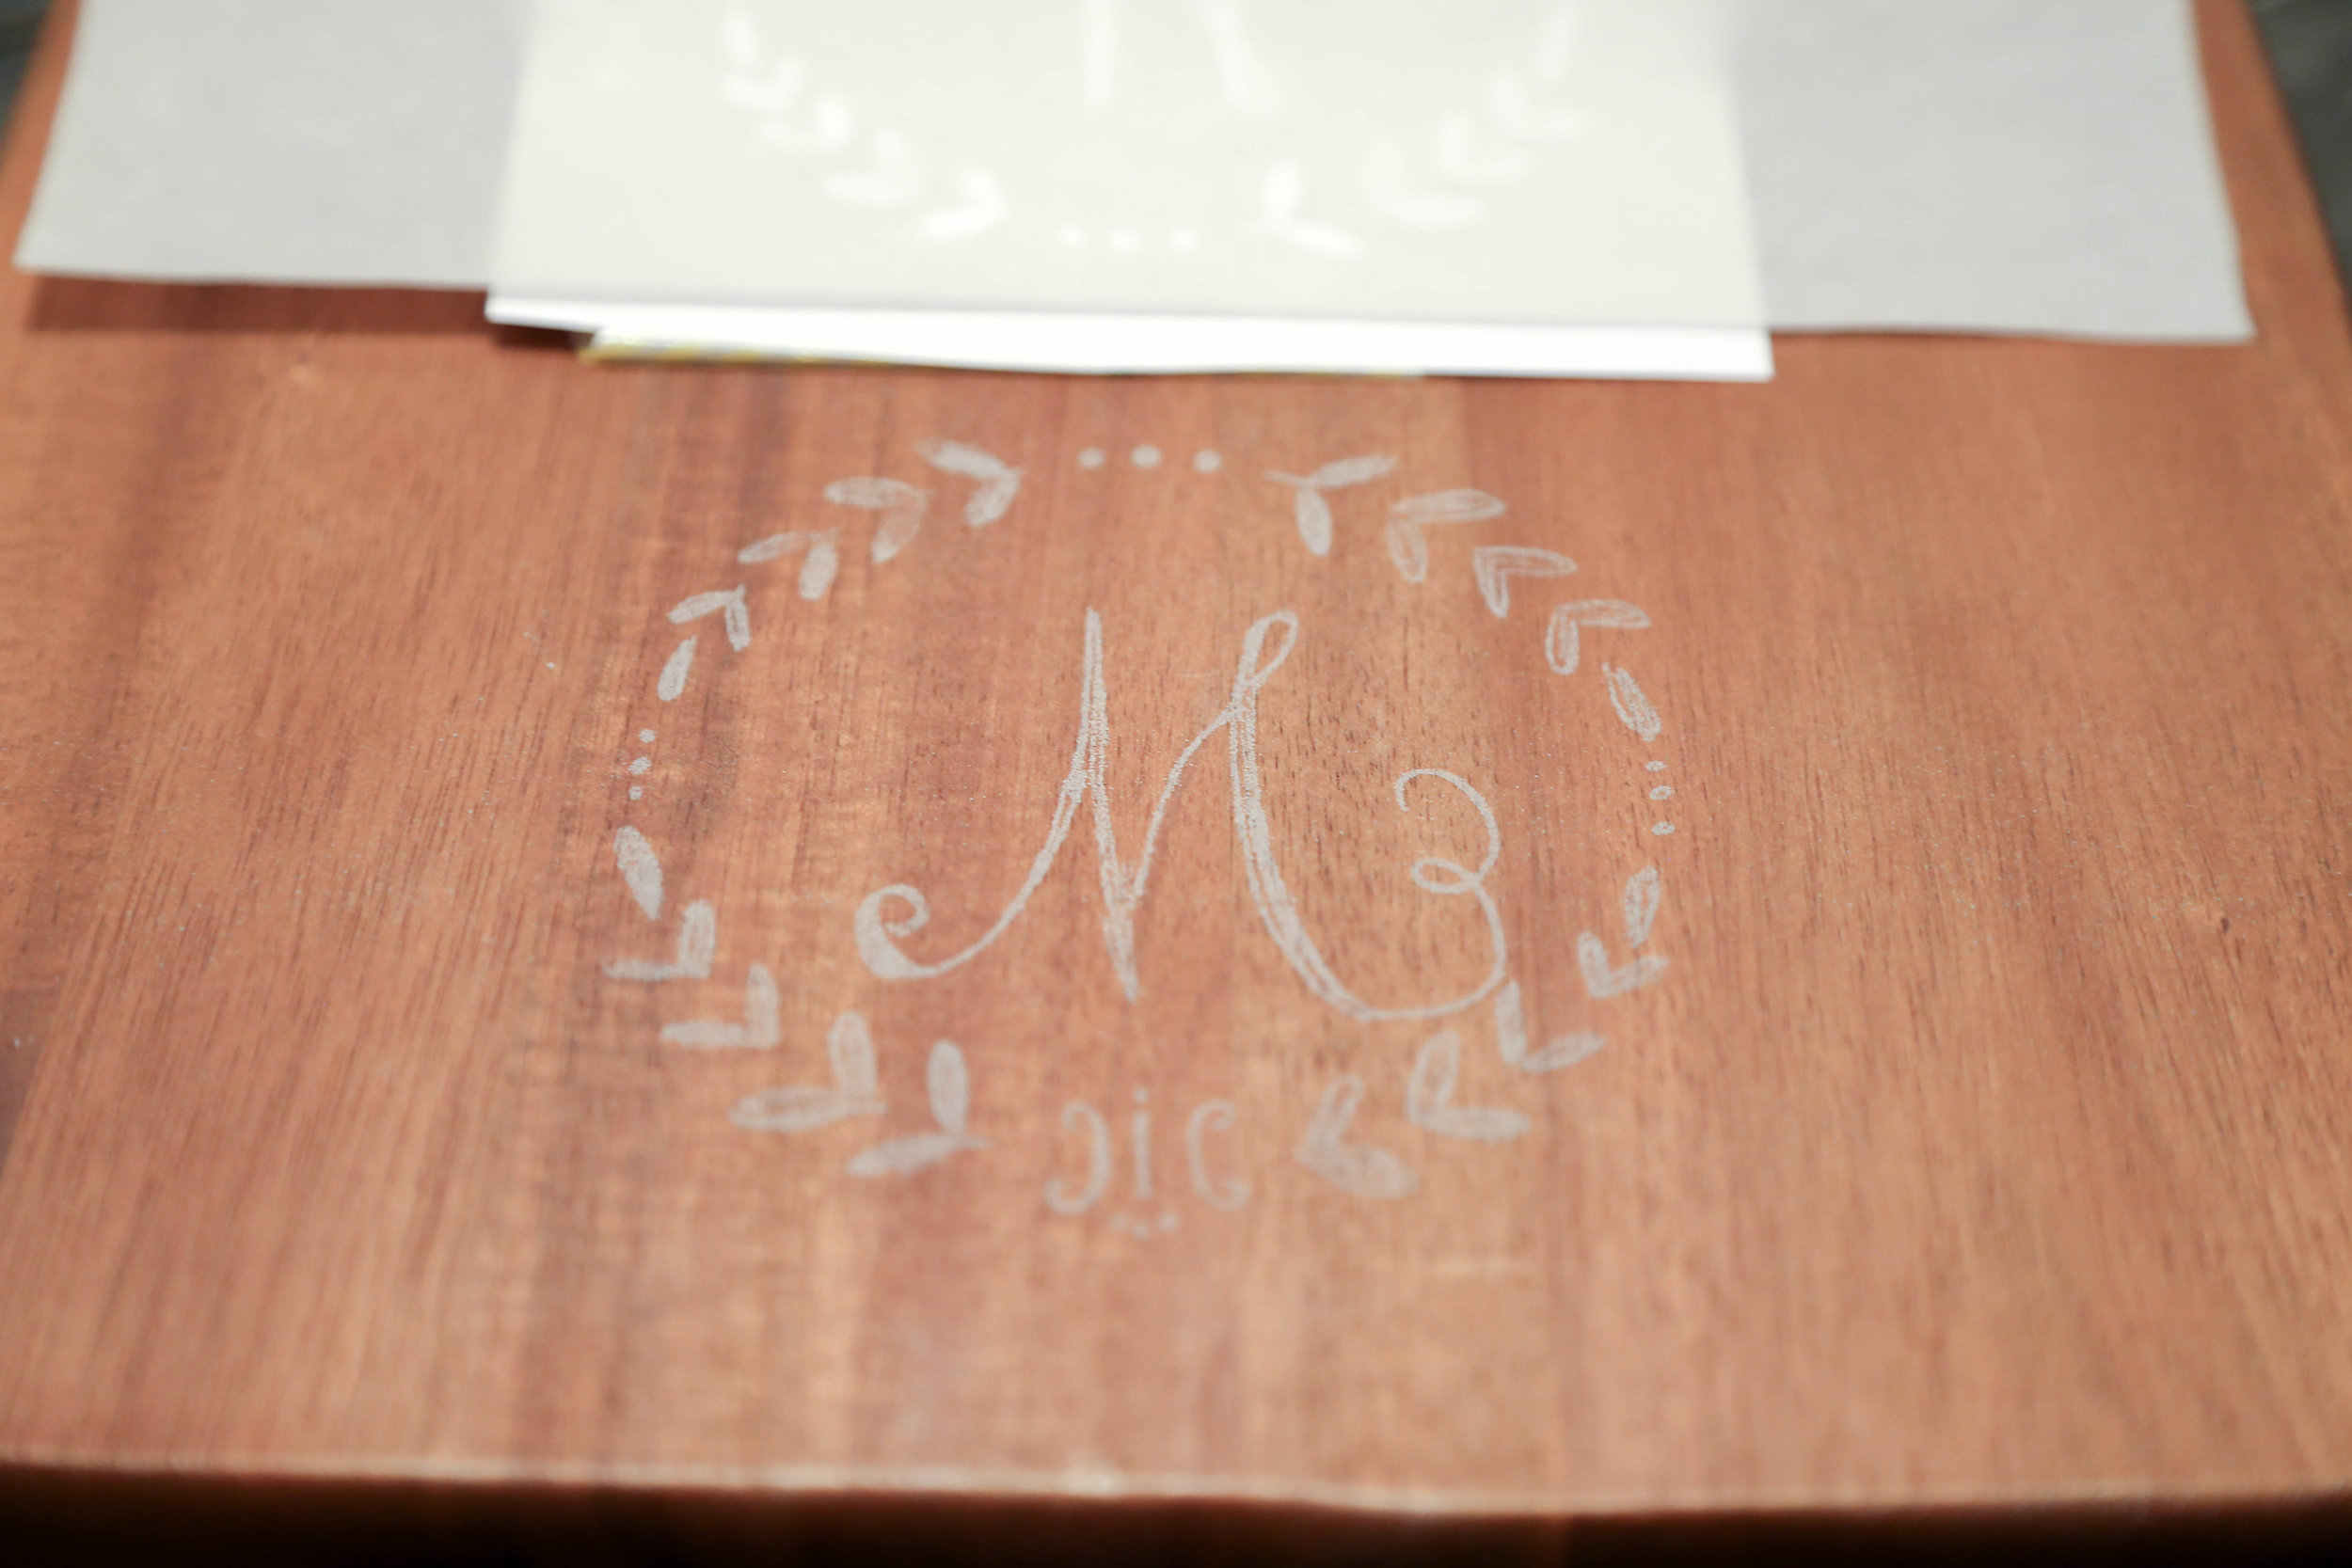
Step Seven: Using a pencil trace the design - you can either just go alone the edges, or color it in, whichever way will work, I think it really depends on your design/personal preference

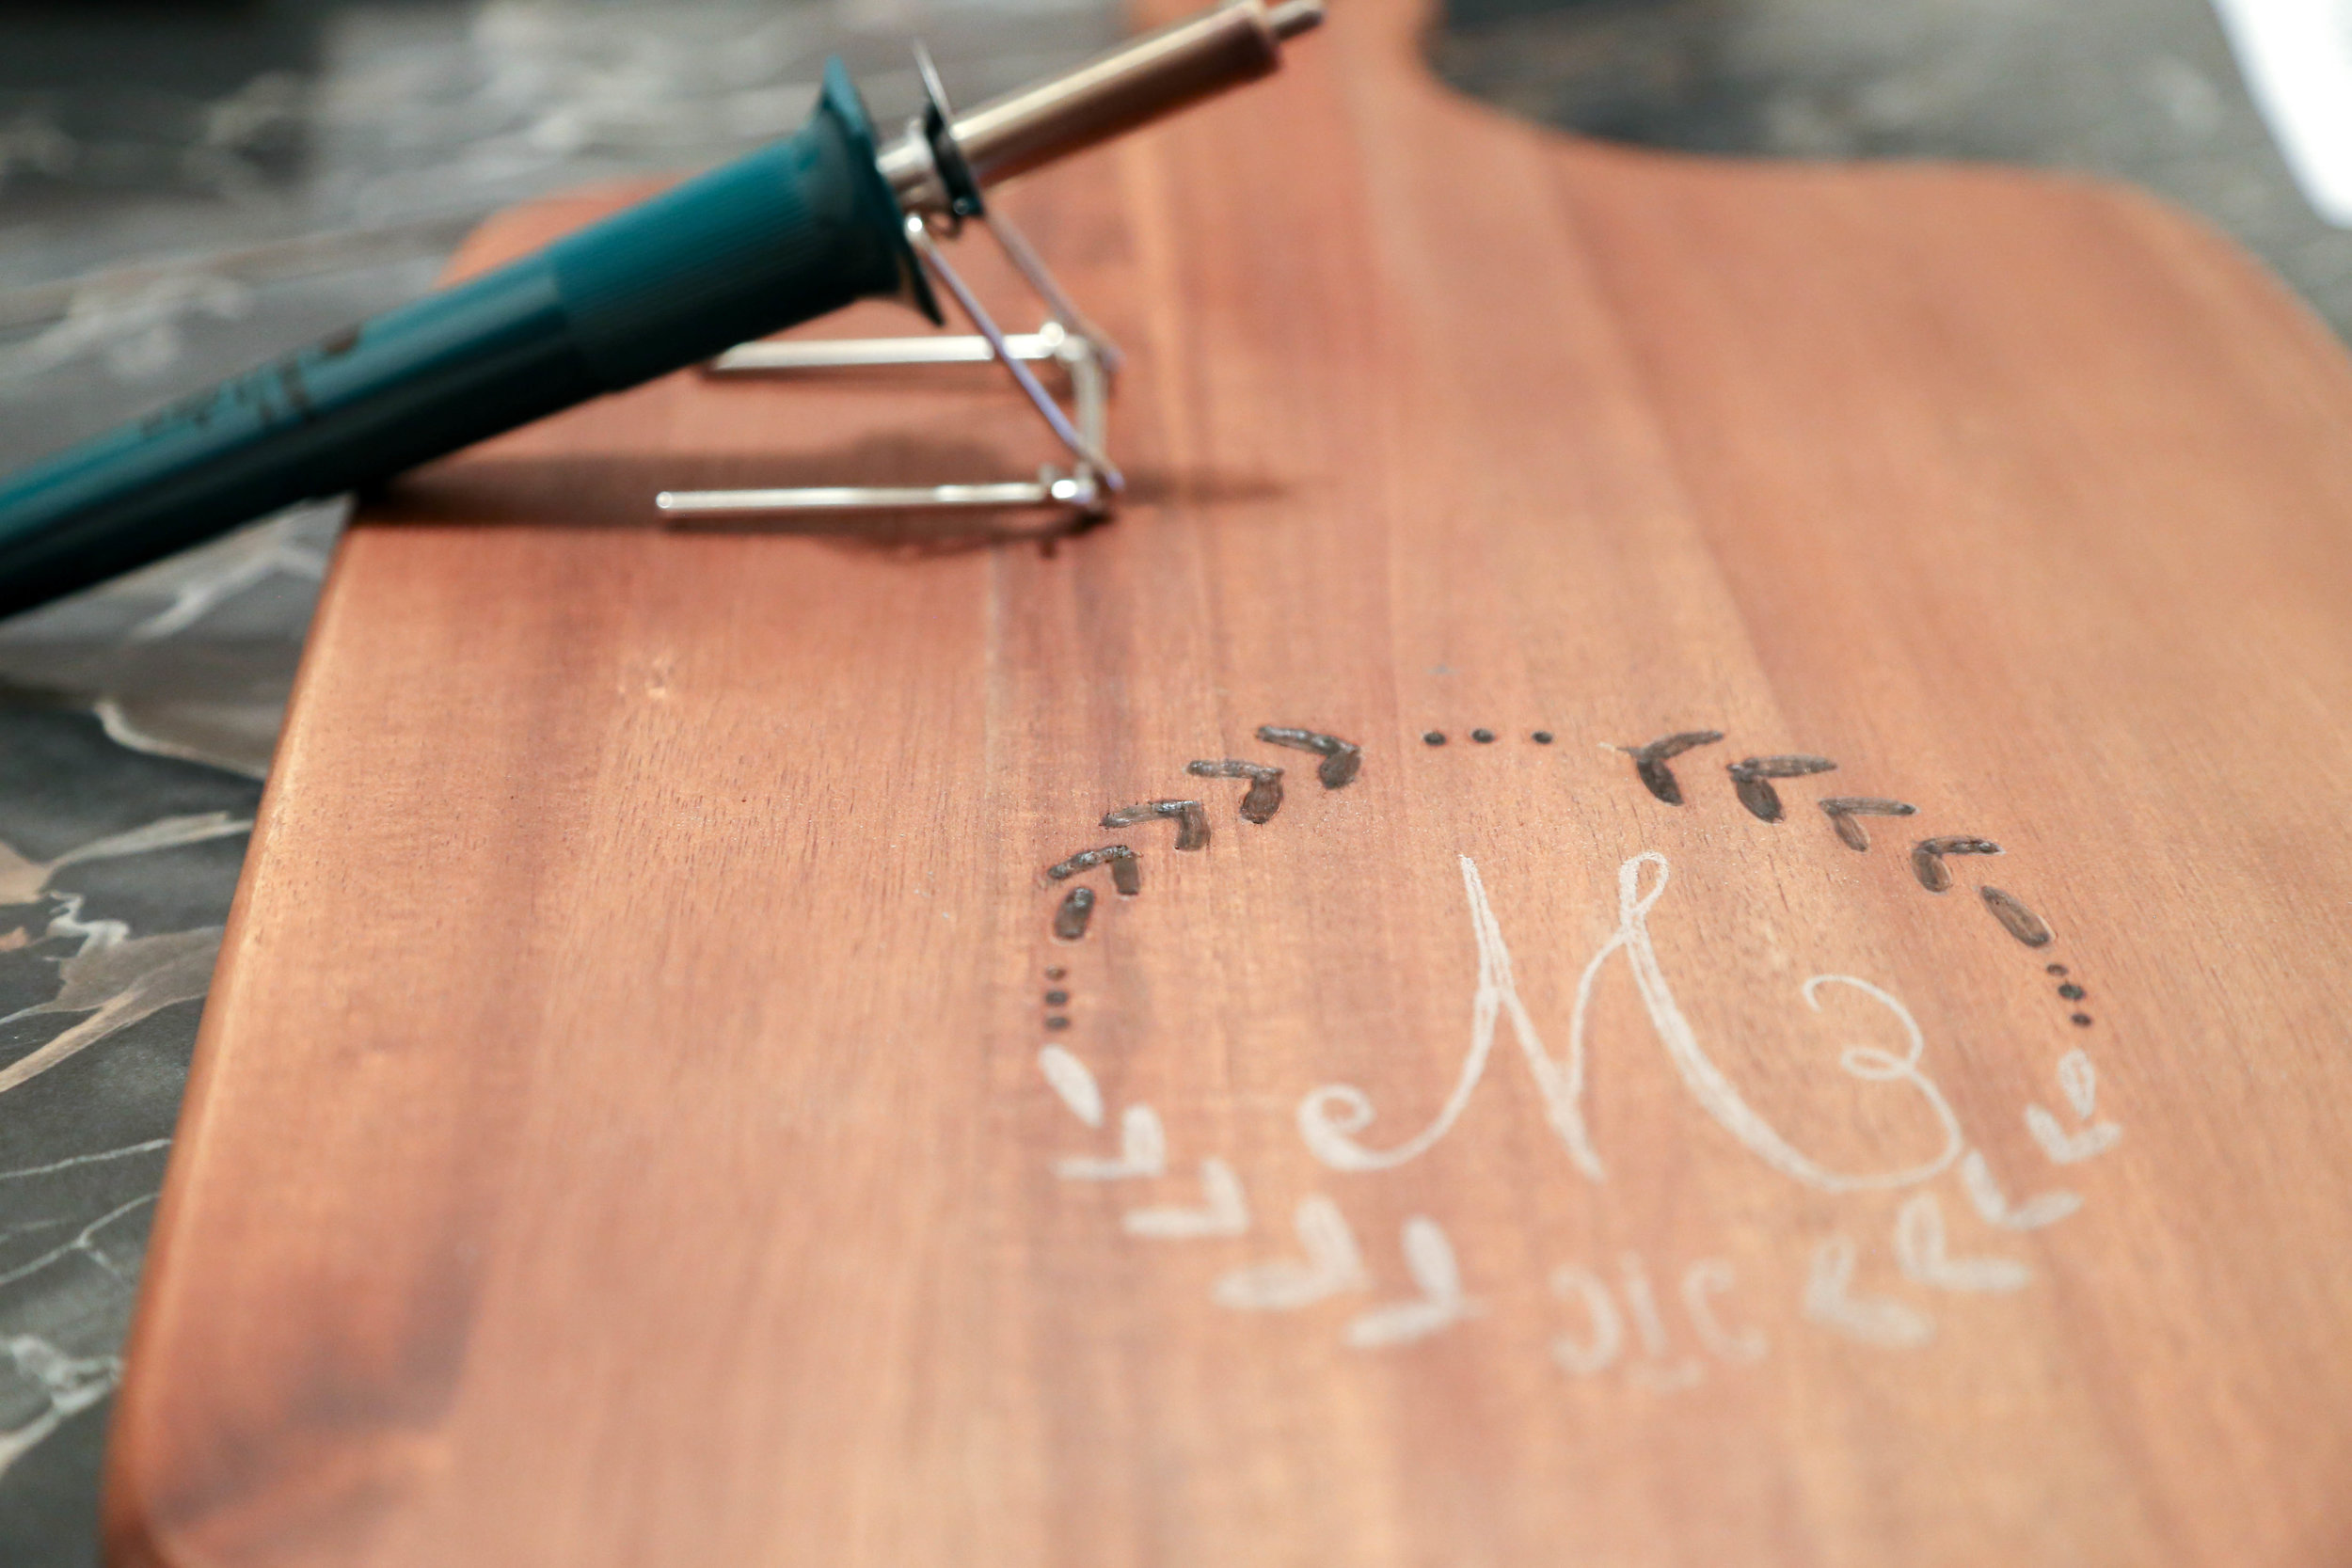
Once you're done tracing it should look like this...
Step Eight: Now you get to burn, burn, burn! Turn on some Ellie Goulding and get going, remember patience is a virtue, the slower you go, the better it looks. You will have to stop and let the burner heat up again, and again. You'll have to go over it a few times so take a few breaks, and make sure and let the burner sit and heat back up, walk away and go do something else for about 15 minutes every once in a while
Step Nine: Go over it one more time, remember, the slower the better, smooth out your edges, darken the thicker portions, and finish it off!

Step Ten: Throw up and nail and hang it on your wall for some cheap, easy, and functional art!