Floral Friday
When you work in an office of "millennials" you're going to have some #awesome traditions that arise, because let's face it we always need an excuse to take a selfie, right? If you don't detect a hint of facetiousness in that statement, just quit reading now. Well in our office Fridays are never dull, well in all honesty, no days are ever dull. We're kind of like that perfectly functioning, dysfunctional family. Anyways, I digress... Fridays are celebrated in a number of ways throughout the year. From Flannel Fridays in the fall to Floral Fridays in the summer and Fat Guy Fridays all year round, we've come up with an excuse to bring everyone in the office together through dress and food. Seriously, what better way is there to bond than an awesome flannel shirt and a burger? We're so hip 'n stuff. Naturally, because no one owns that many floral shirts, Amy and I decided we might need to think of another creative way to celebrate Floral Fridays. So of course, since we spend most of the day on Pinterest (joke!), we decided the best thing to do would be to make floral crowns. Also, let's be real, Floral Fridays just gave us an excuse, we definitely would have made these even if Fridays never existed.


Amy and I have been wanting to make floral crowns for a while, I'm not entirely sure why, but probably because we're 20 something year old girls that like any justification to craft. I looked everywhere for a good, easy to follow tutorial, and nothing really stuck out. So I decided well, why not blog our process?

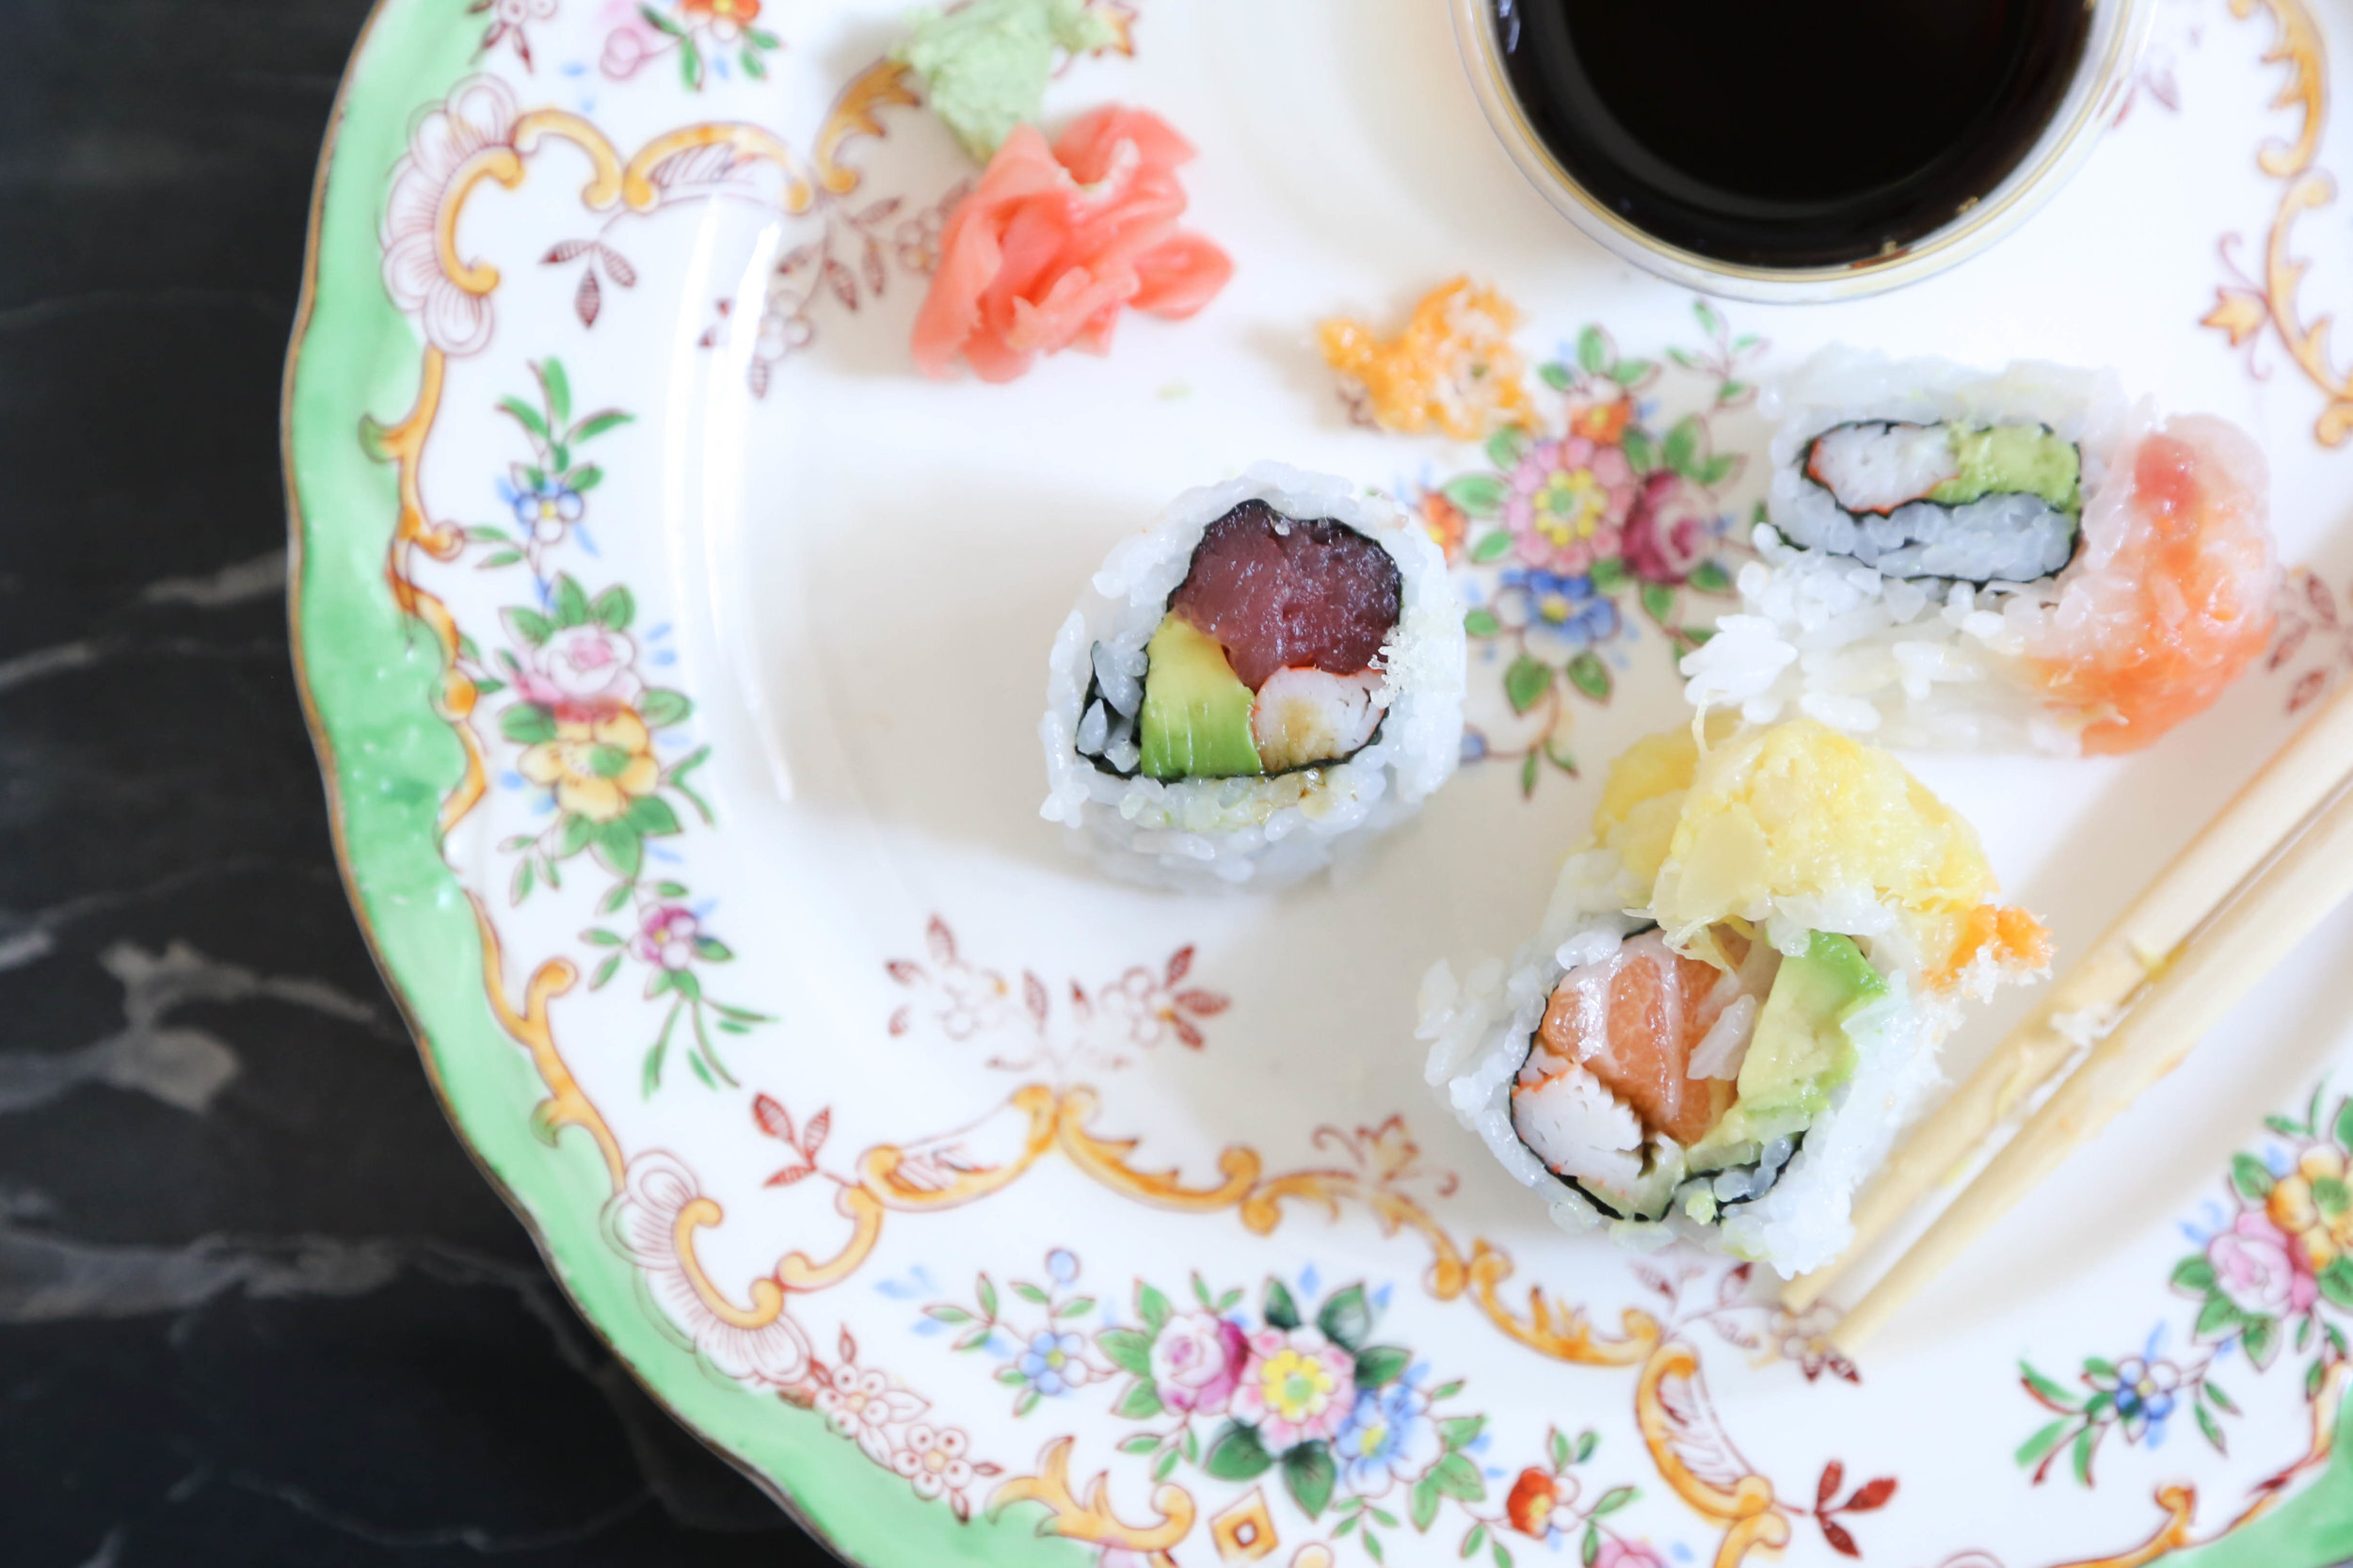
Step 1: Sushi.... okay this isn't mandatory, but it's highly encouraged.
Step 2: Find an awesome playlist... or just use ours. I really think Amy would agree that dancing while you do this really helps the creative process.

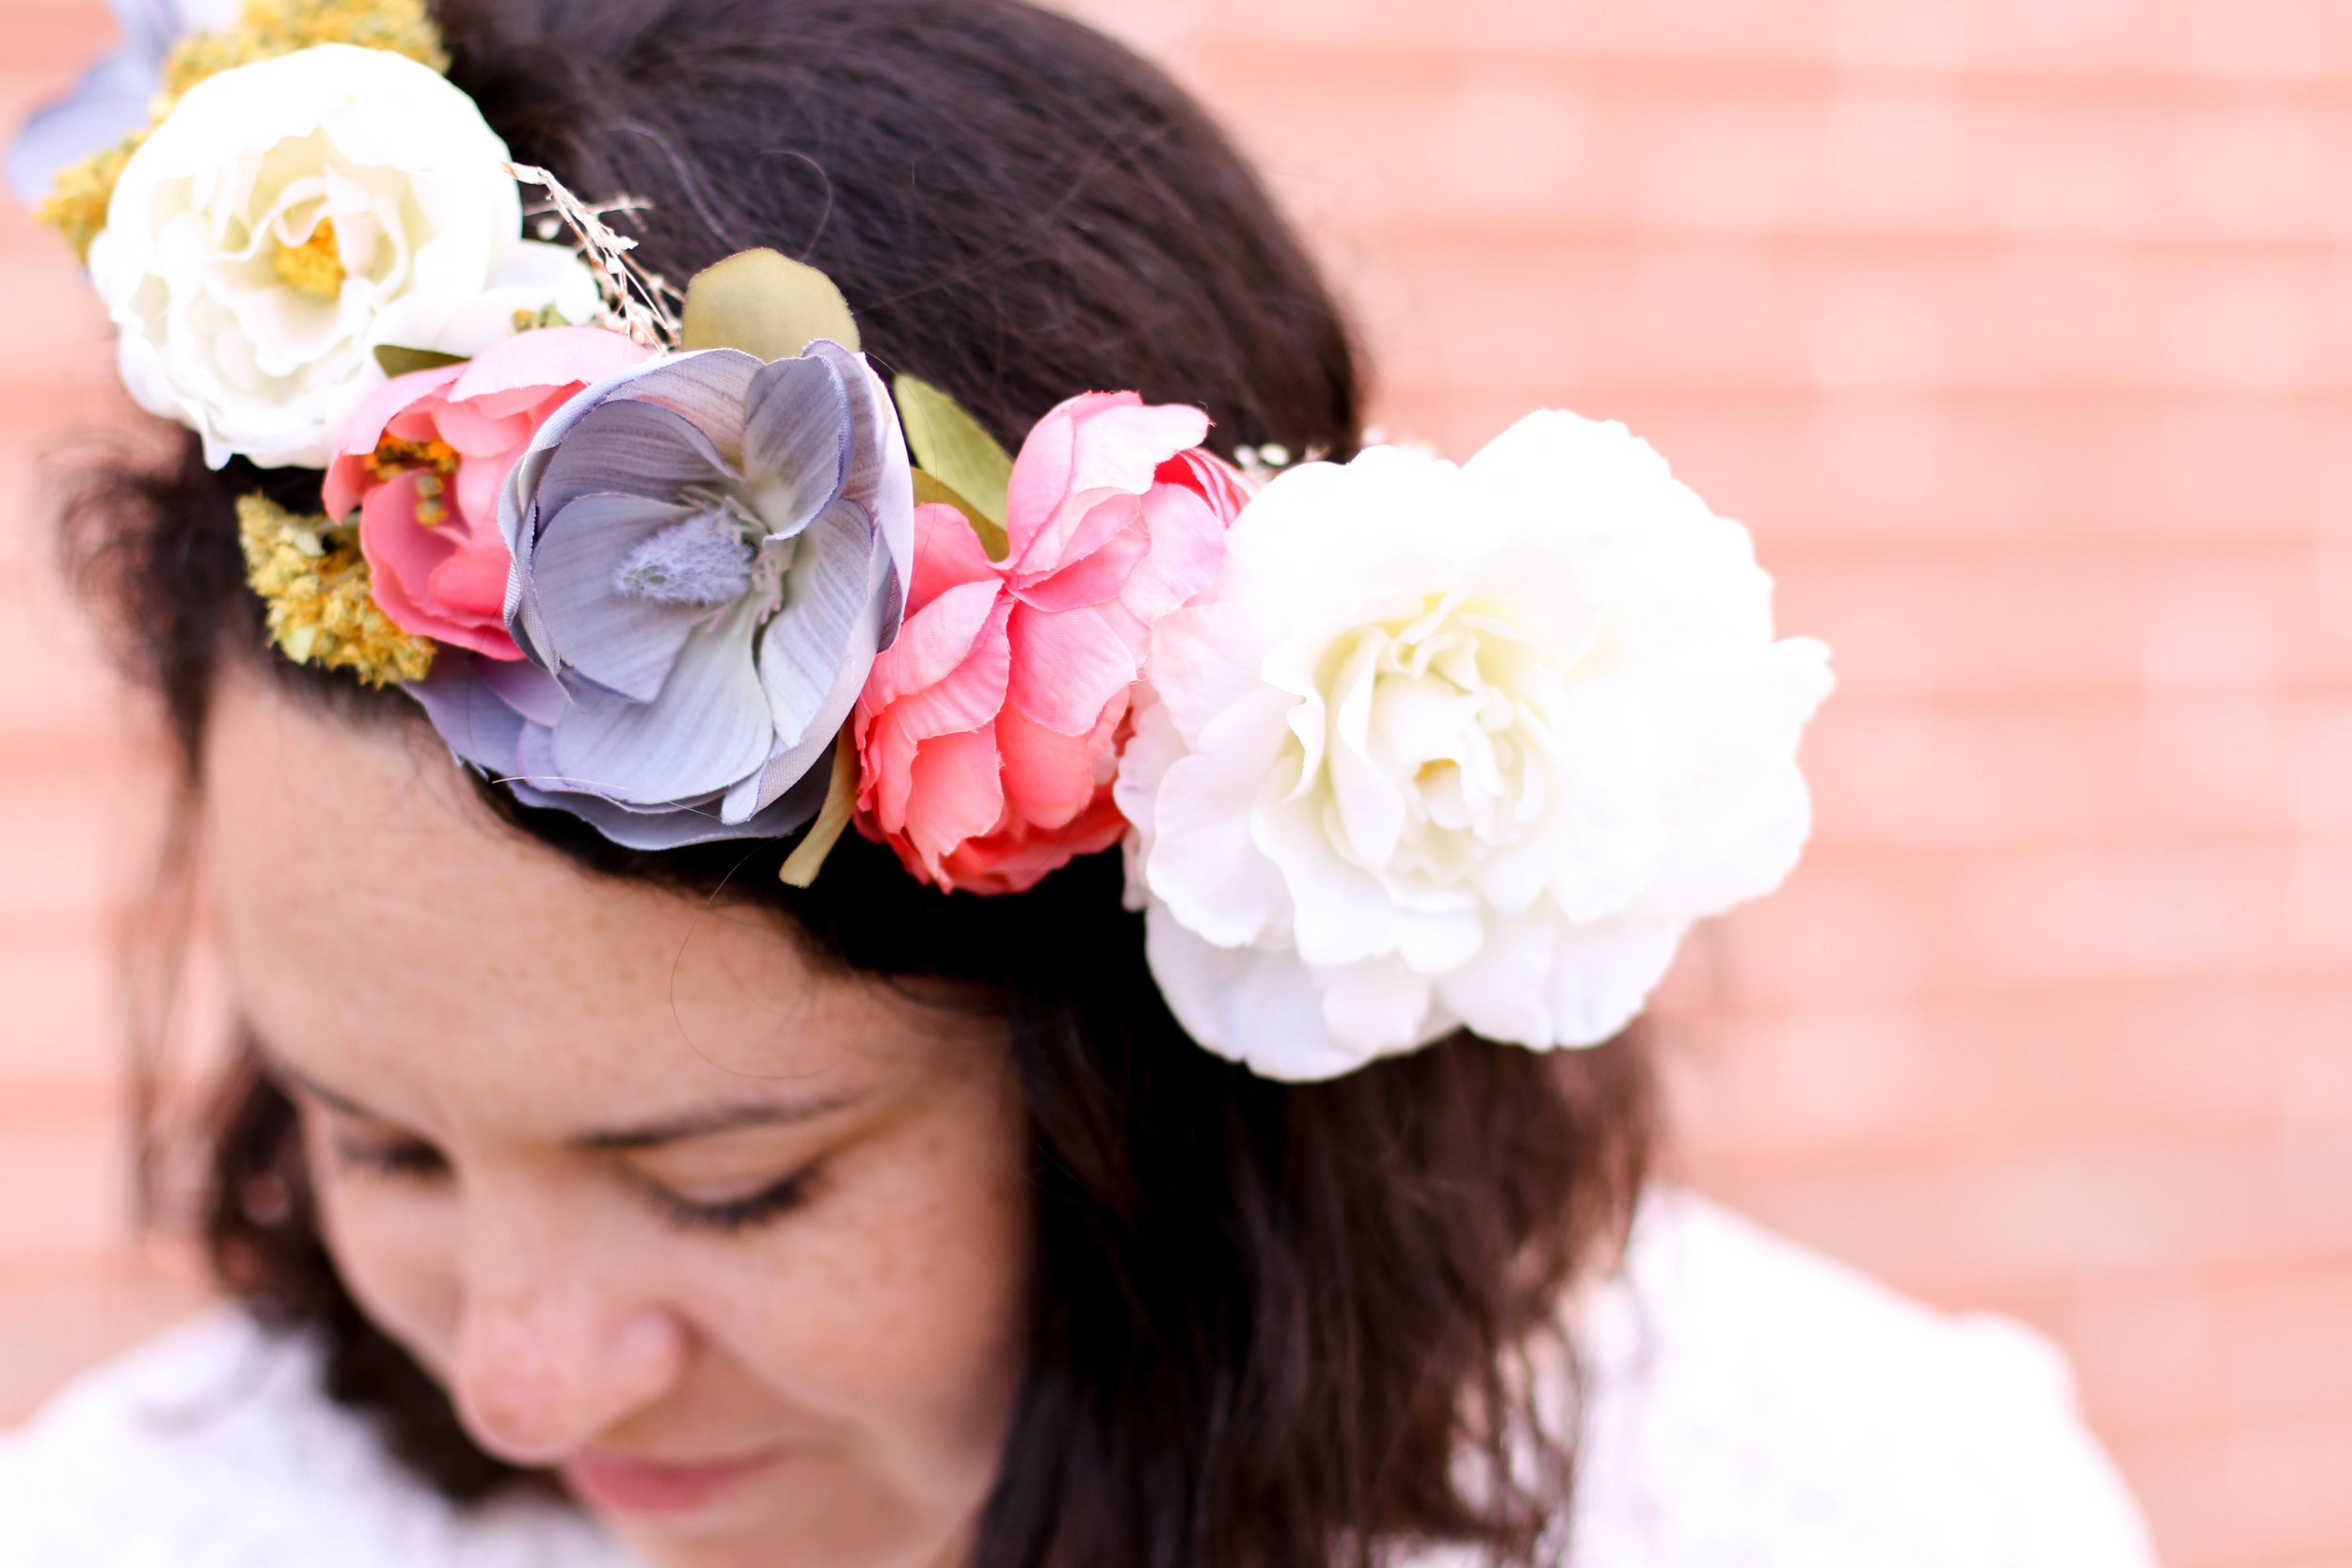
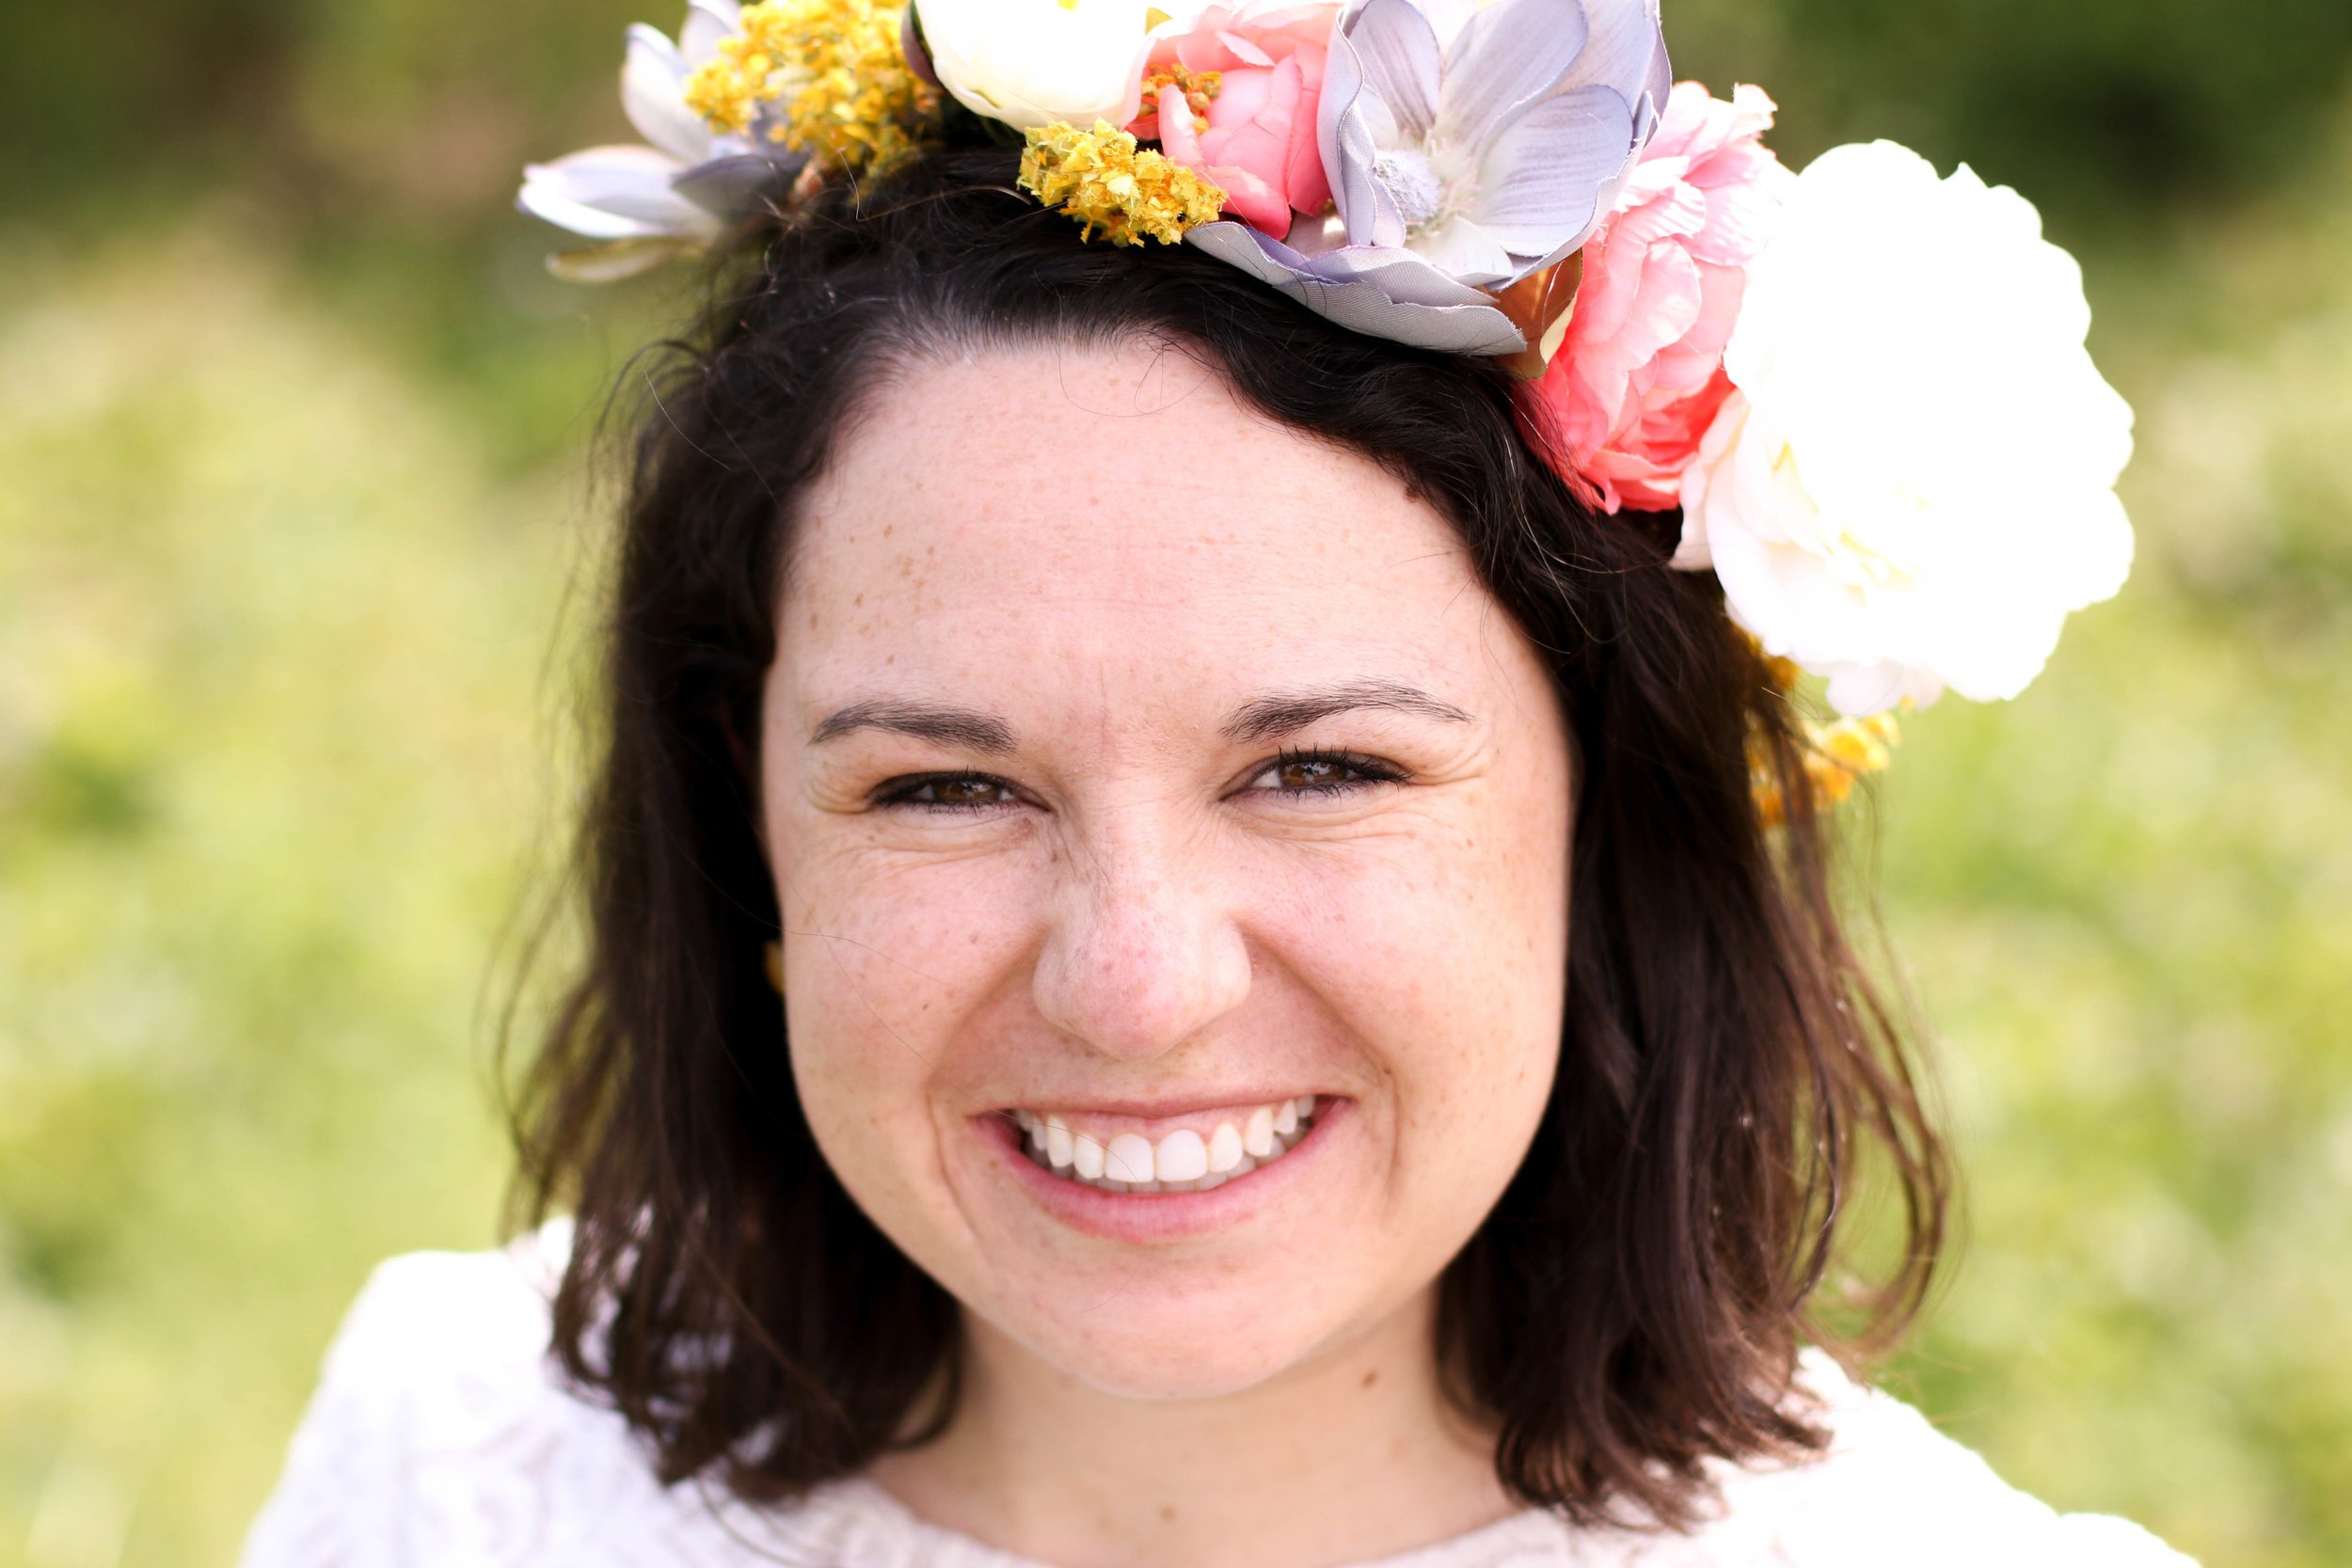
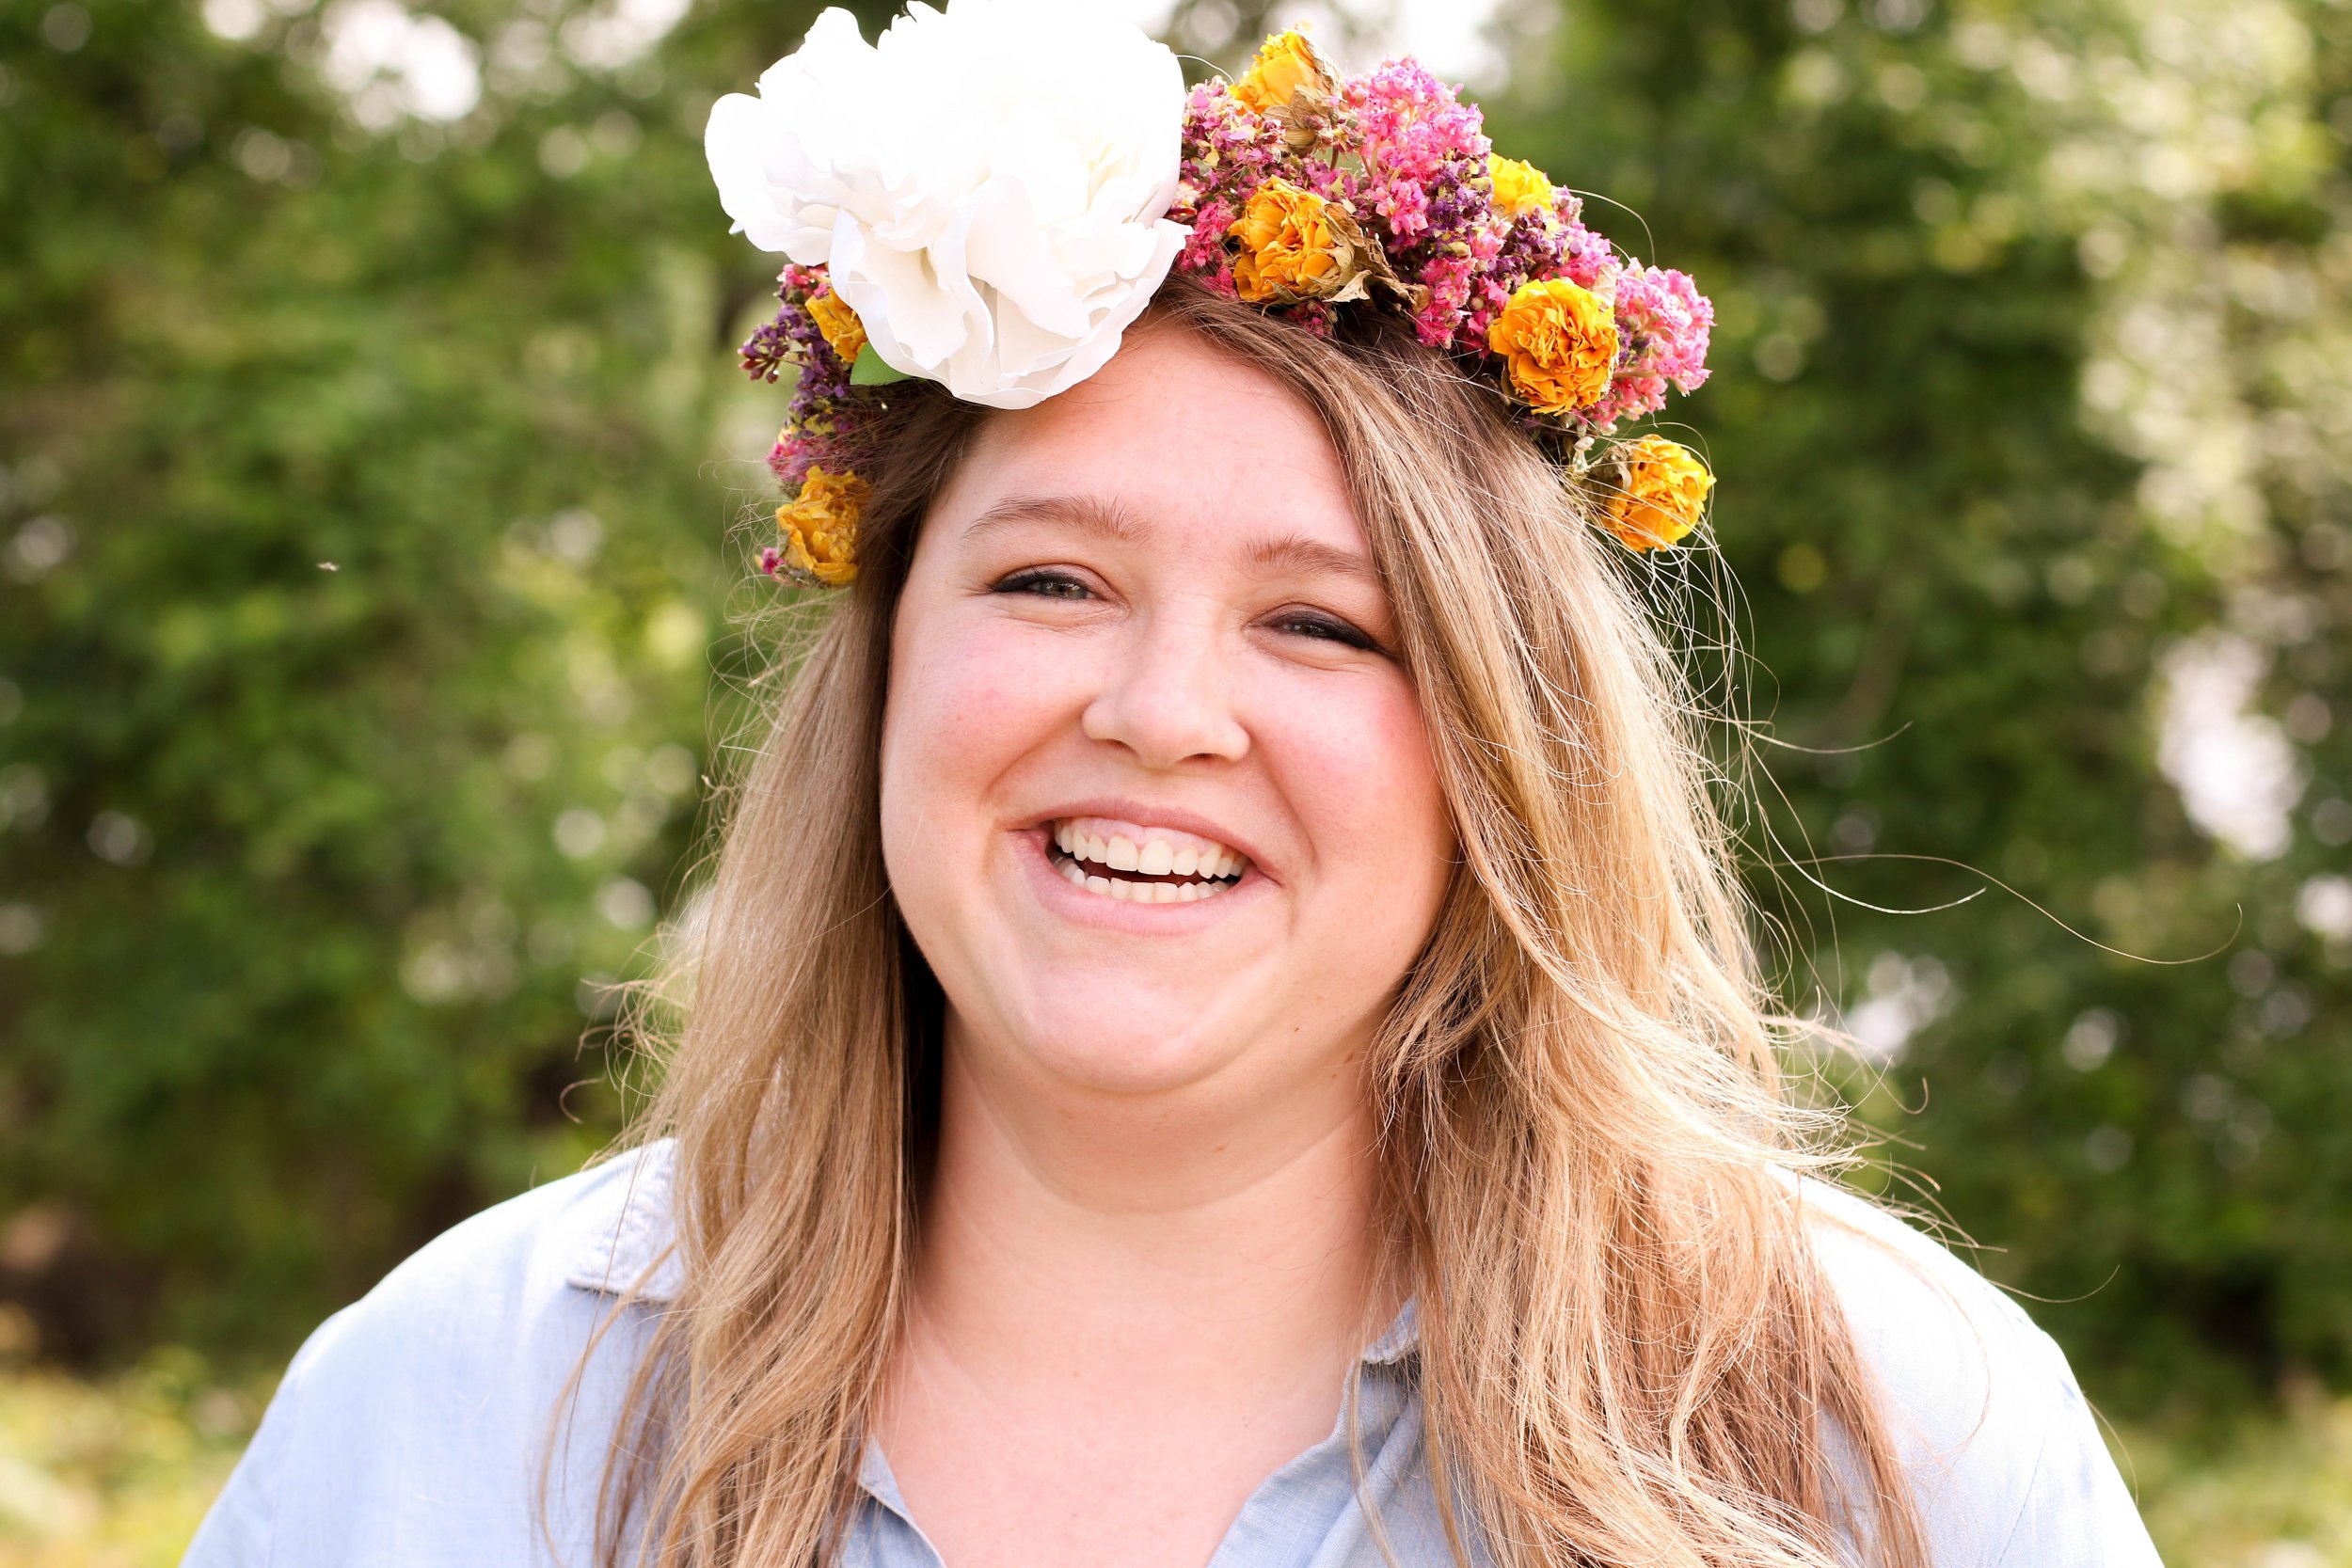
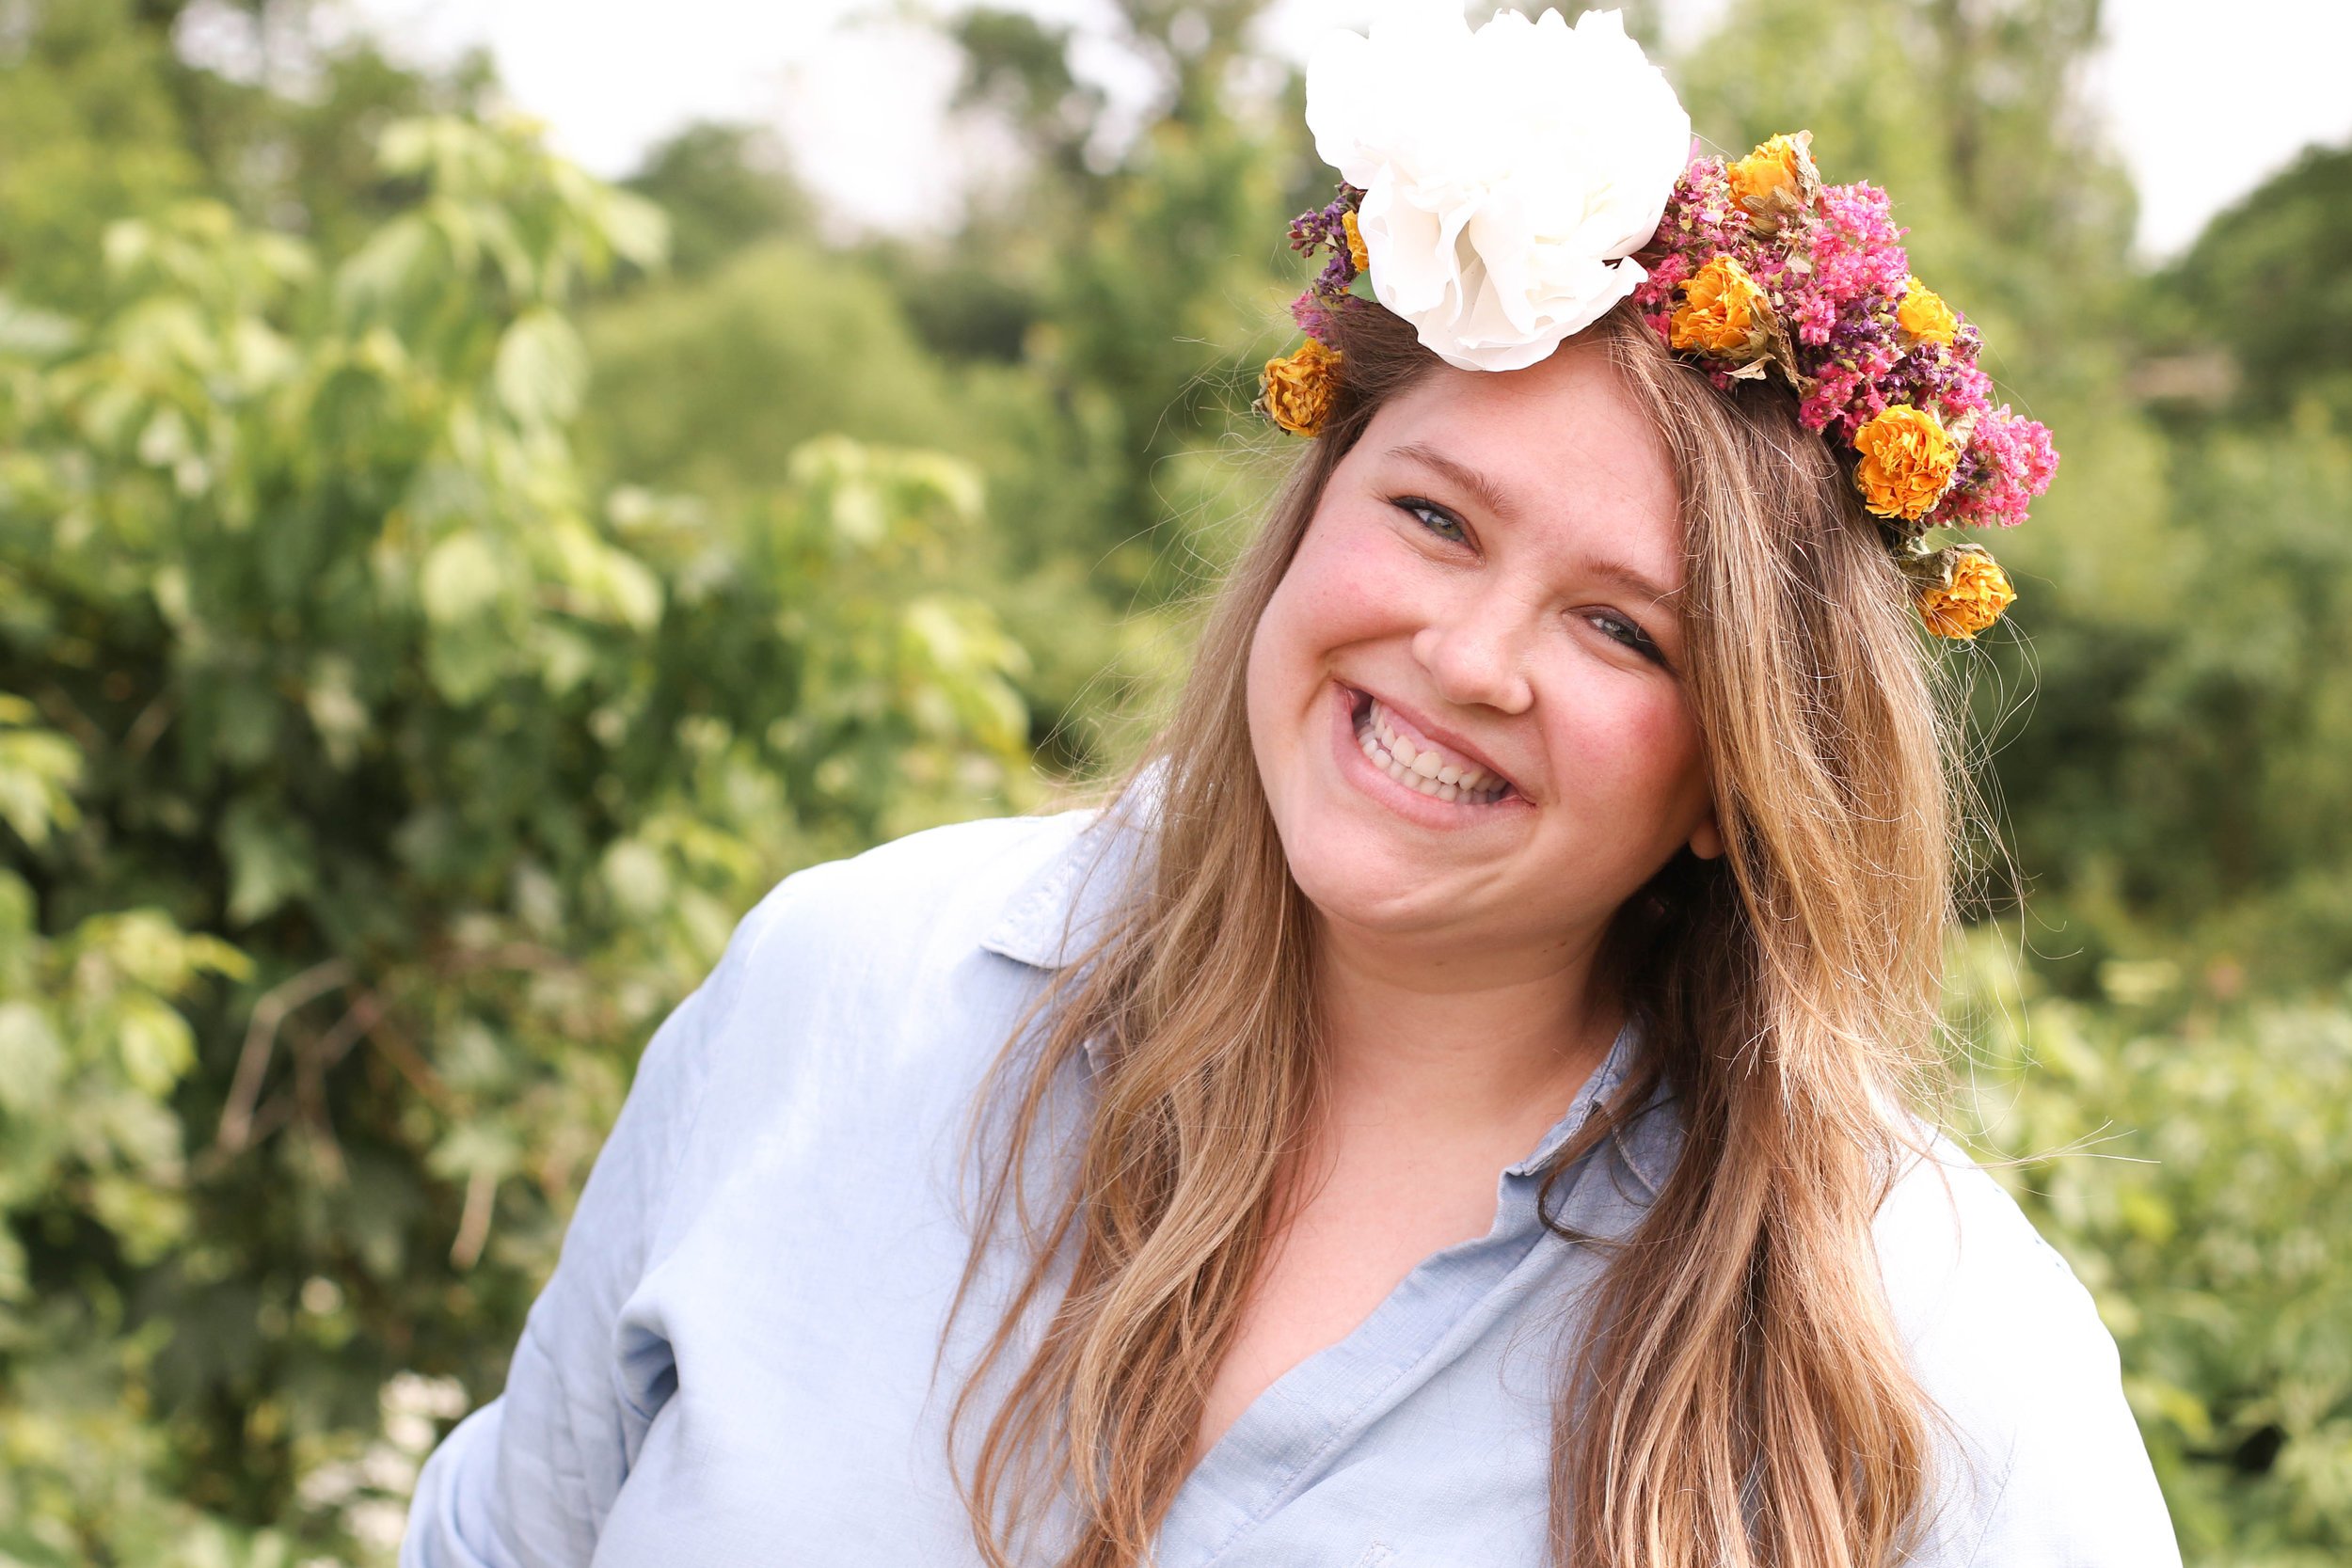
Step 3: Gather all the materials together. While I was at Michael's, I really tried to find the most realistic flowers I could, because we knew we wanted crowns we could keep. For Amy's we stuck with fewer larger flowers, and for mine I chose to use one large flower surrounded by smaller buds. If you're so inclined, or you're doing this for a specific event, you can use real flowers instead! From the research I've done, you will just need to make it the morning of the event, and keep it in a cool place.

What you'll need:
- Wire cutters (like these)
- Scissors
- Floral wire (like this)
- Floral tape (this is perfect)
- Vine wrapped/rustic craft wire (similar to this)
- greenery/filler (like baby's breath look-a-like)
- flowers - various size/color
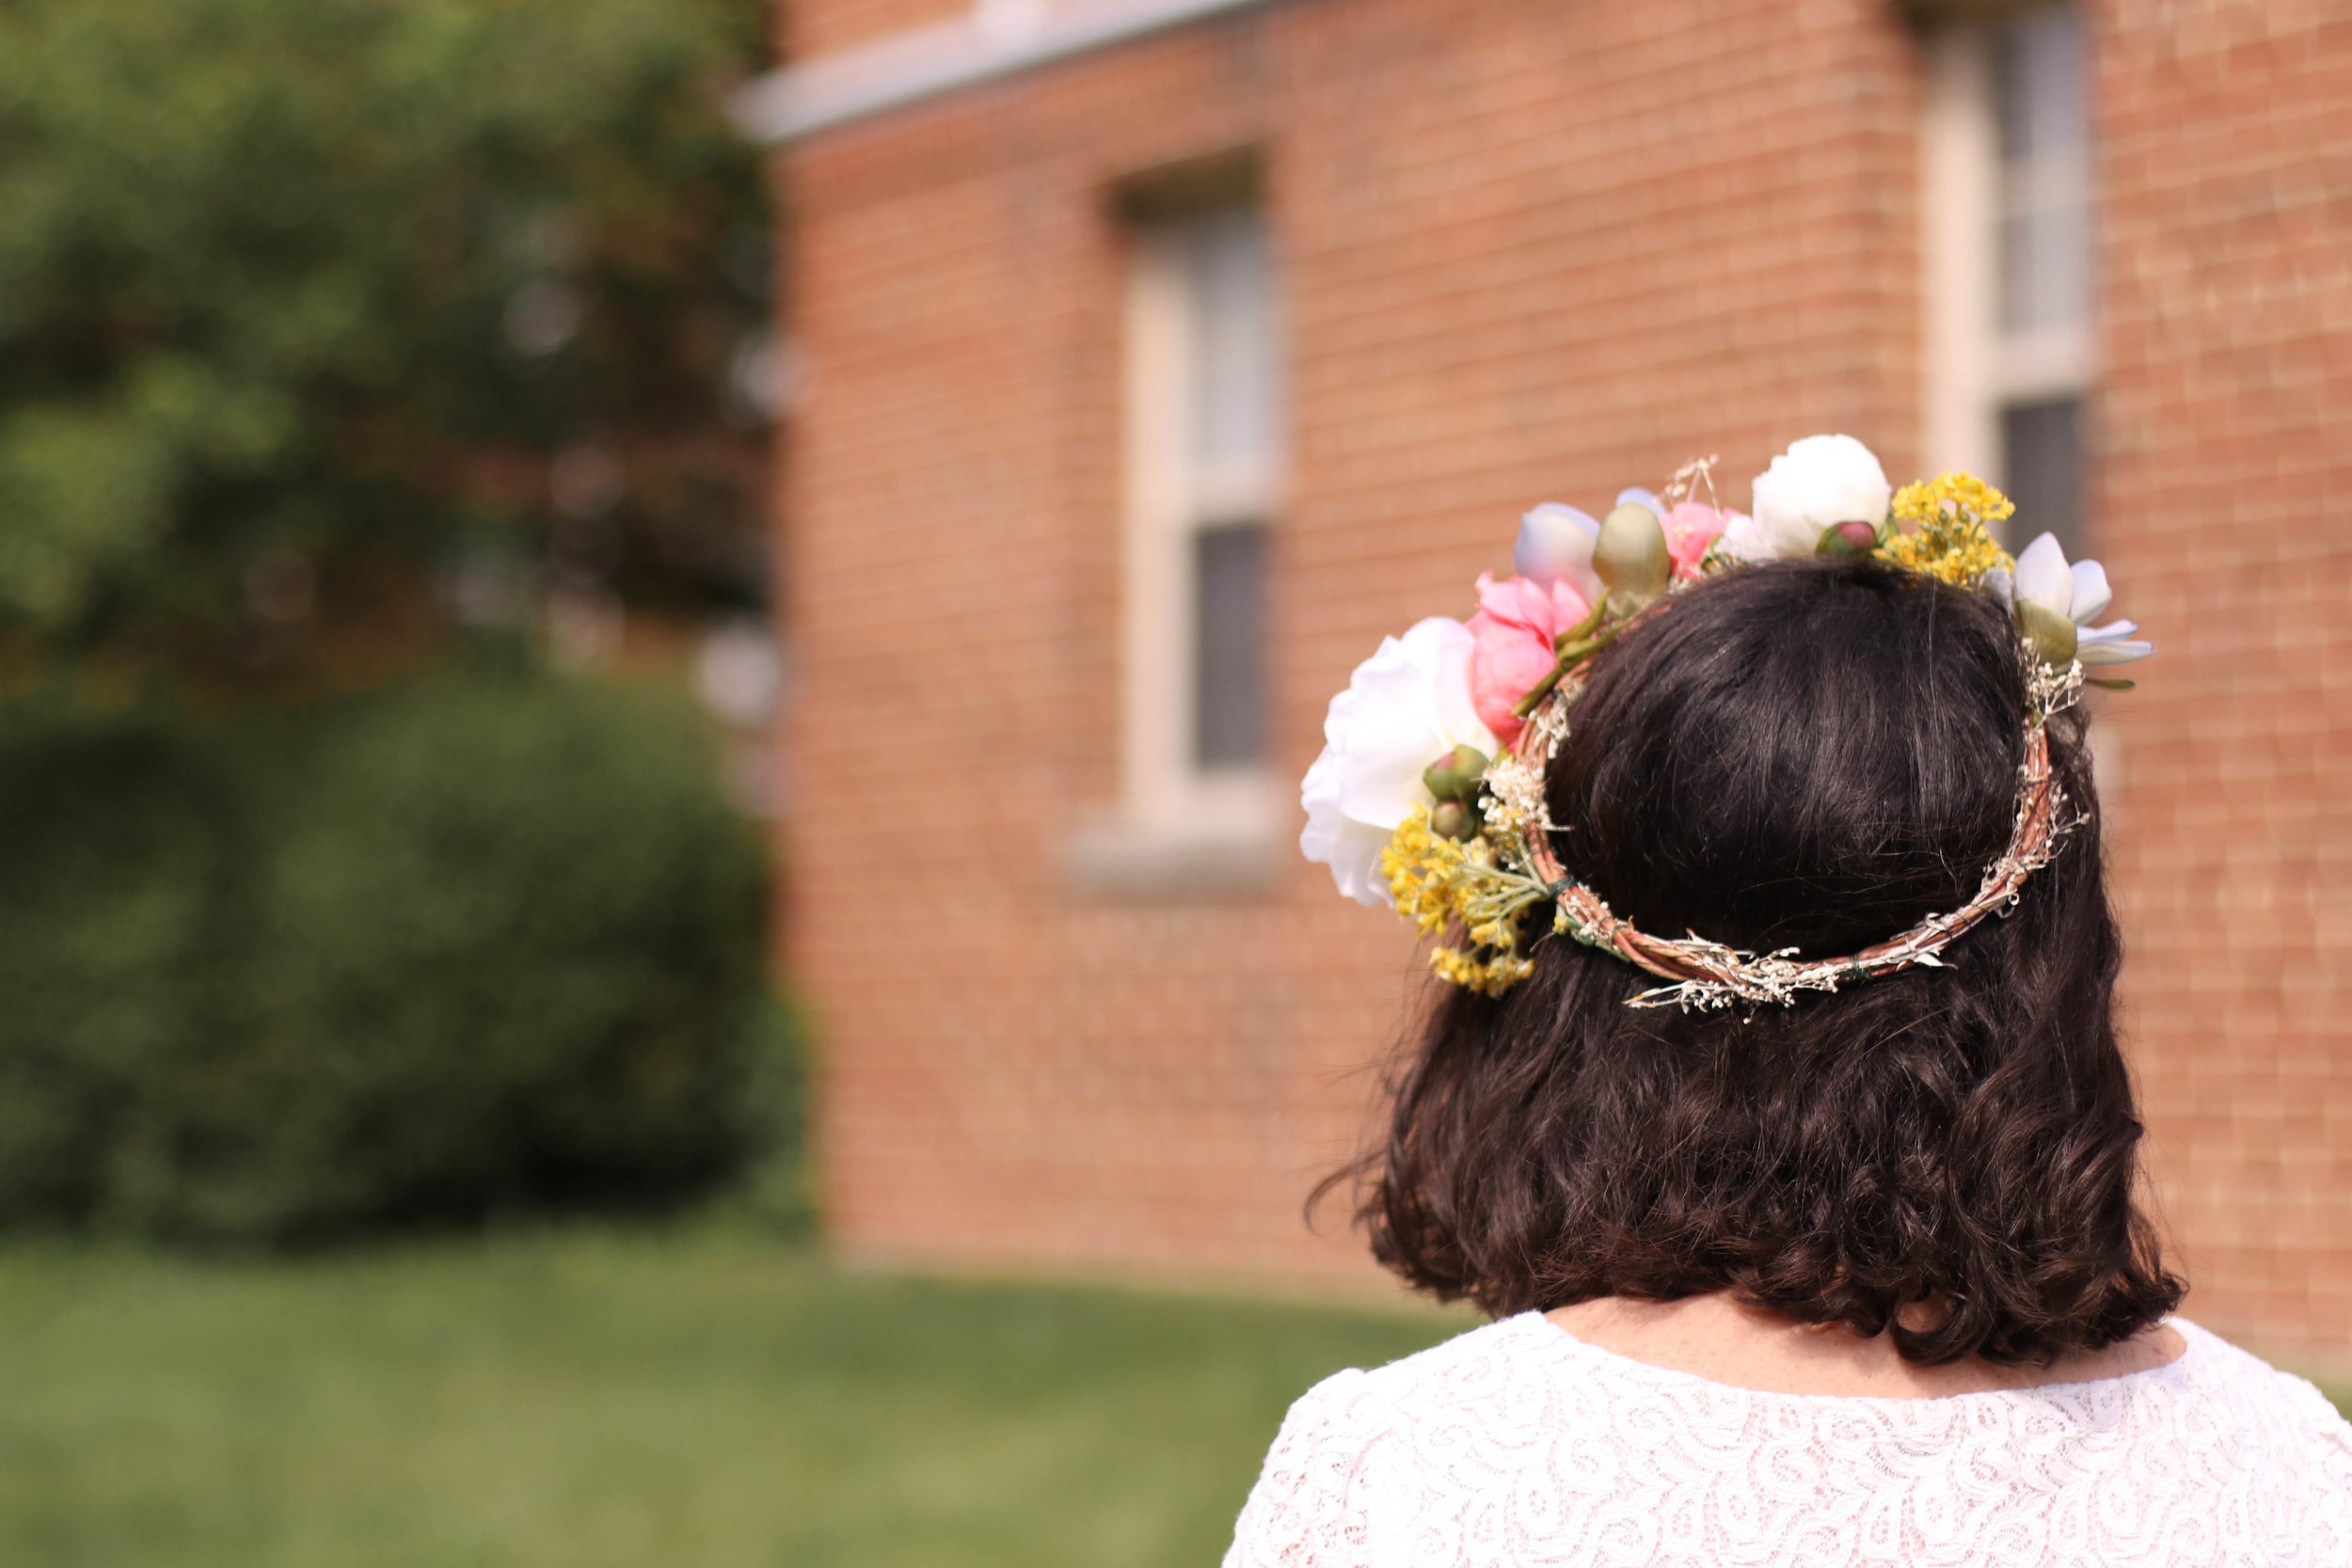
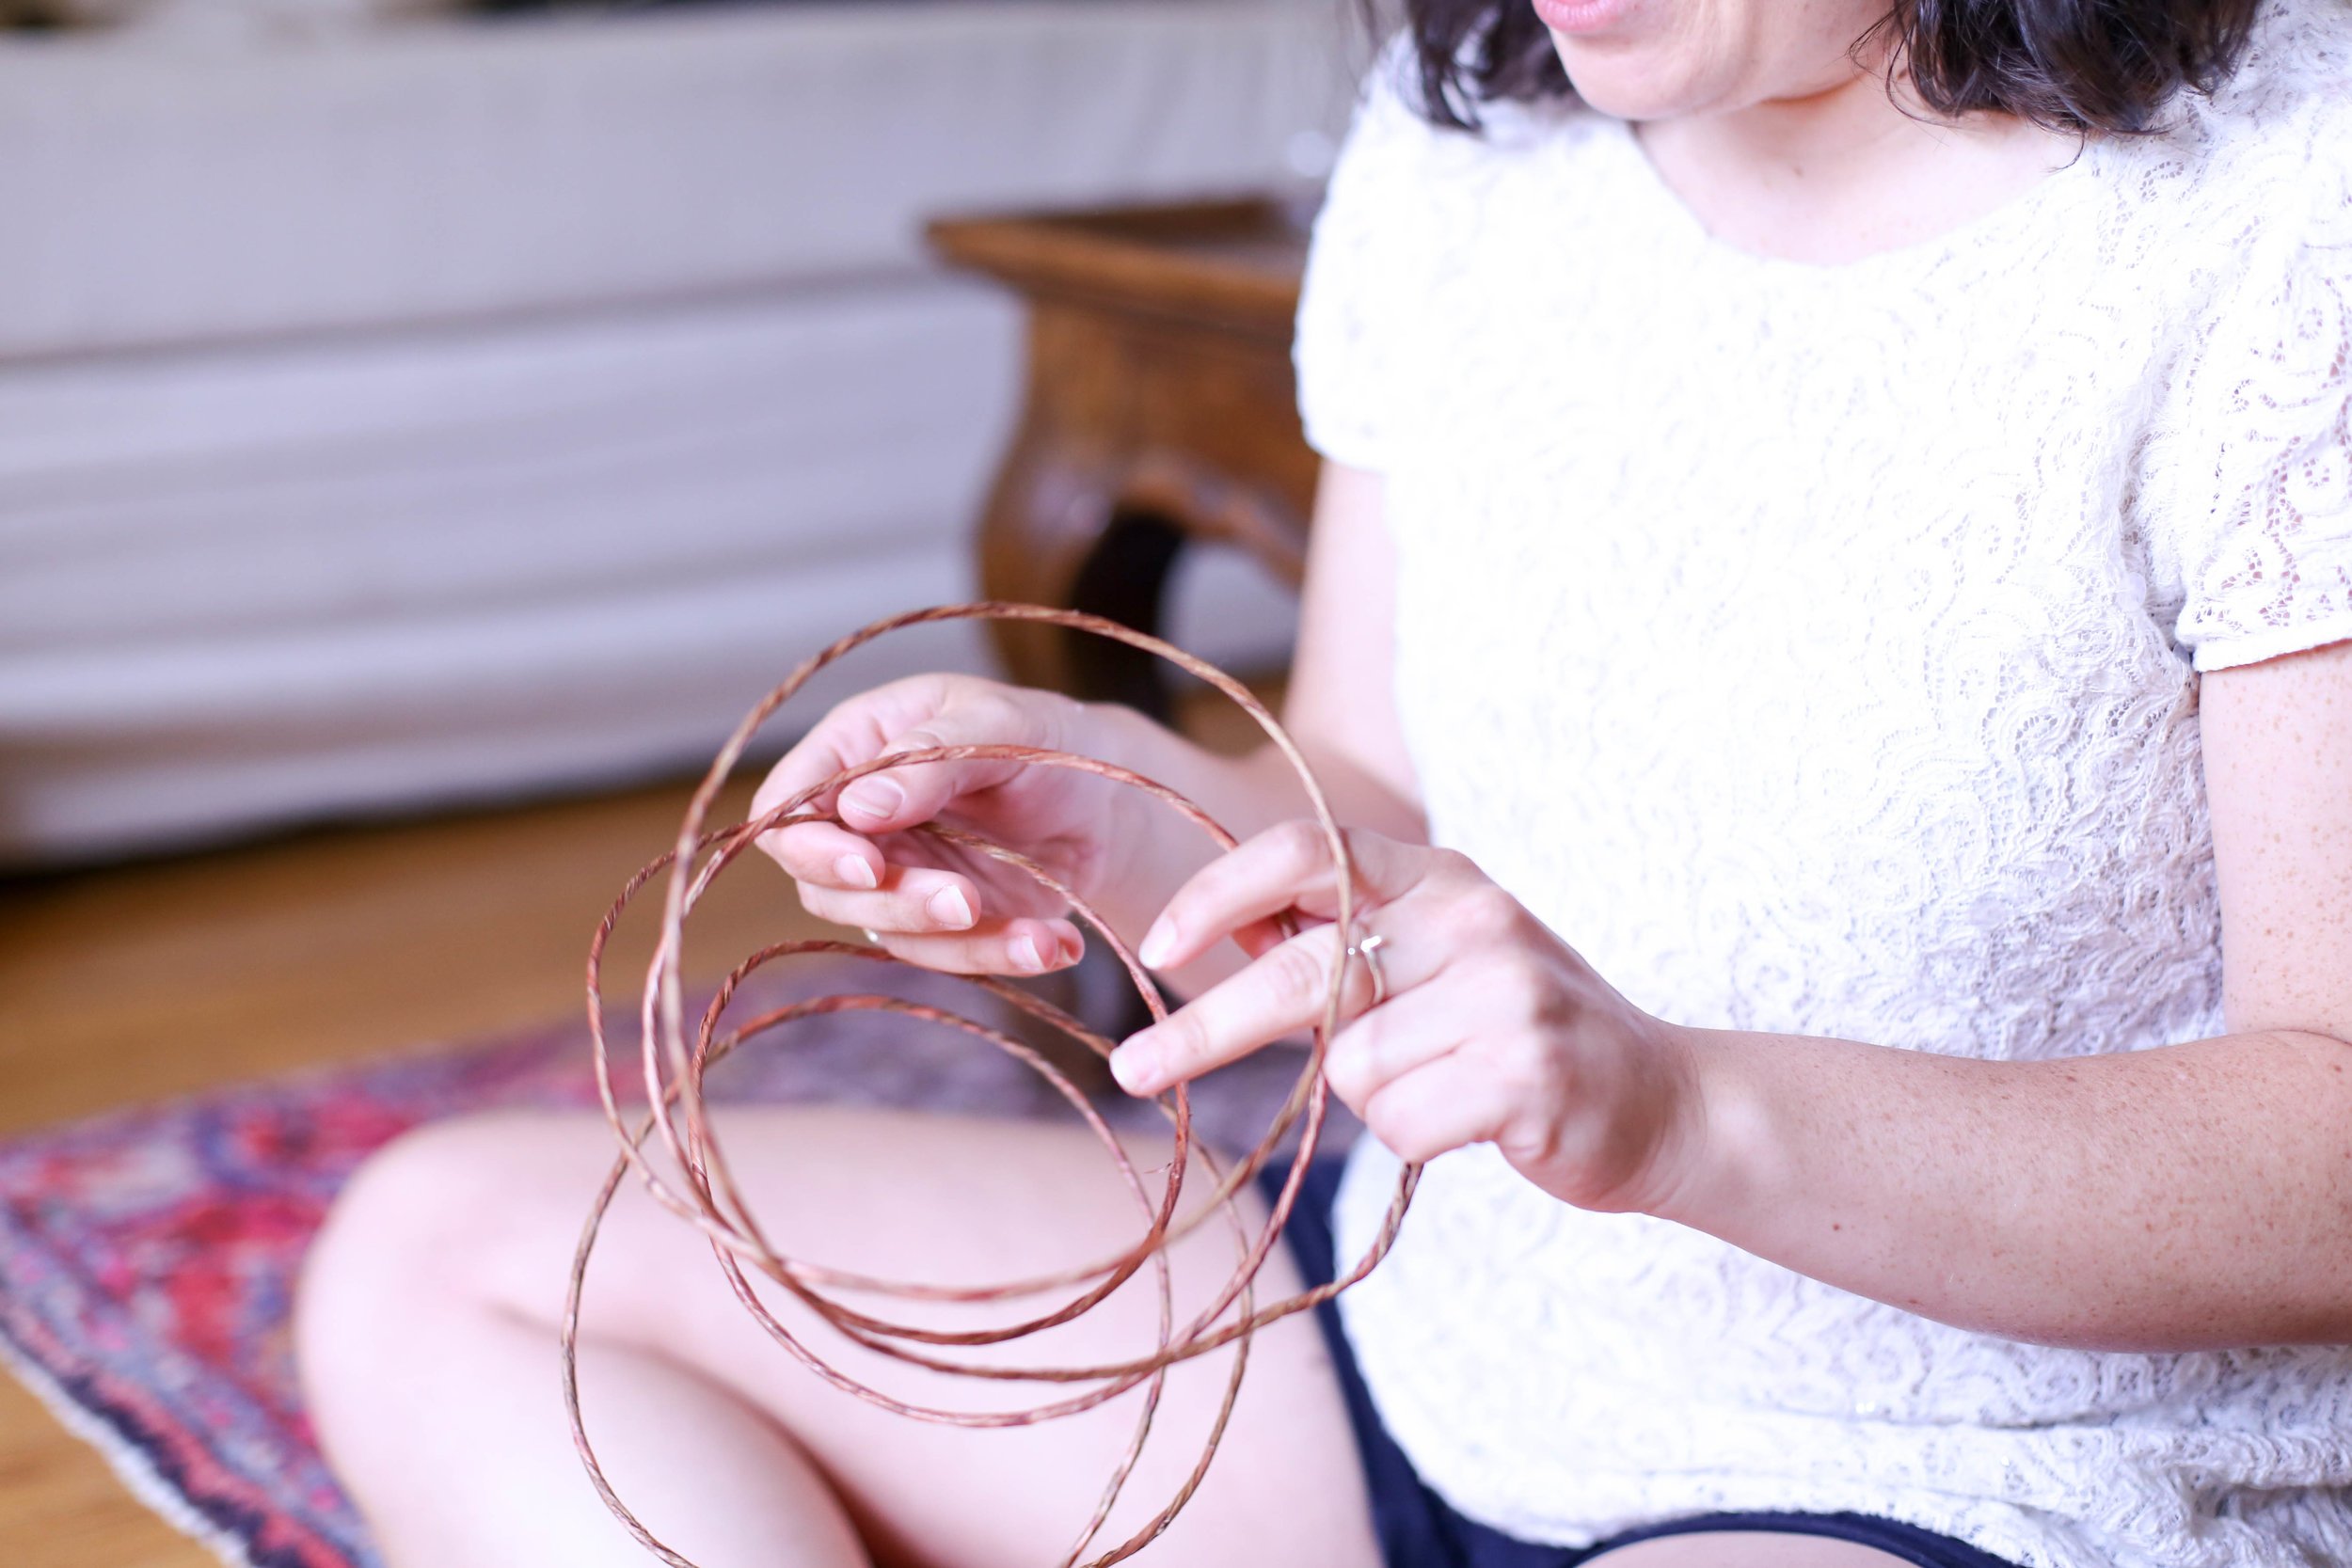
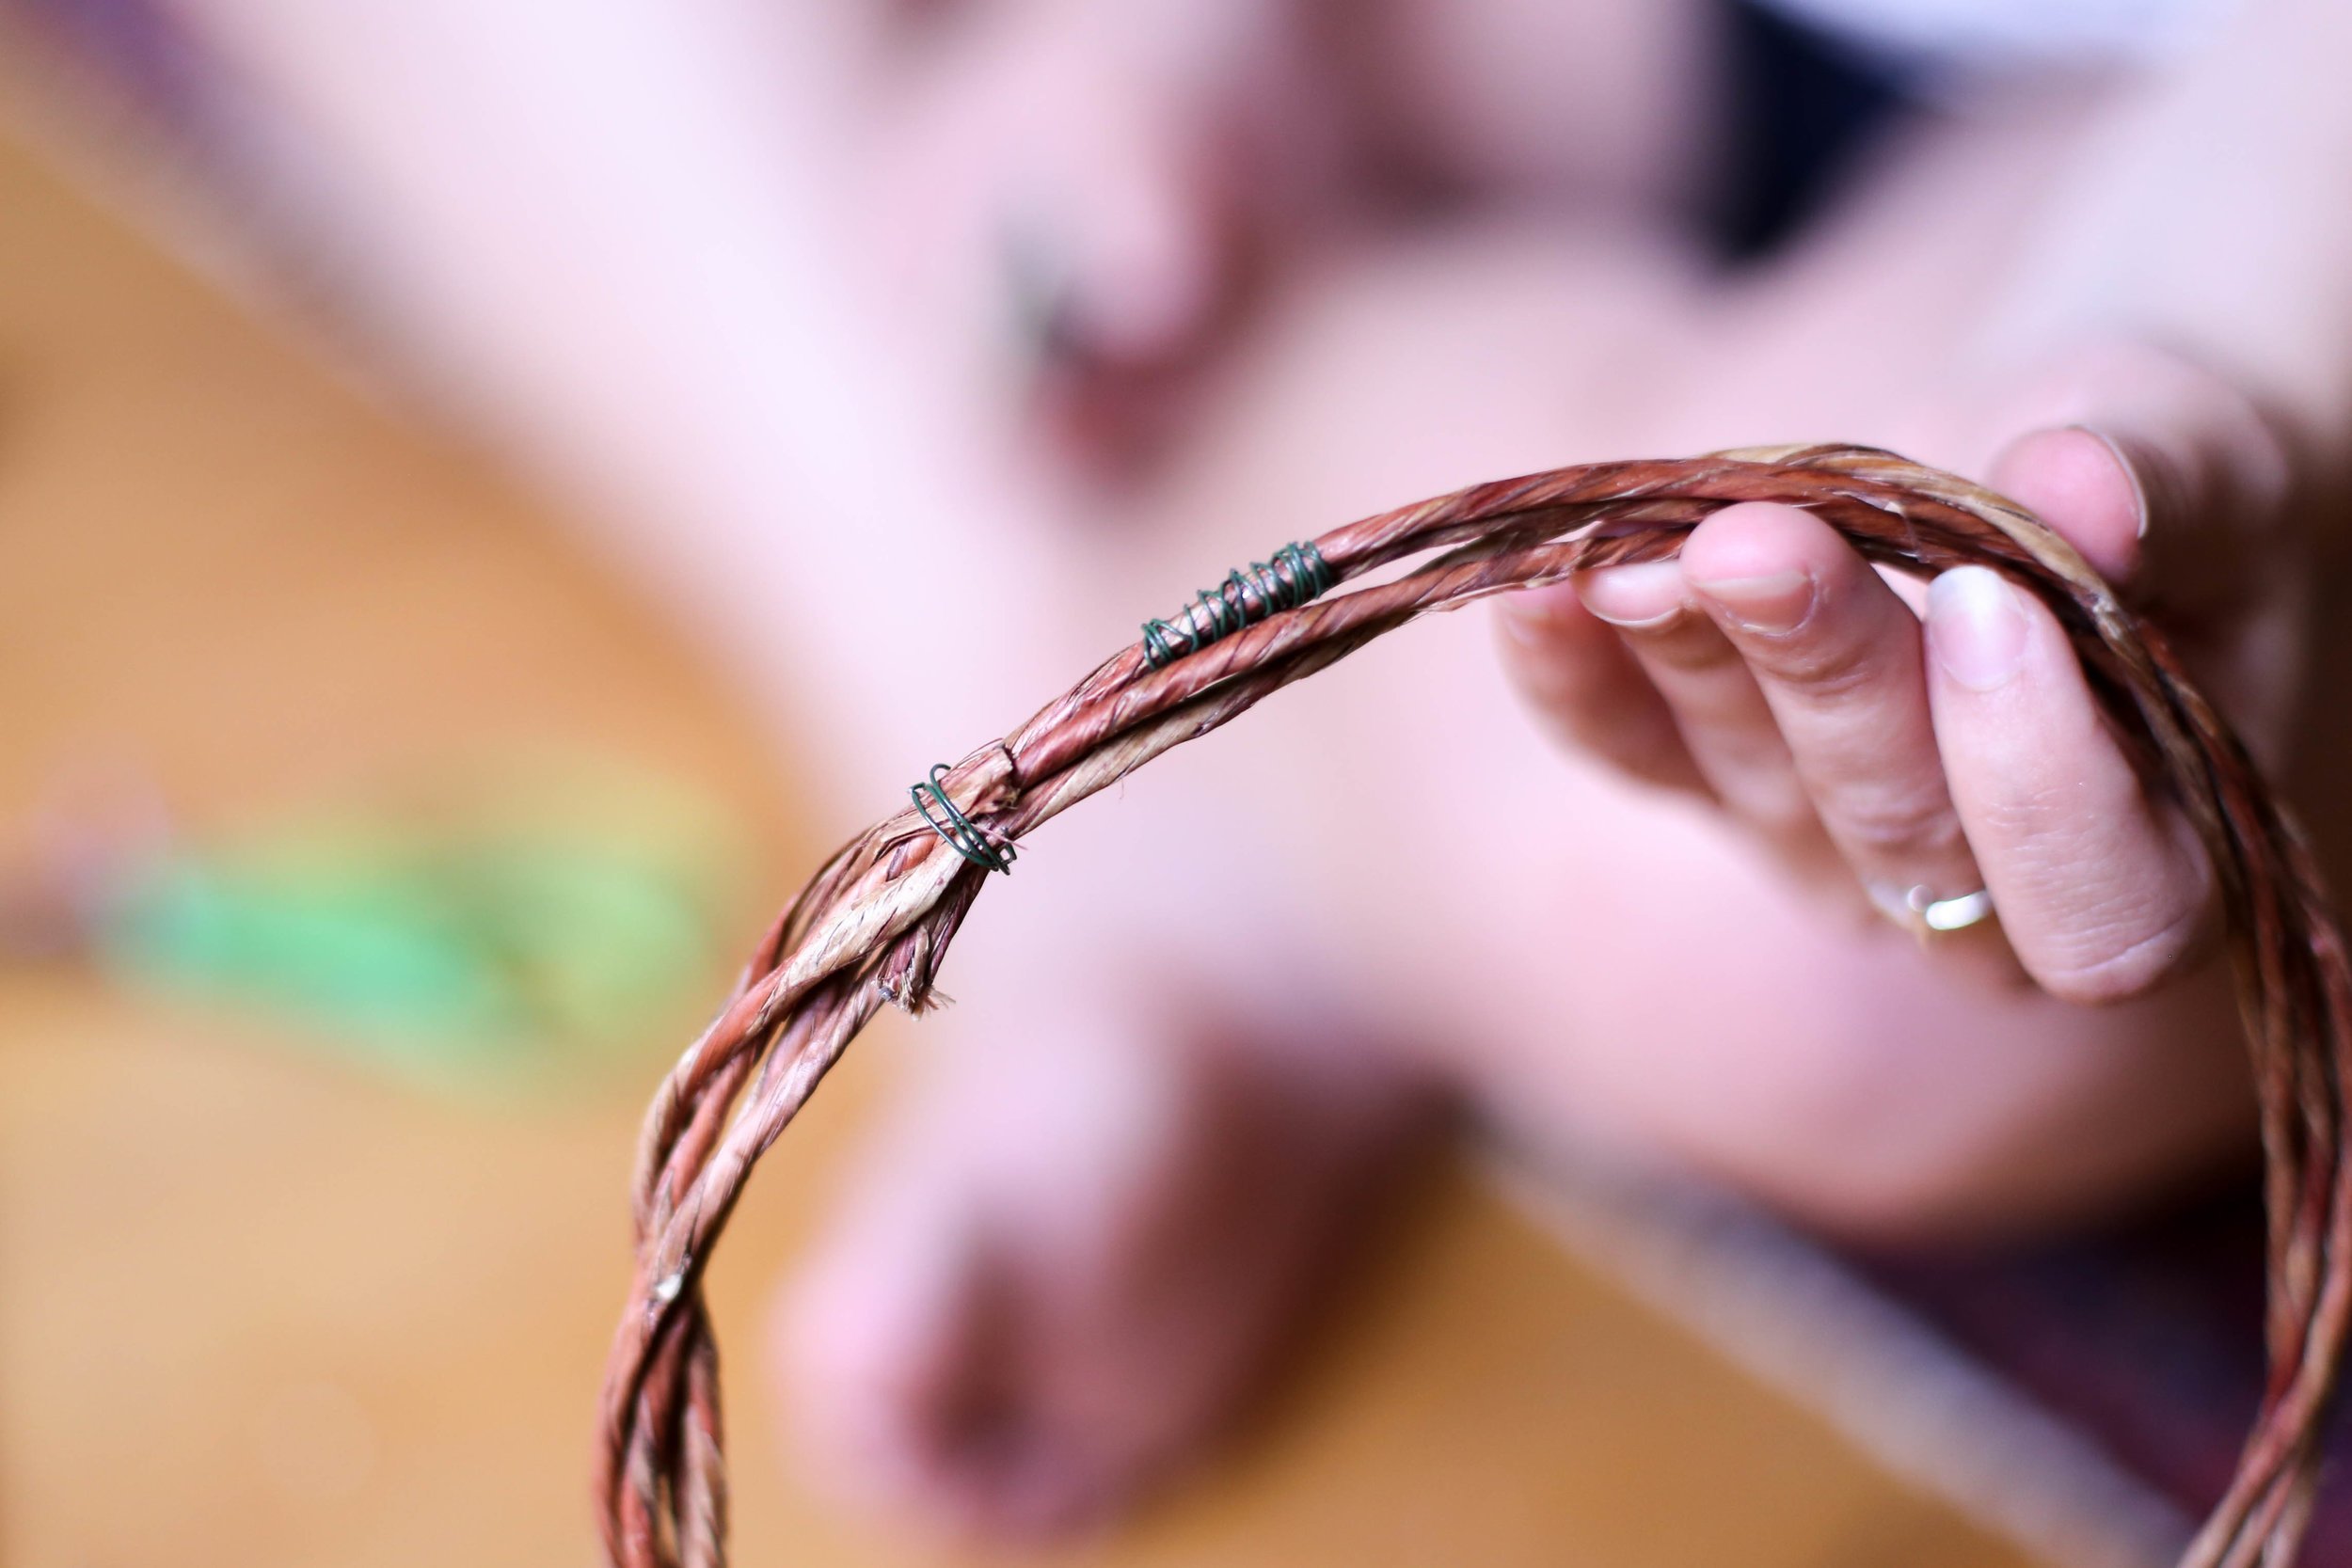
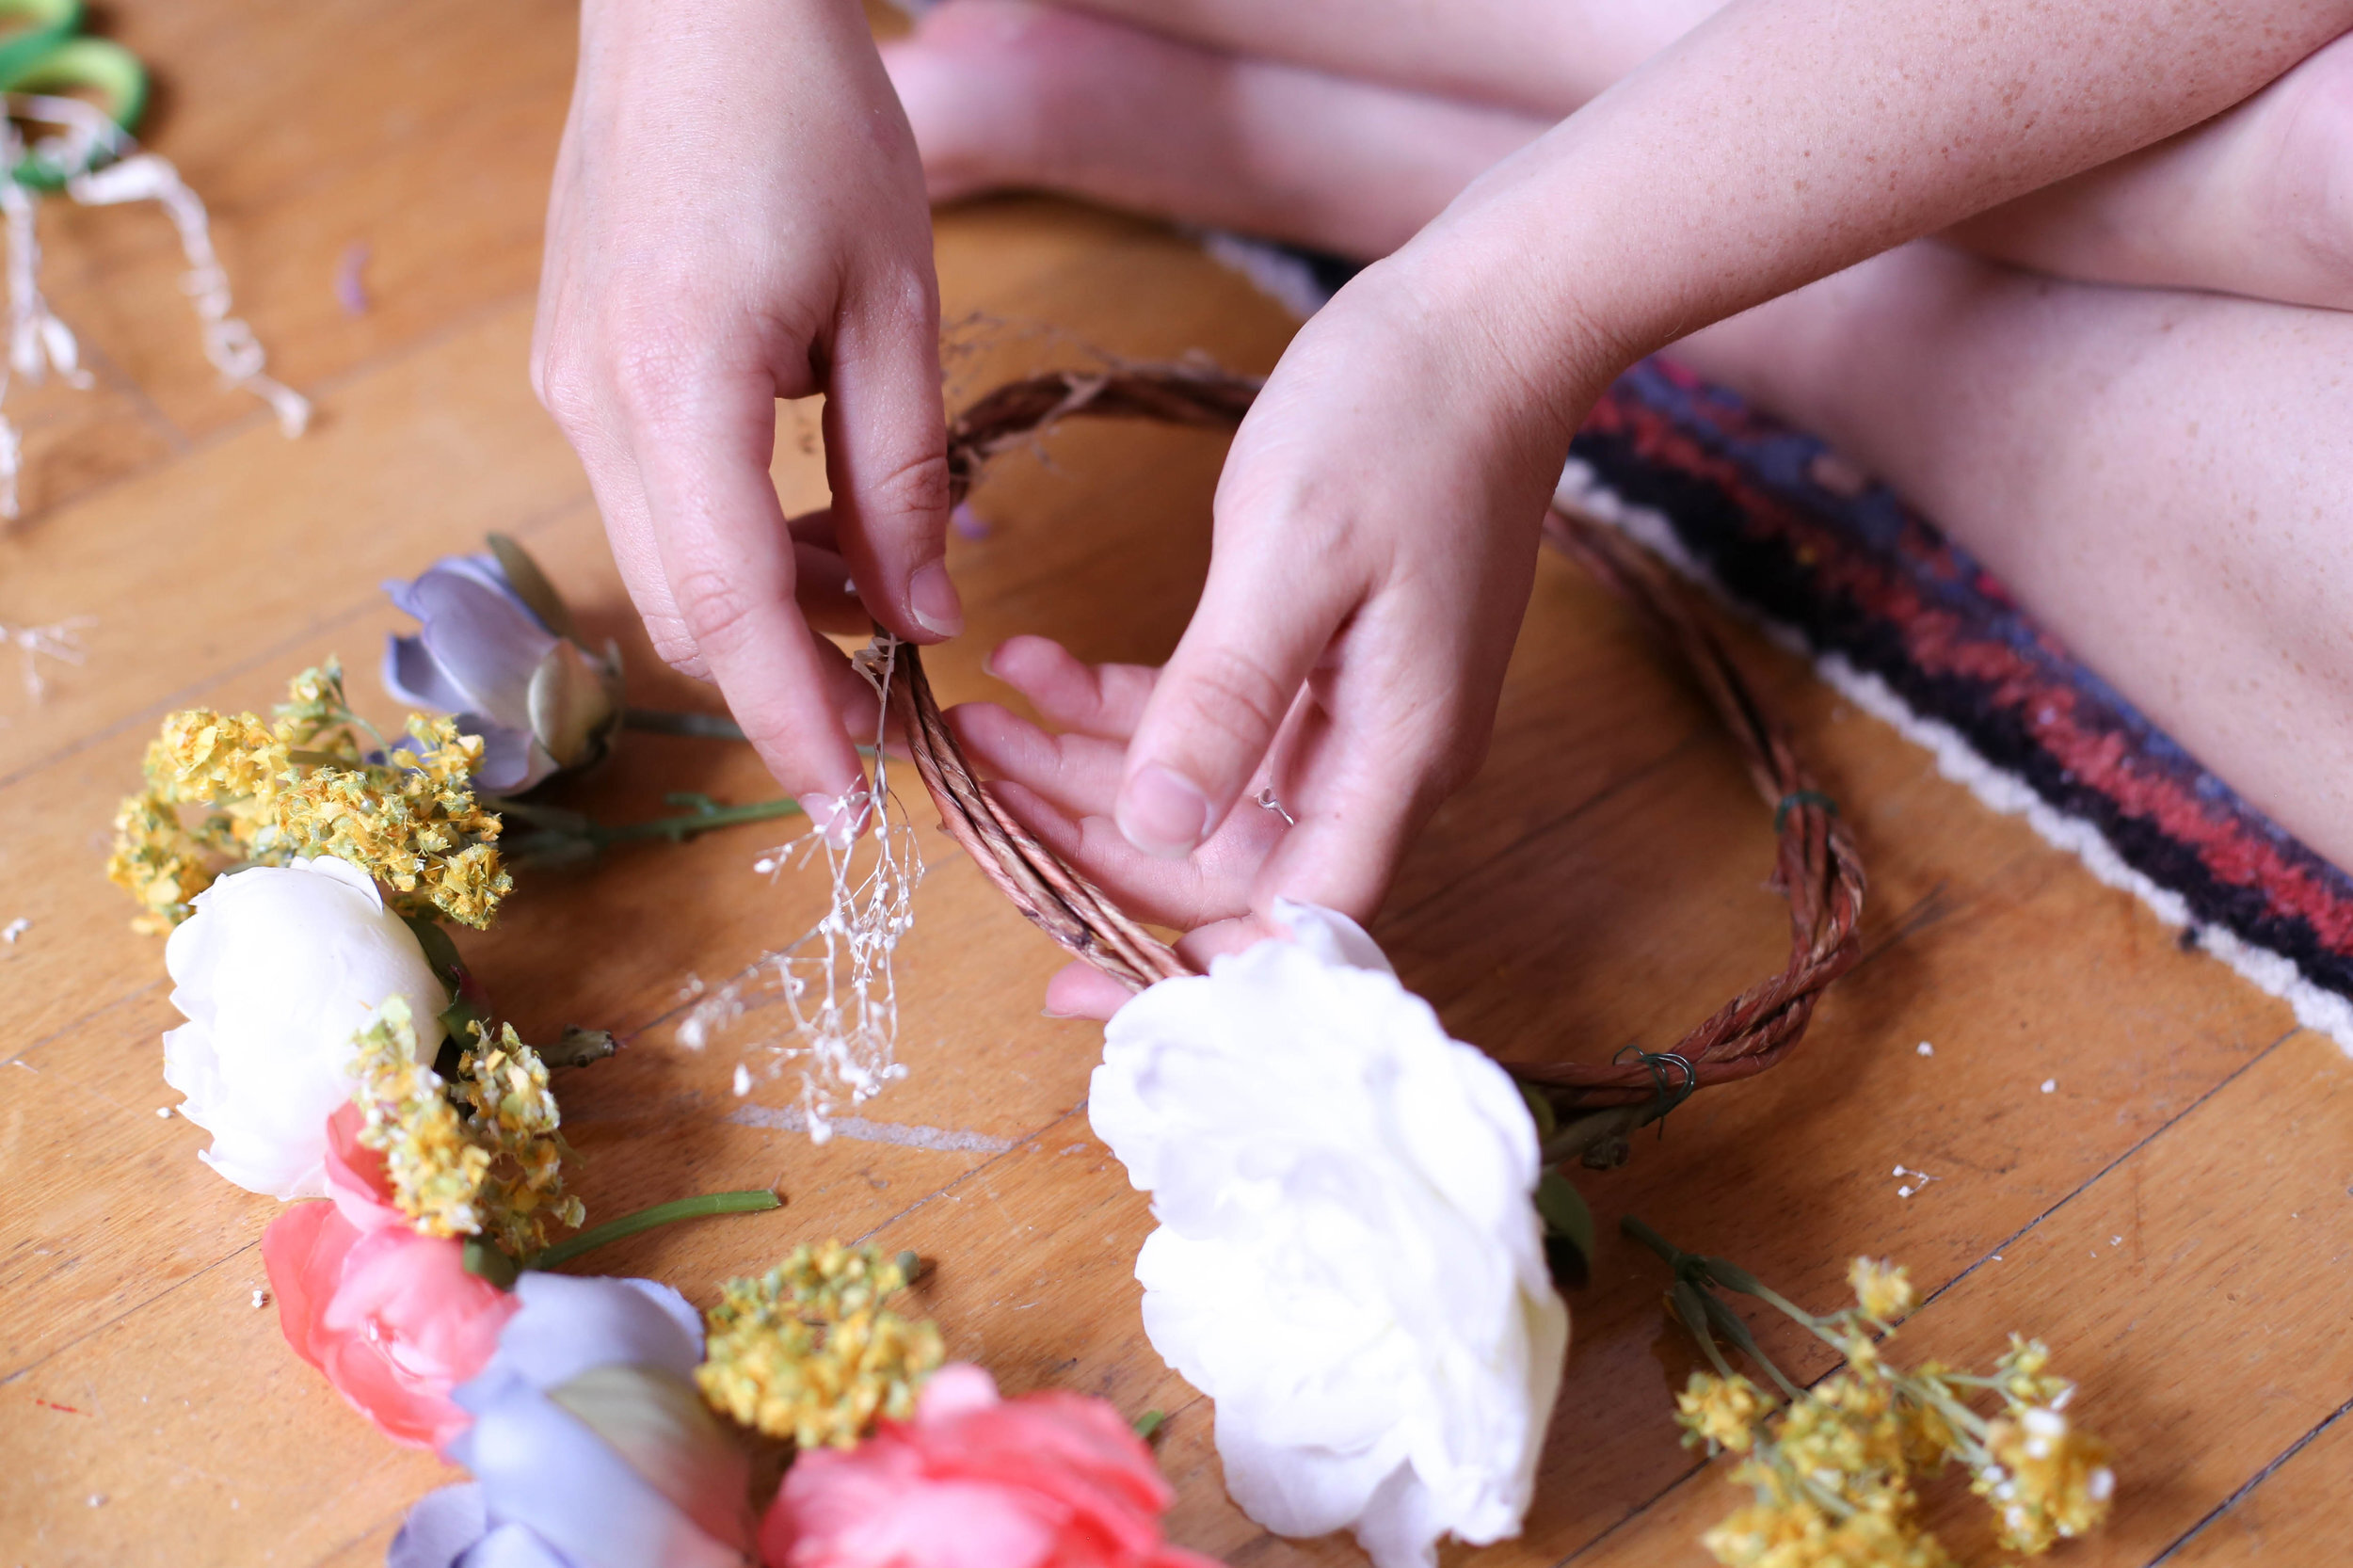
Step 4: Make the crown by fitting the craft wire to your head-size and then shaping it so that it sits just on the top of the crown of your head. We decided to make ours thicker by twisting the craft wire around itself and securing it with the floral wire or floral tape.


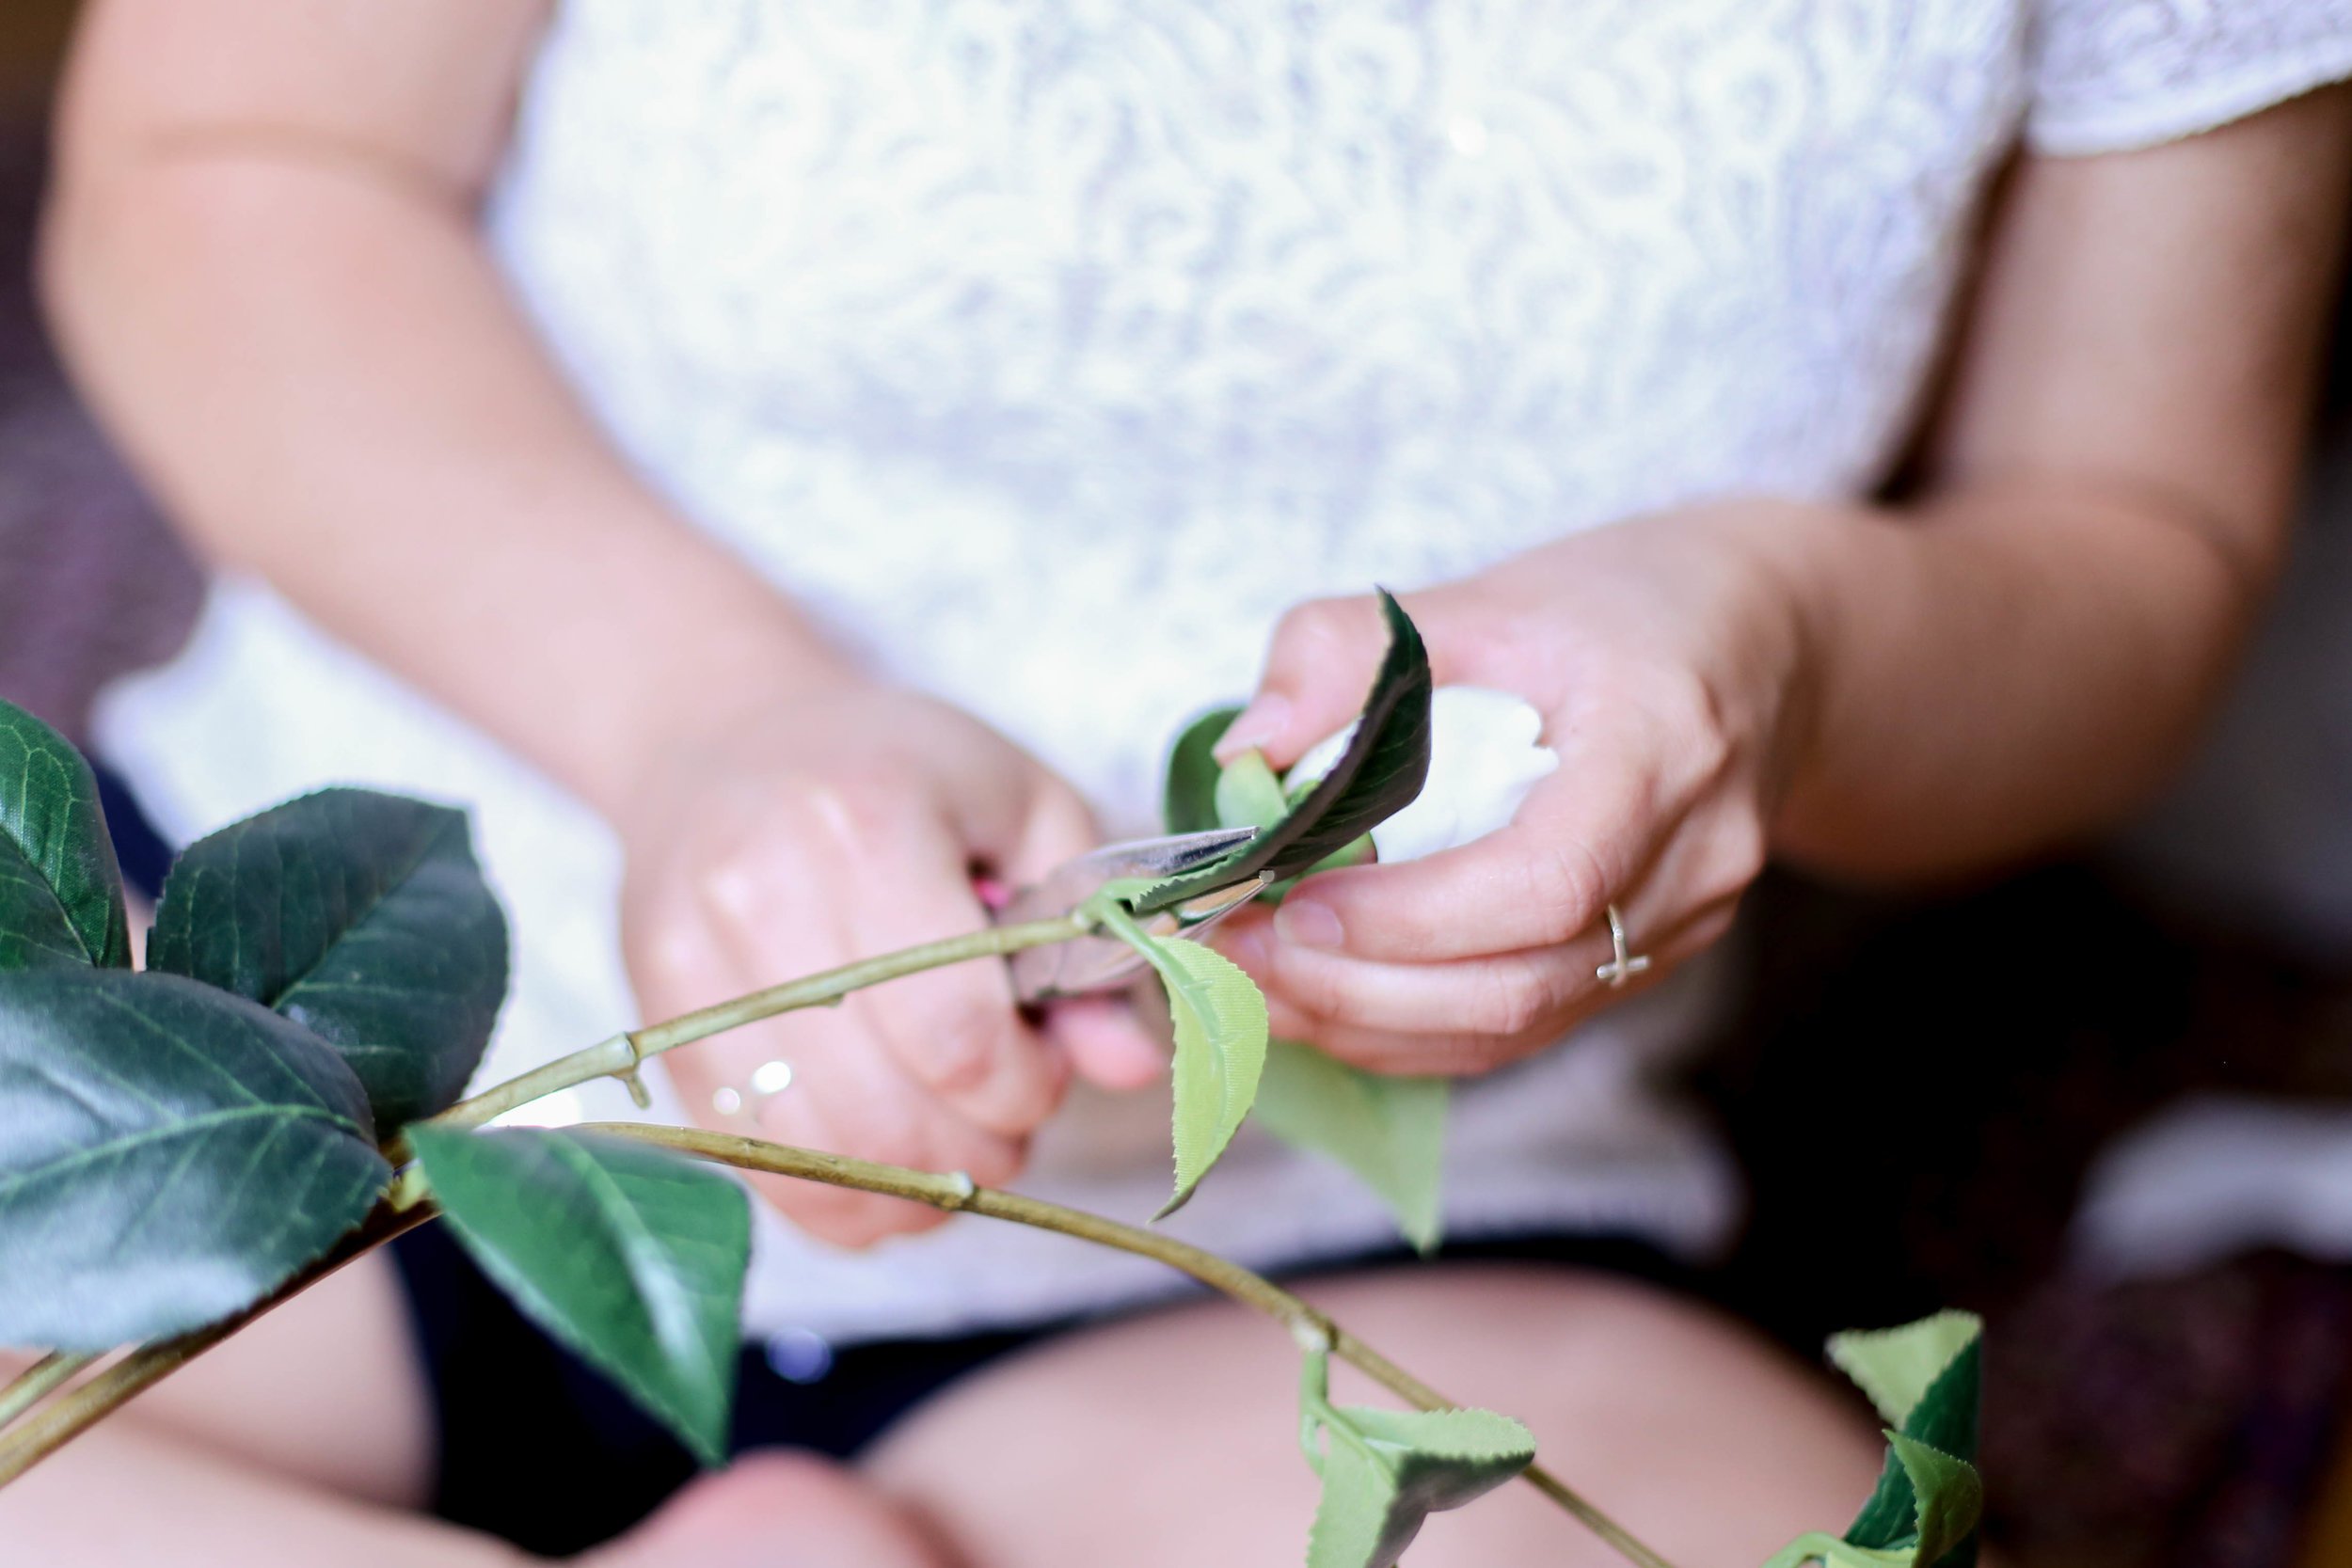
Step 5: Cut/pull the flowers off of the stems, making sure you leave enough left at the end to secure it to the crown, about an inch or so is perfect.
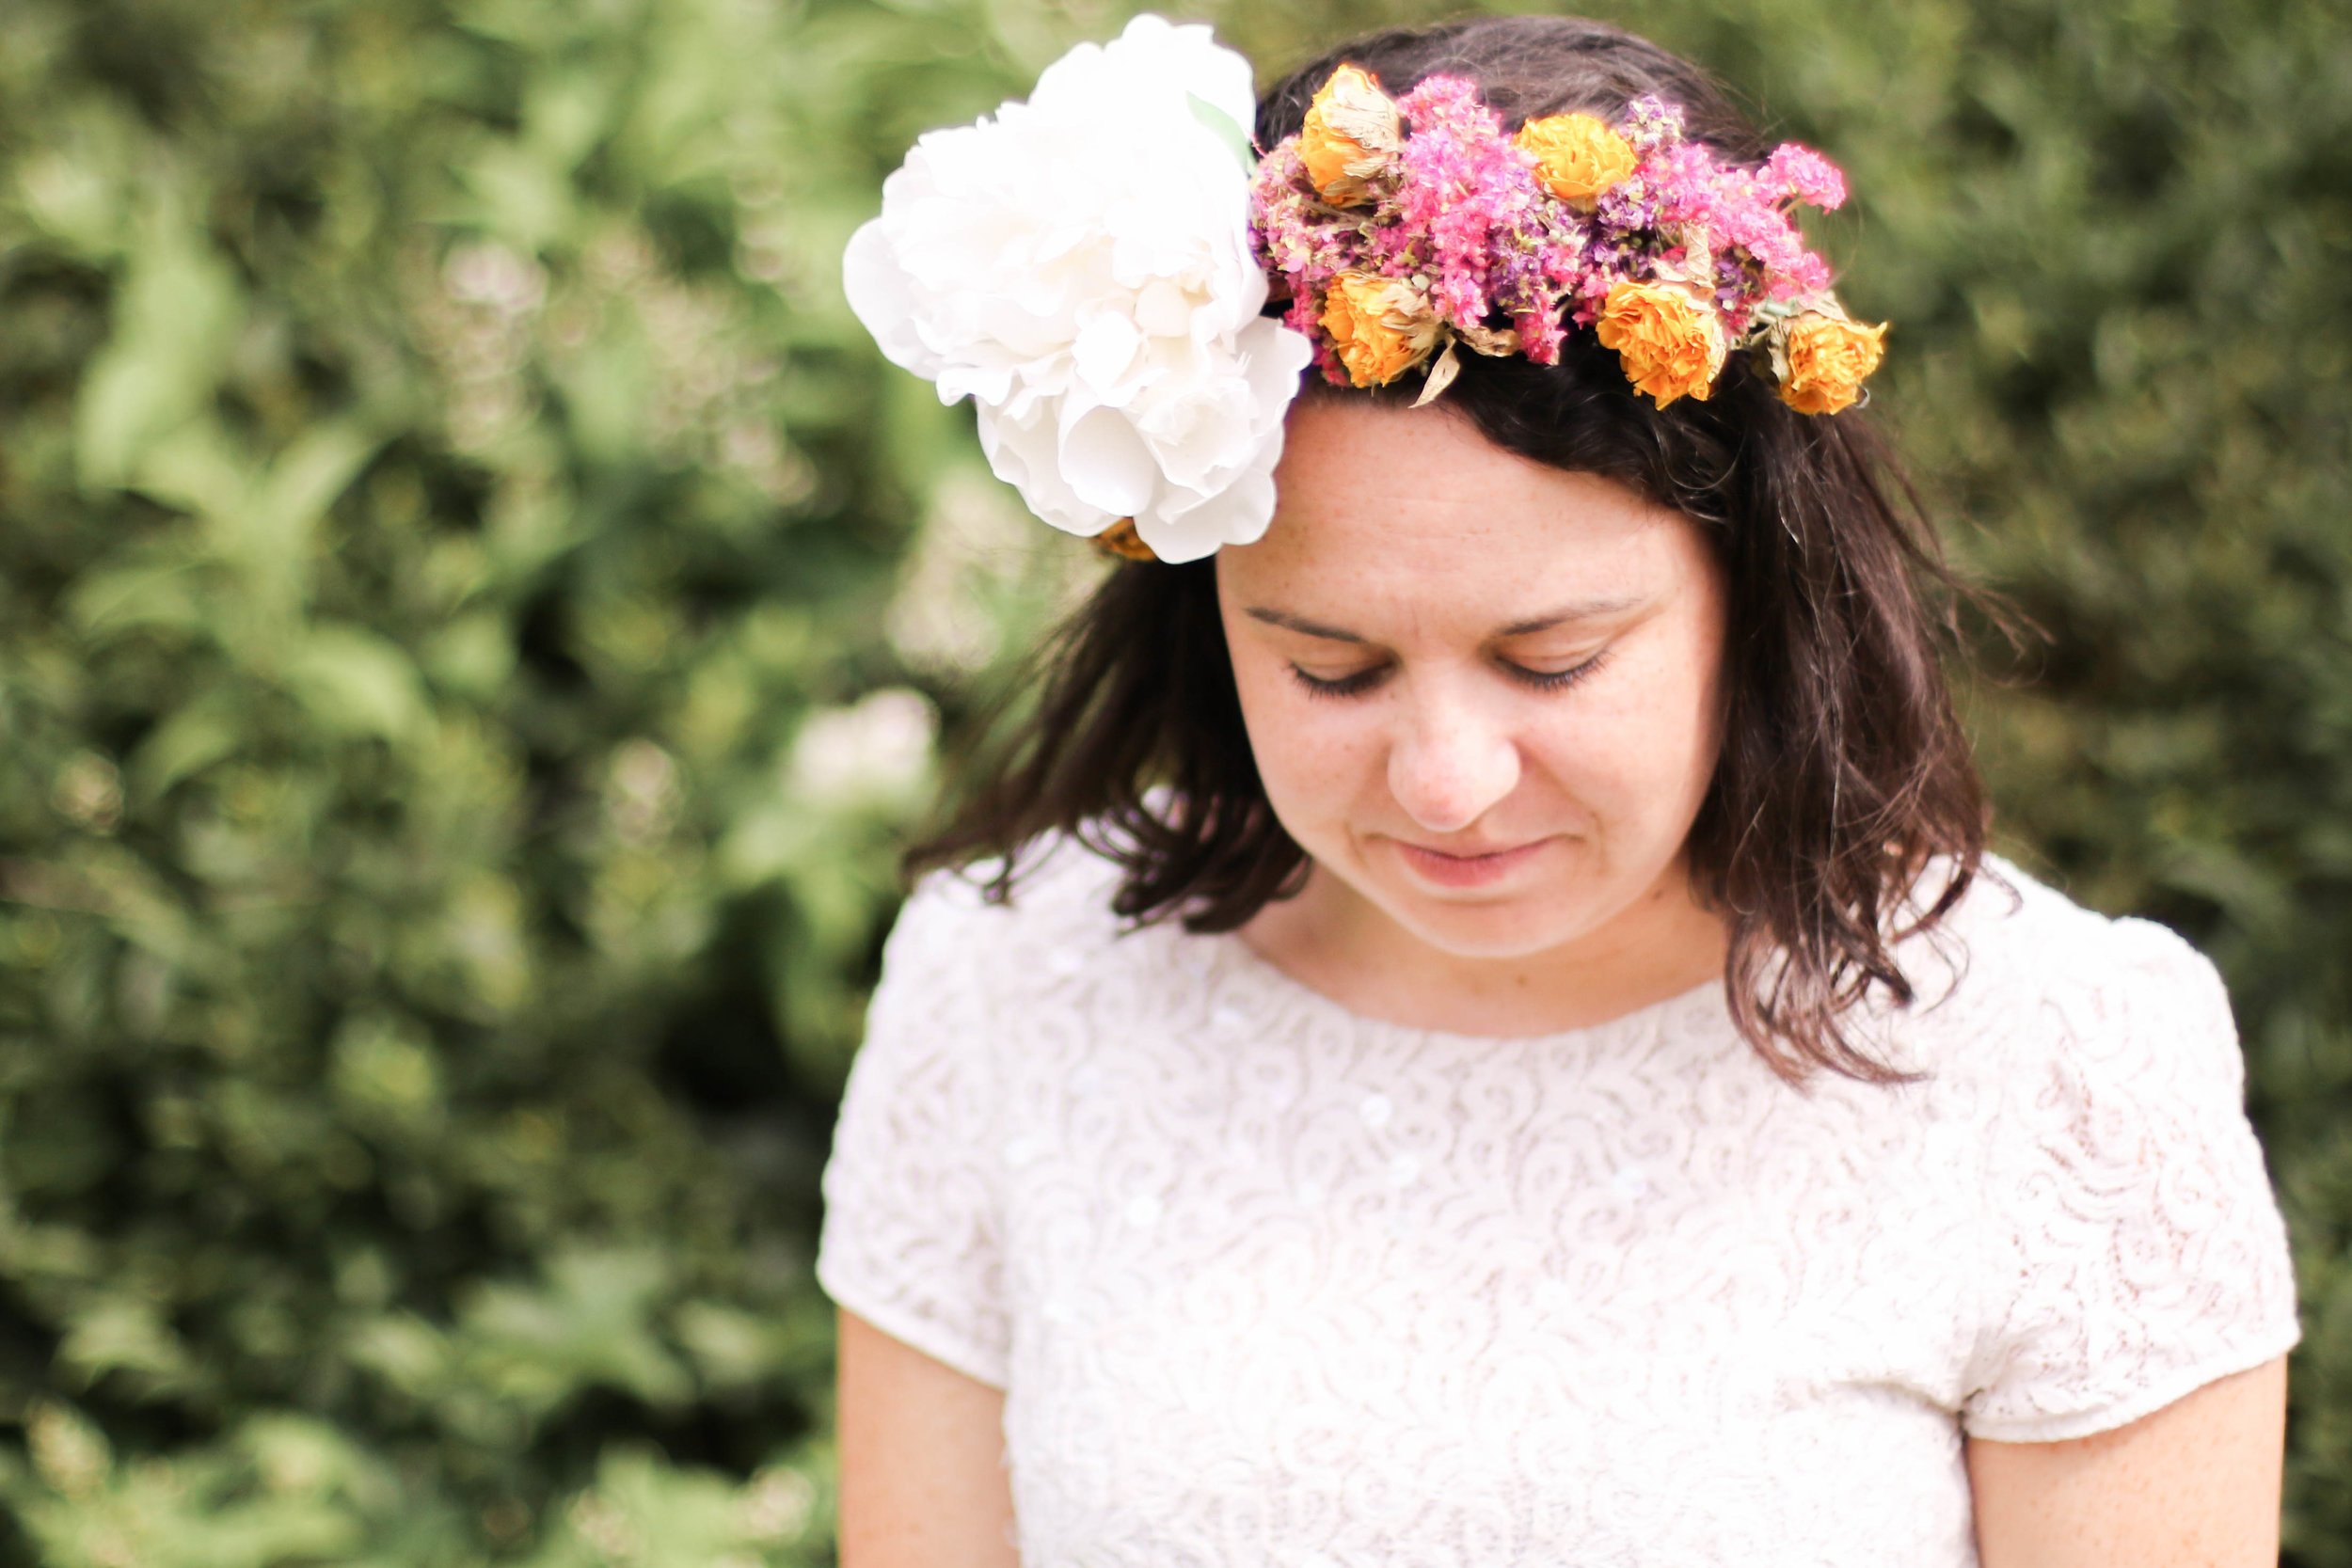
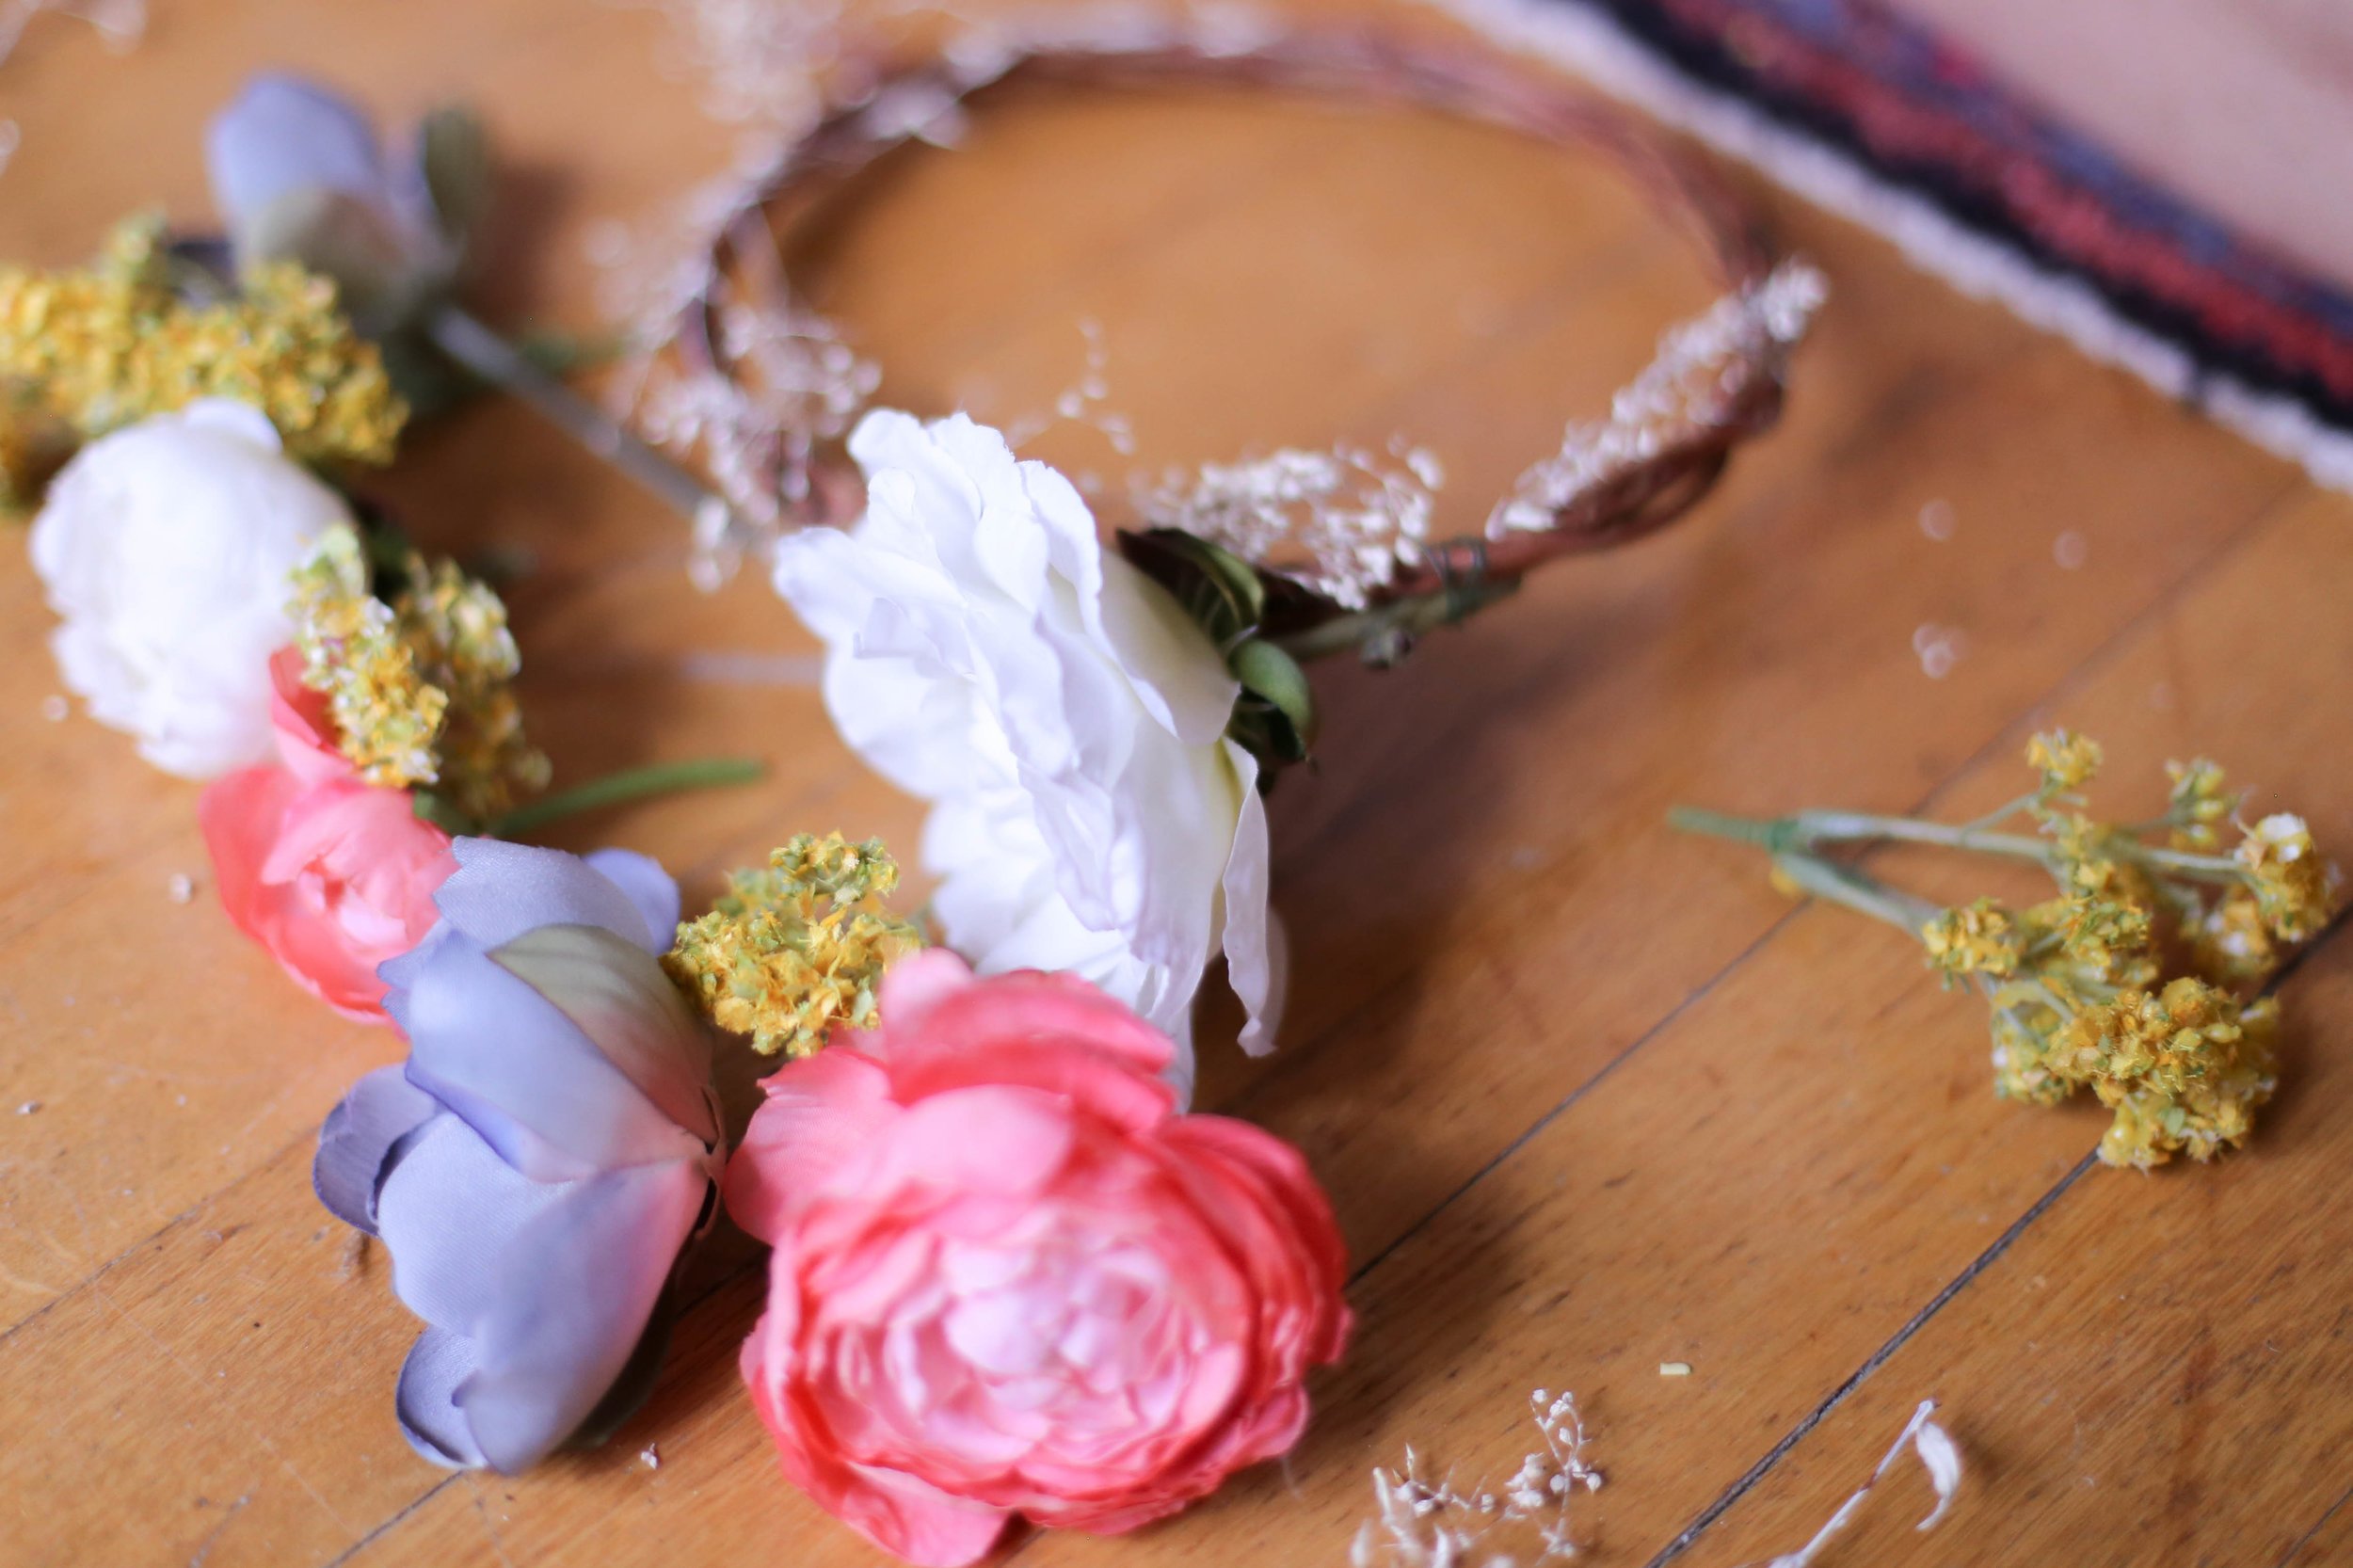
Step 6: Start by attaching the largest flower as your anchor point. We chose to put ours off-center, off to the side. Next, layout your crown, take your time, move the flowers around until you get it just like you like it. Don't forget the little guys! I love the little yellow buds I found for Amy's, they really were key to making the whole thing look natural and effortless.

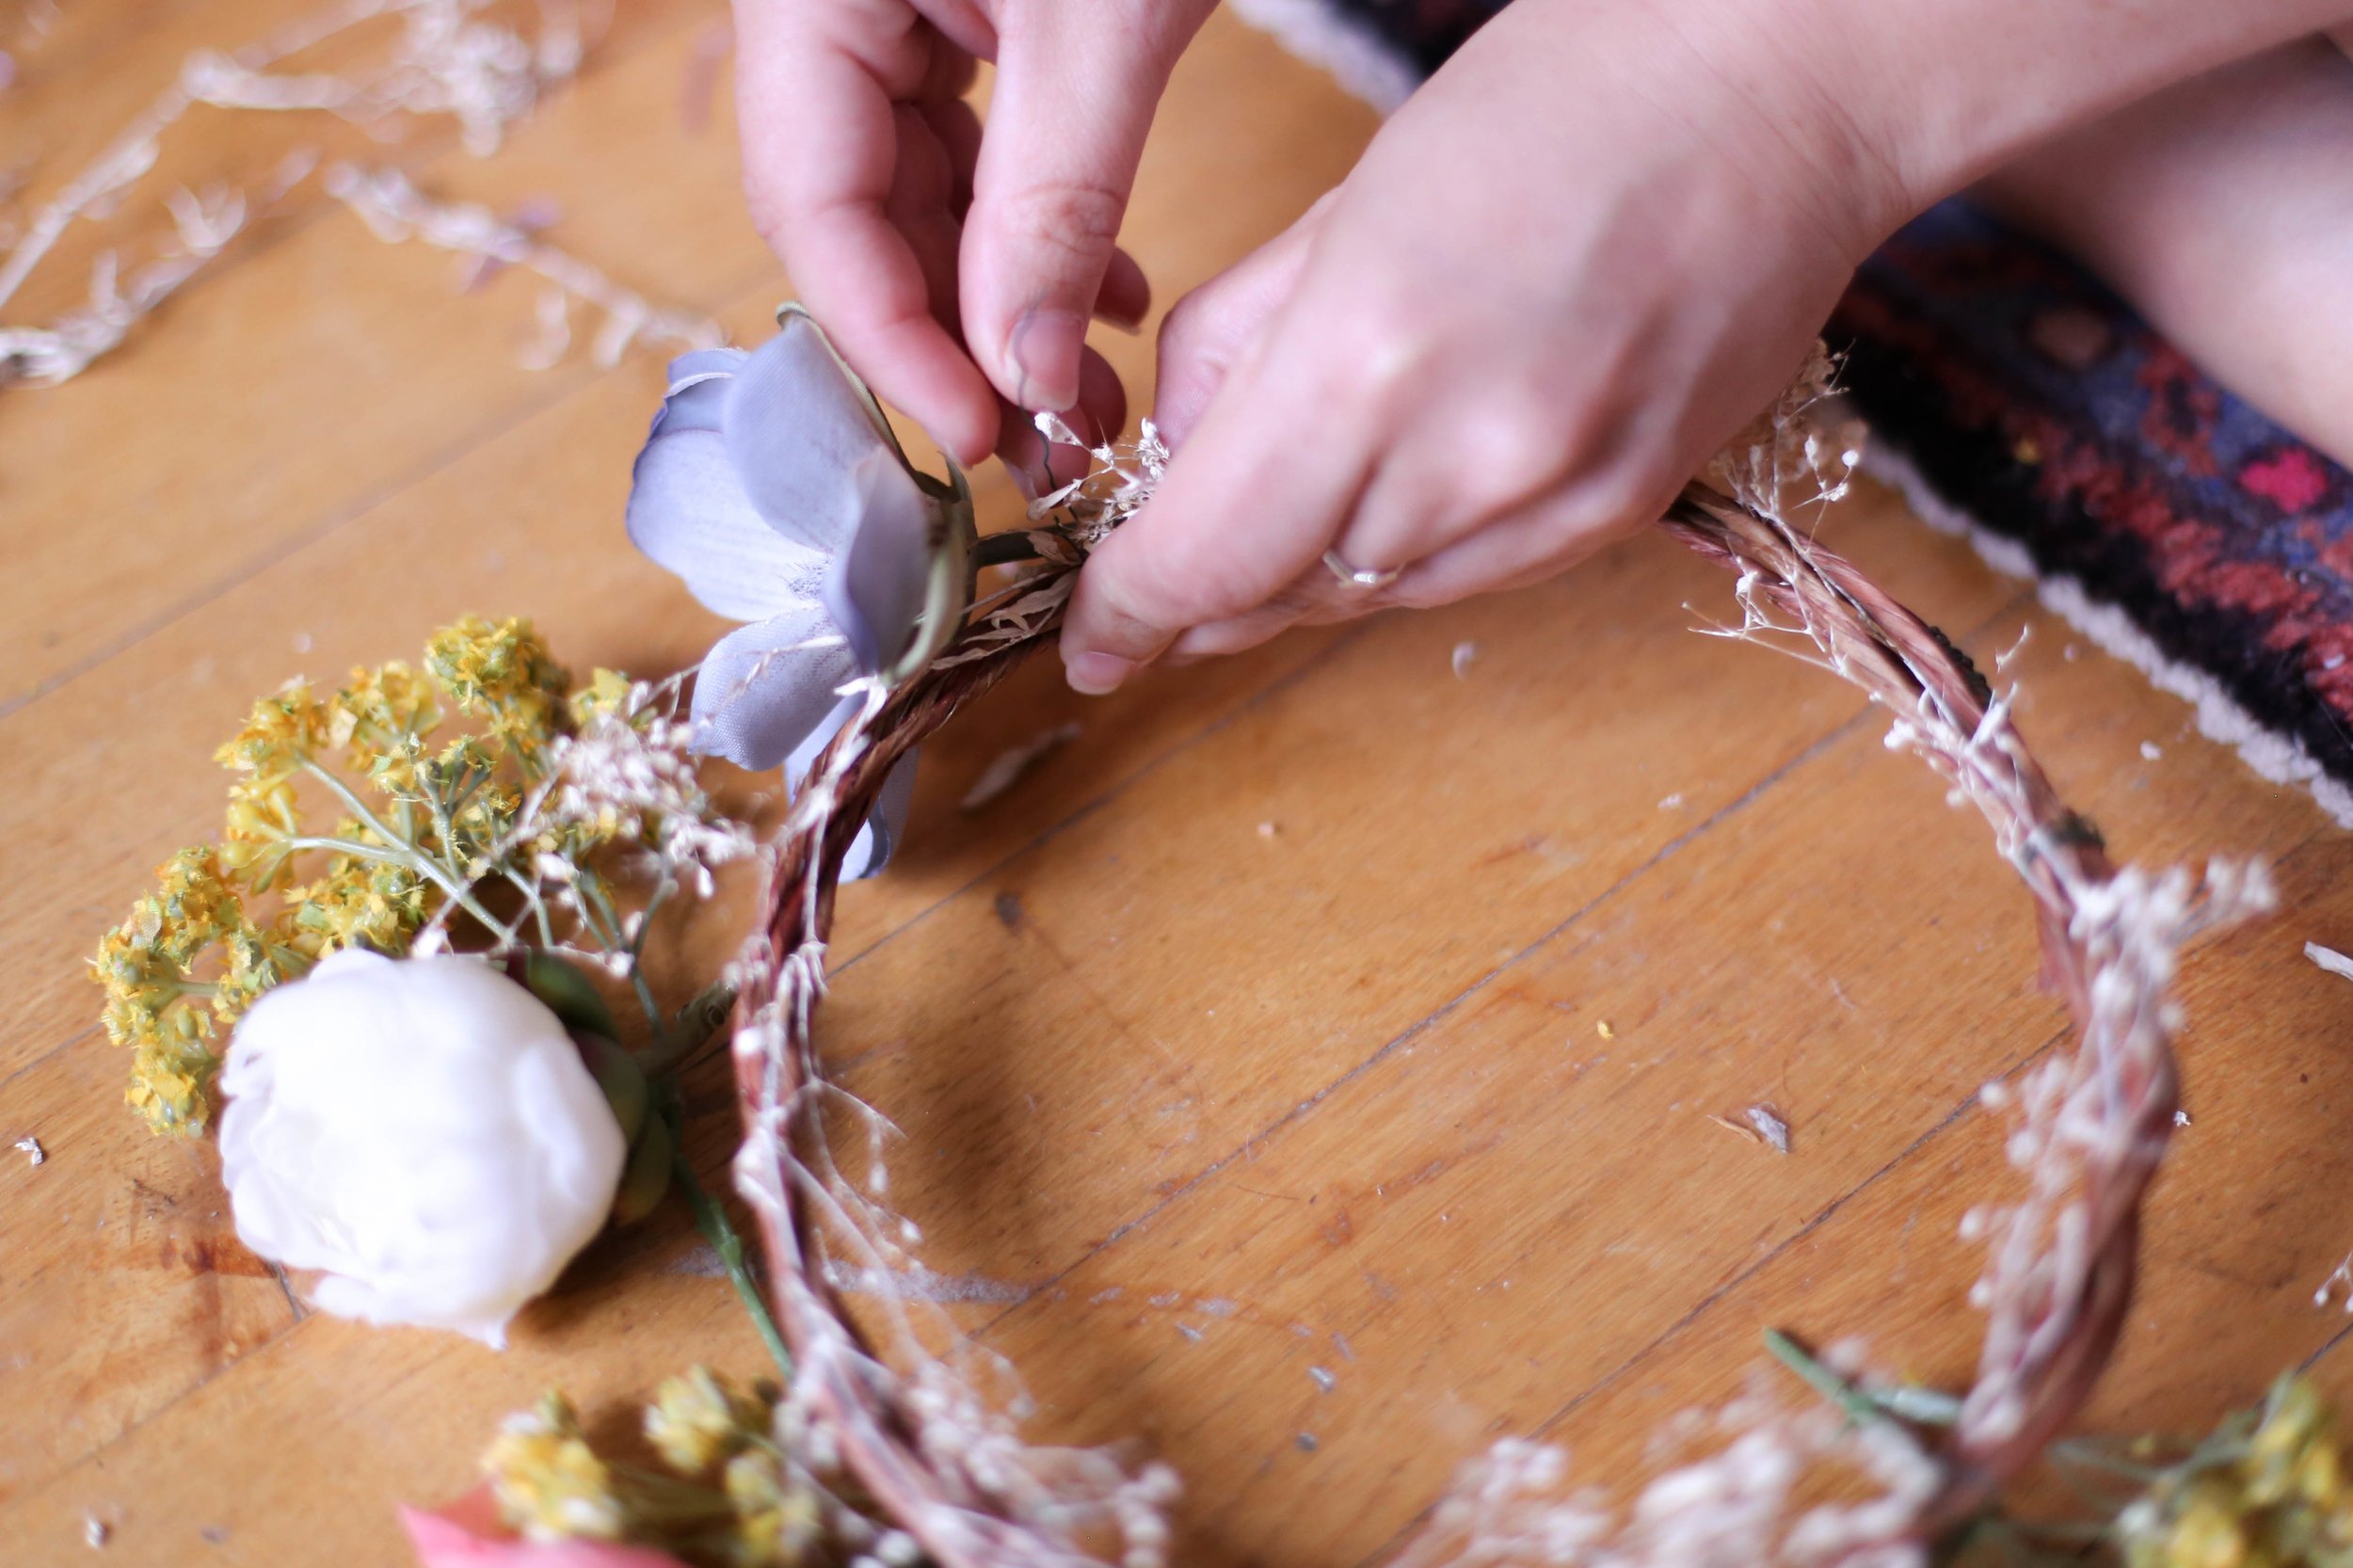
Step 7: Attach the filler to the base. You want to work backwards so to speak.

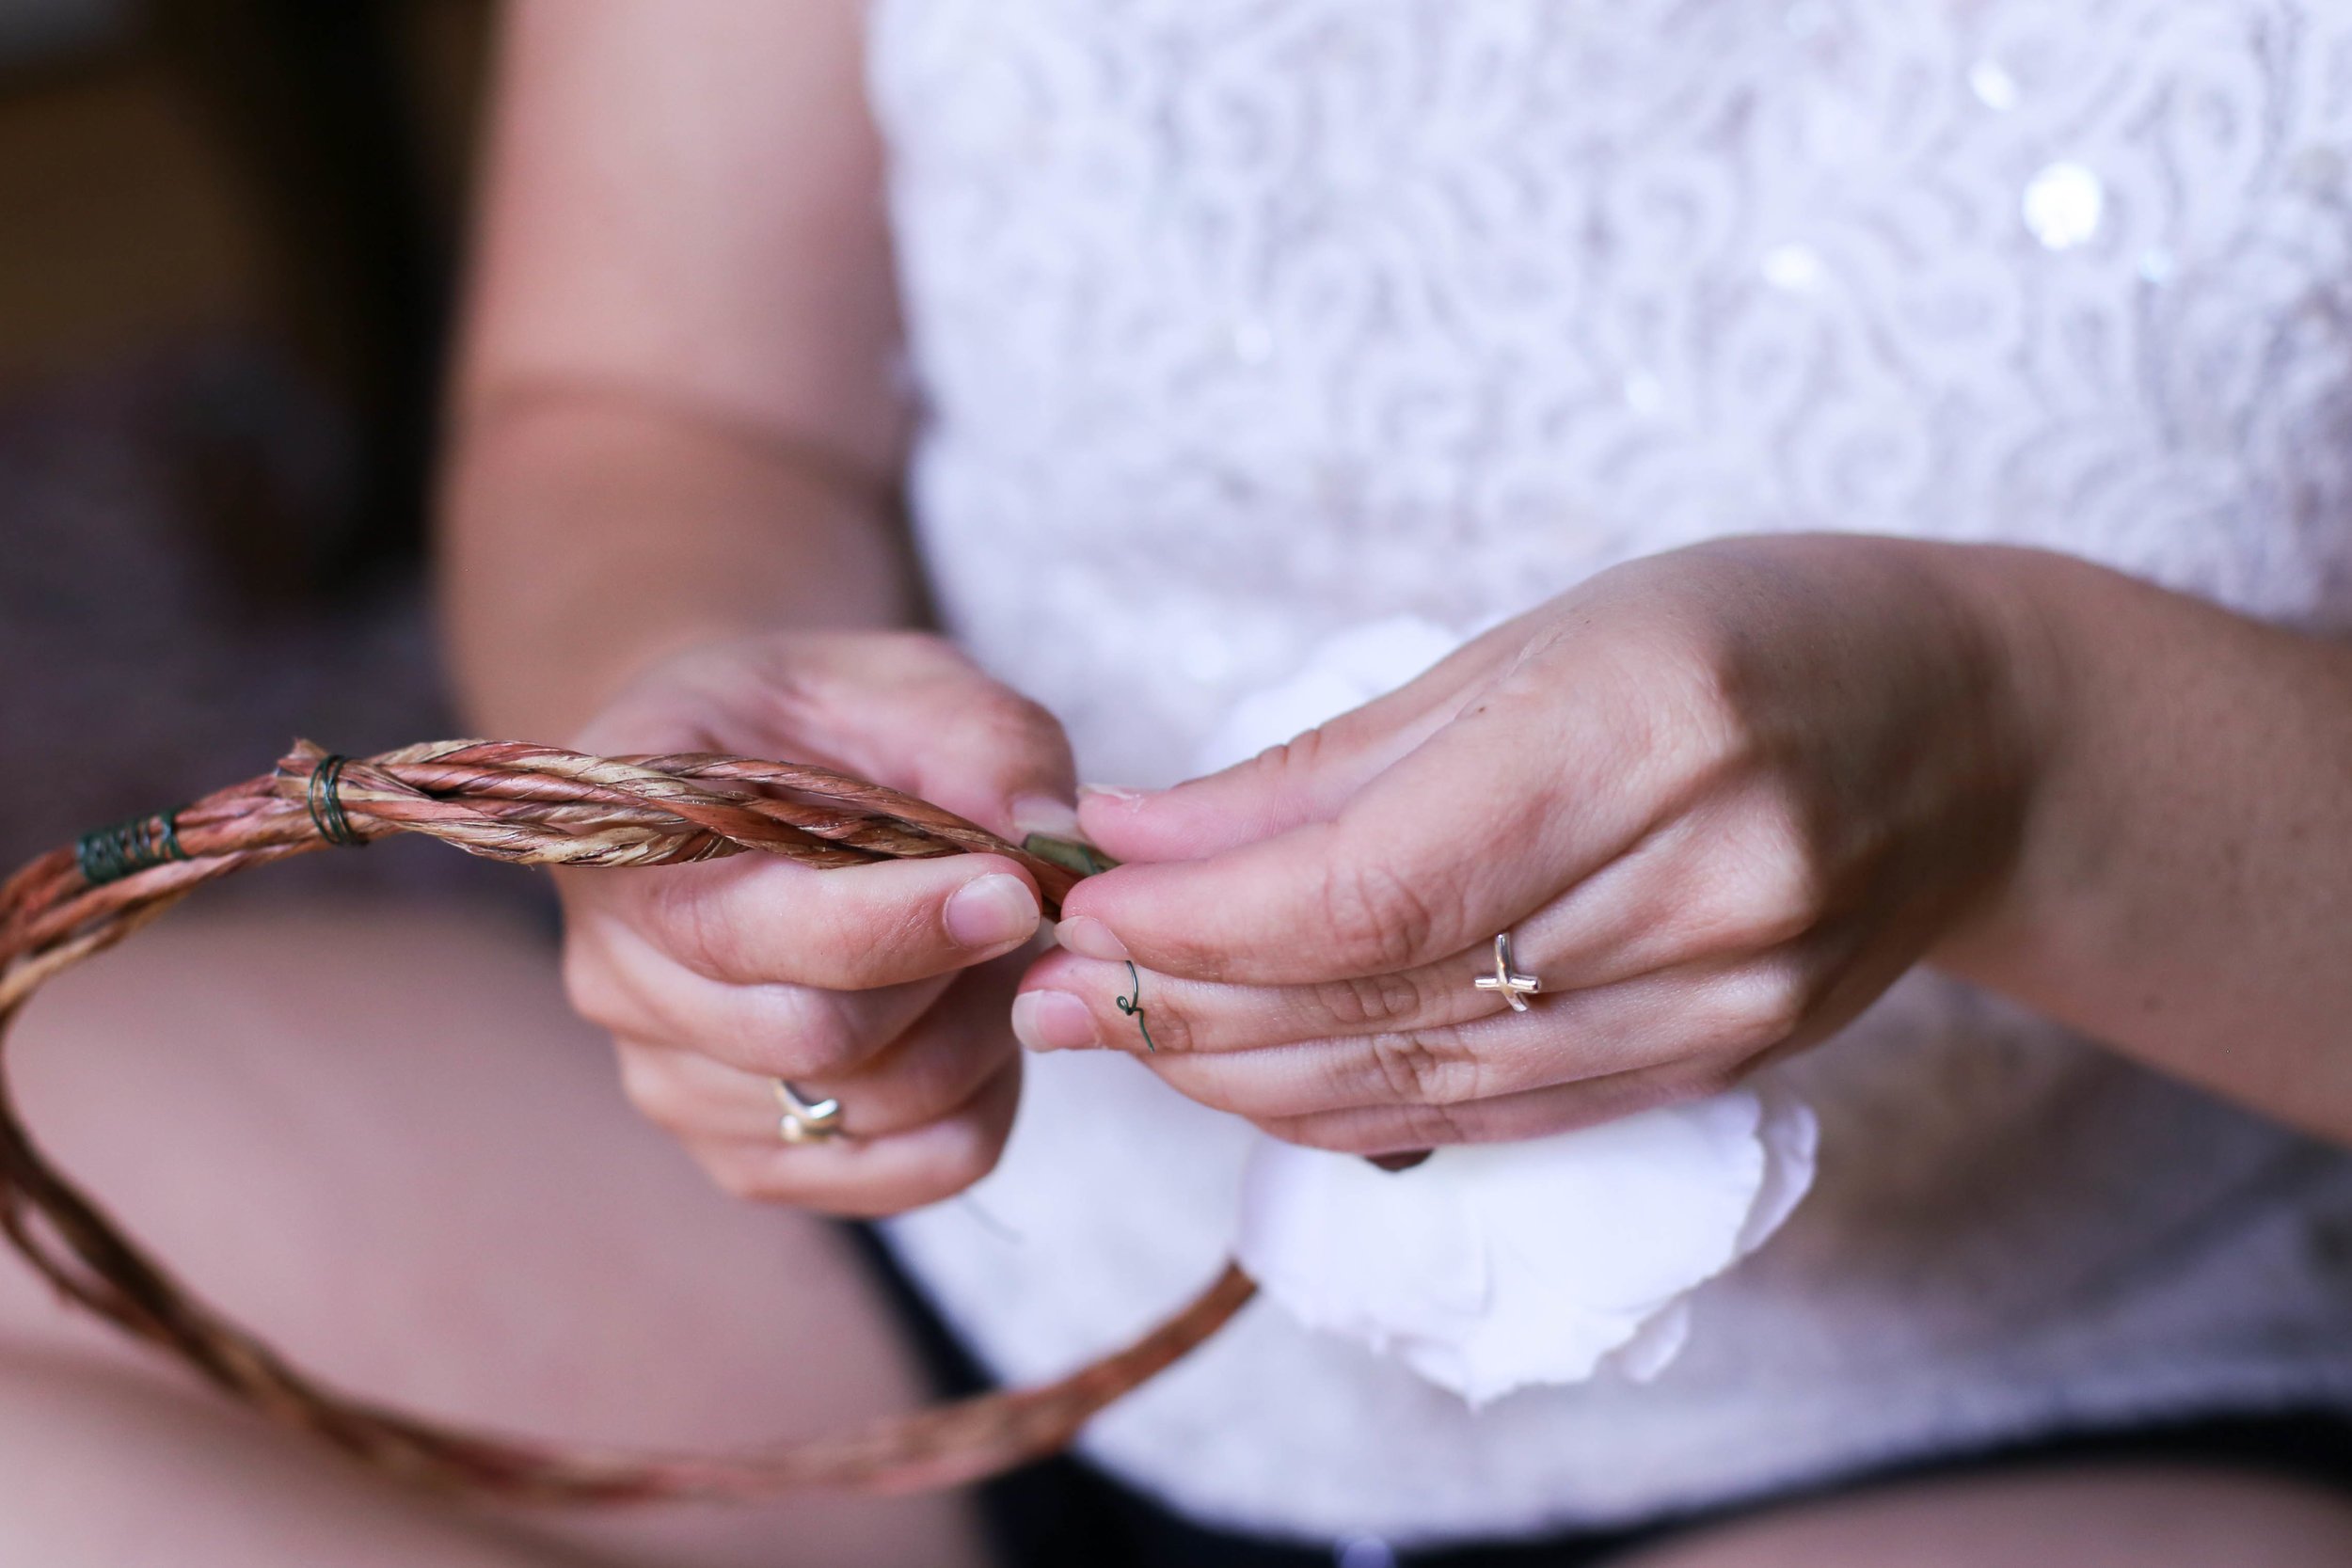
Step 8: Start attaching your buds to the crown. To do this, it is easier if you start by wrapping the ends of the buds with wire 3-4 times and then attach it to the crown, that way you can pull and create some tension.

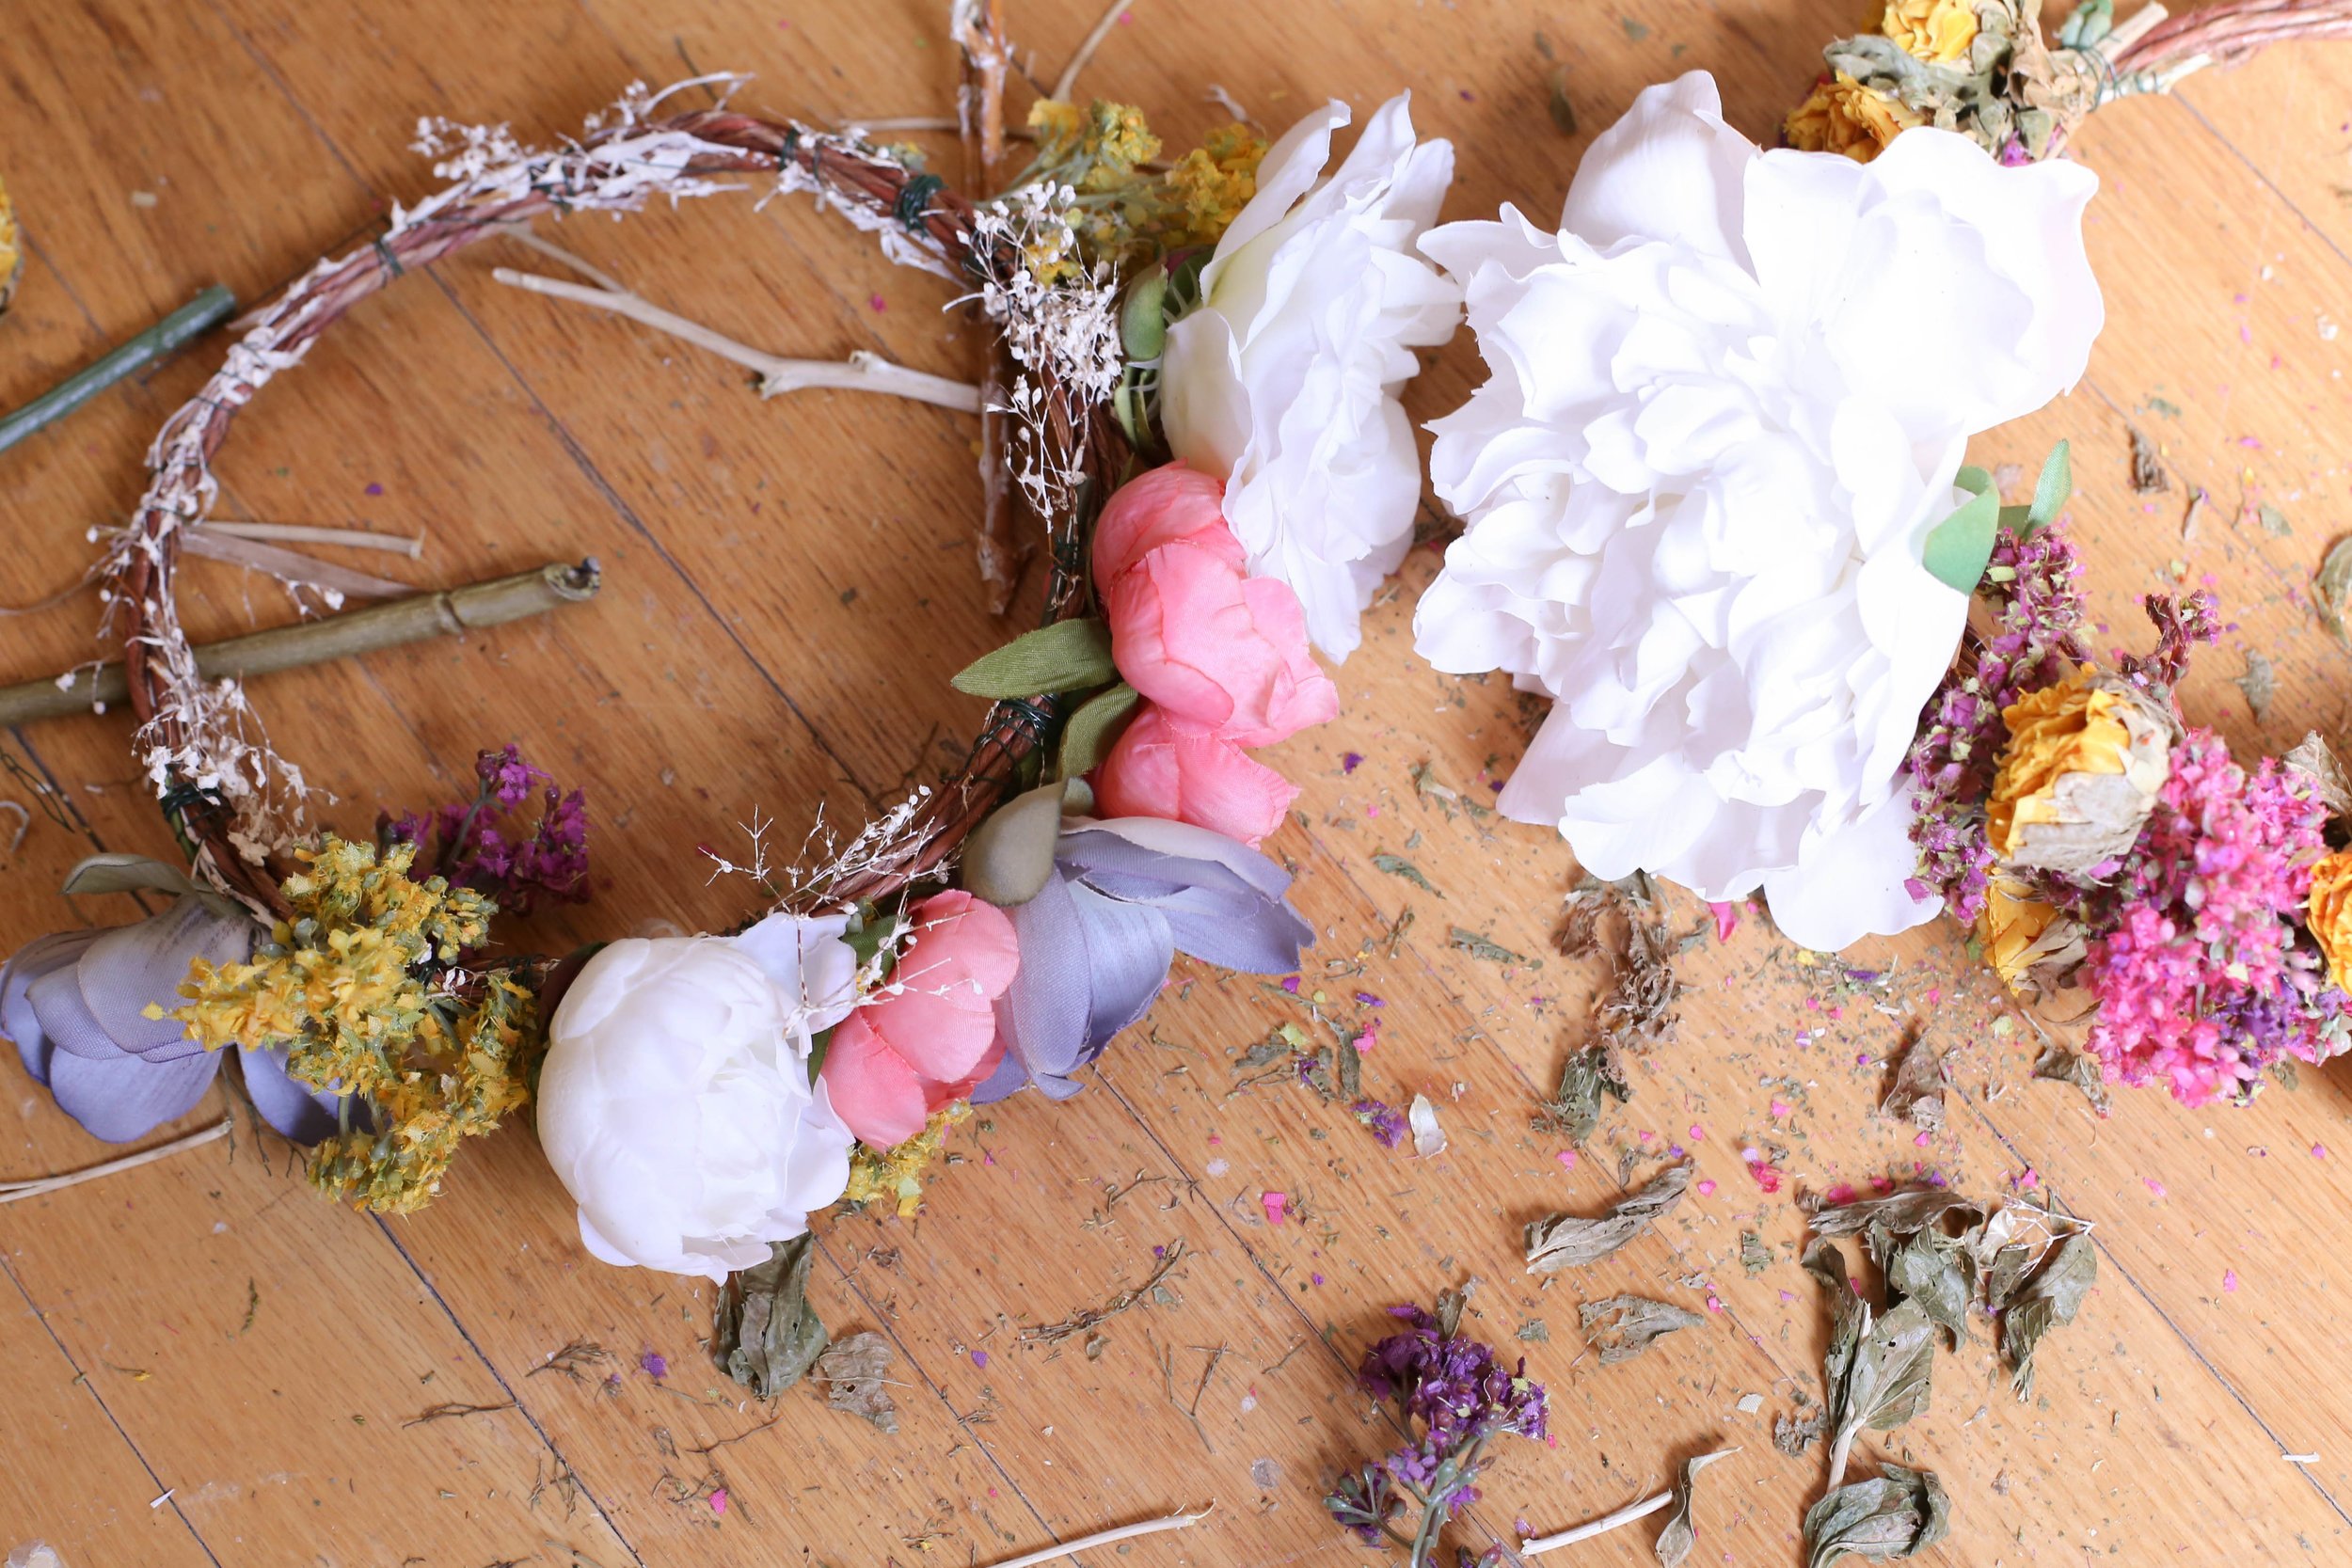
Step 9: Once all the buds are attached, give it a little shake, make sure everything is attached securely. This really is a pretty simple and super fun crafty Saturday activity. Just be warned, it can be a little messy so have the vacuum ready!

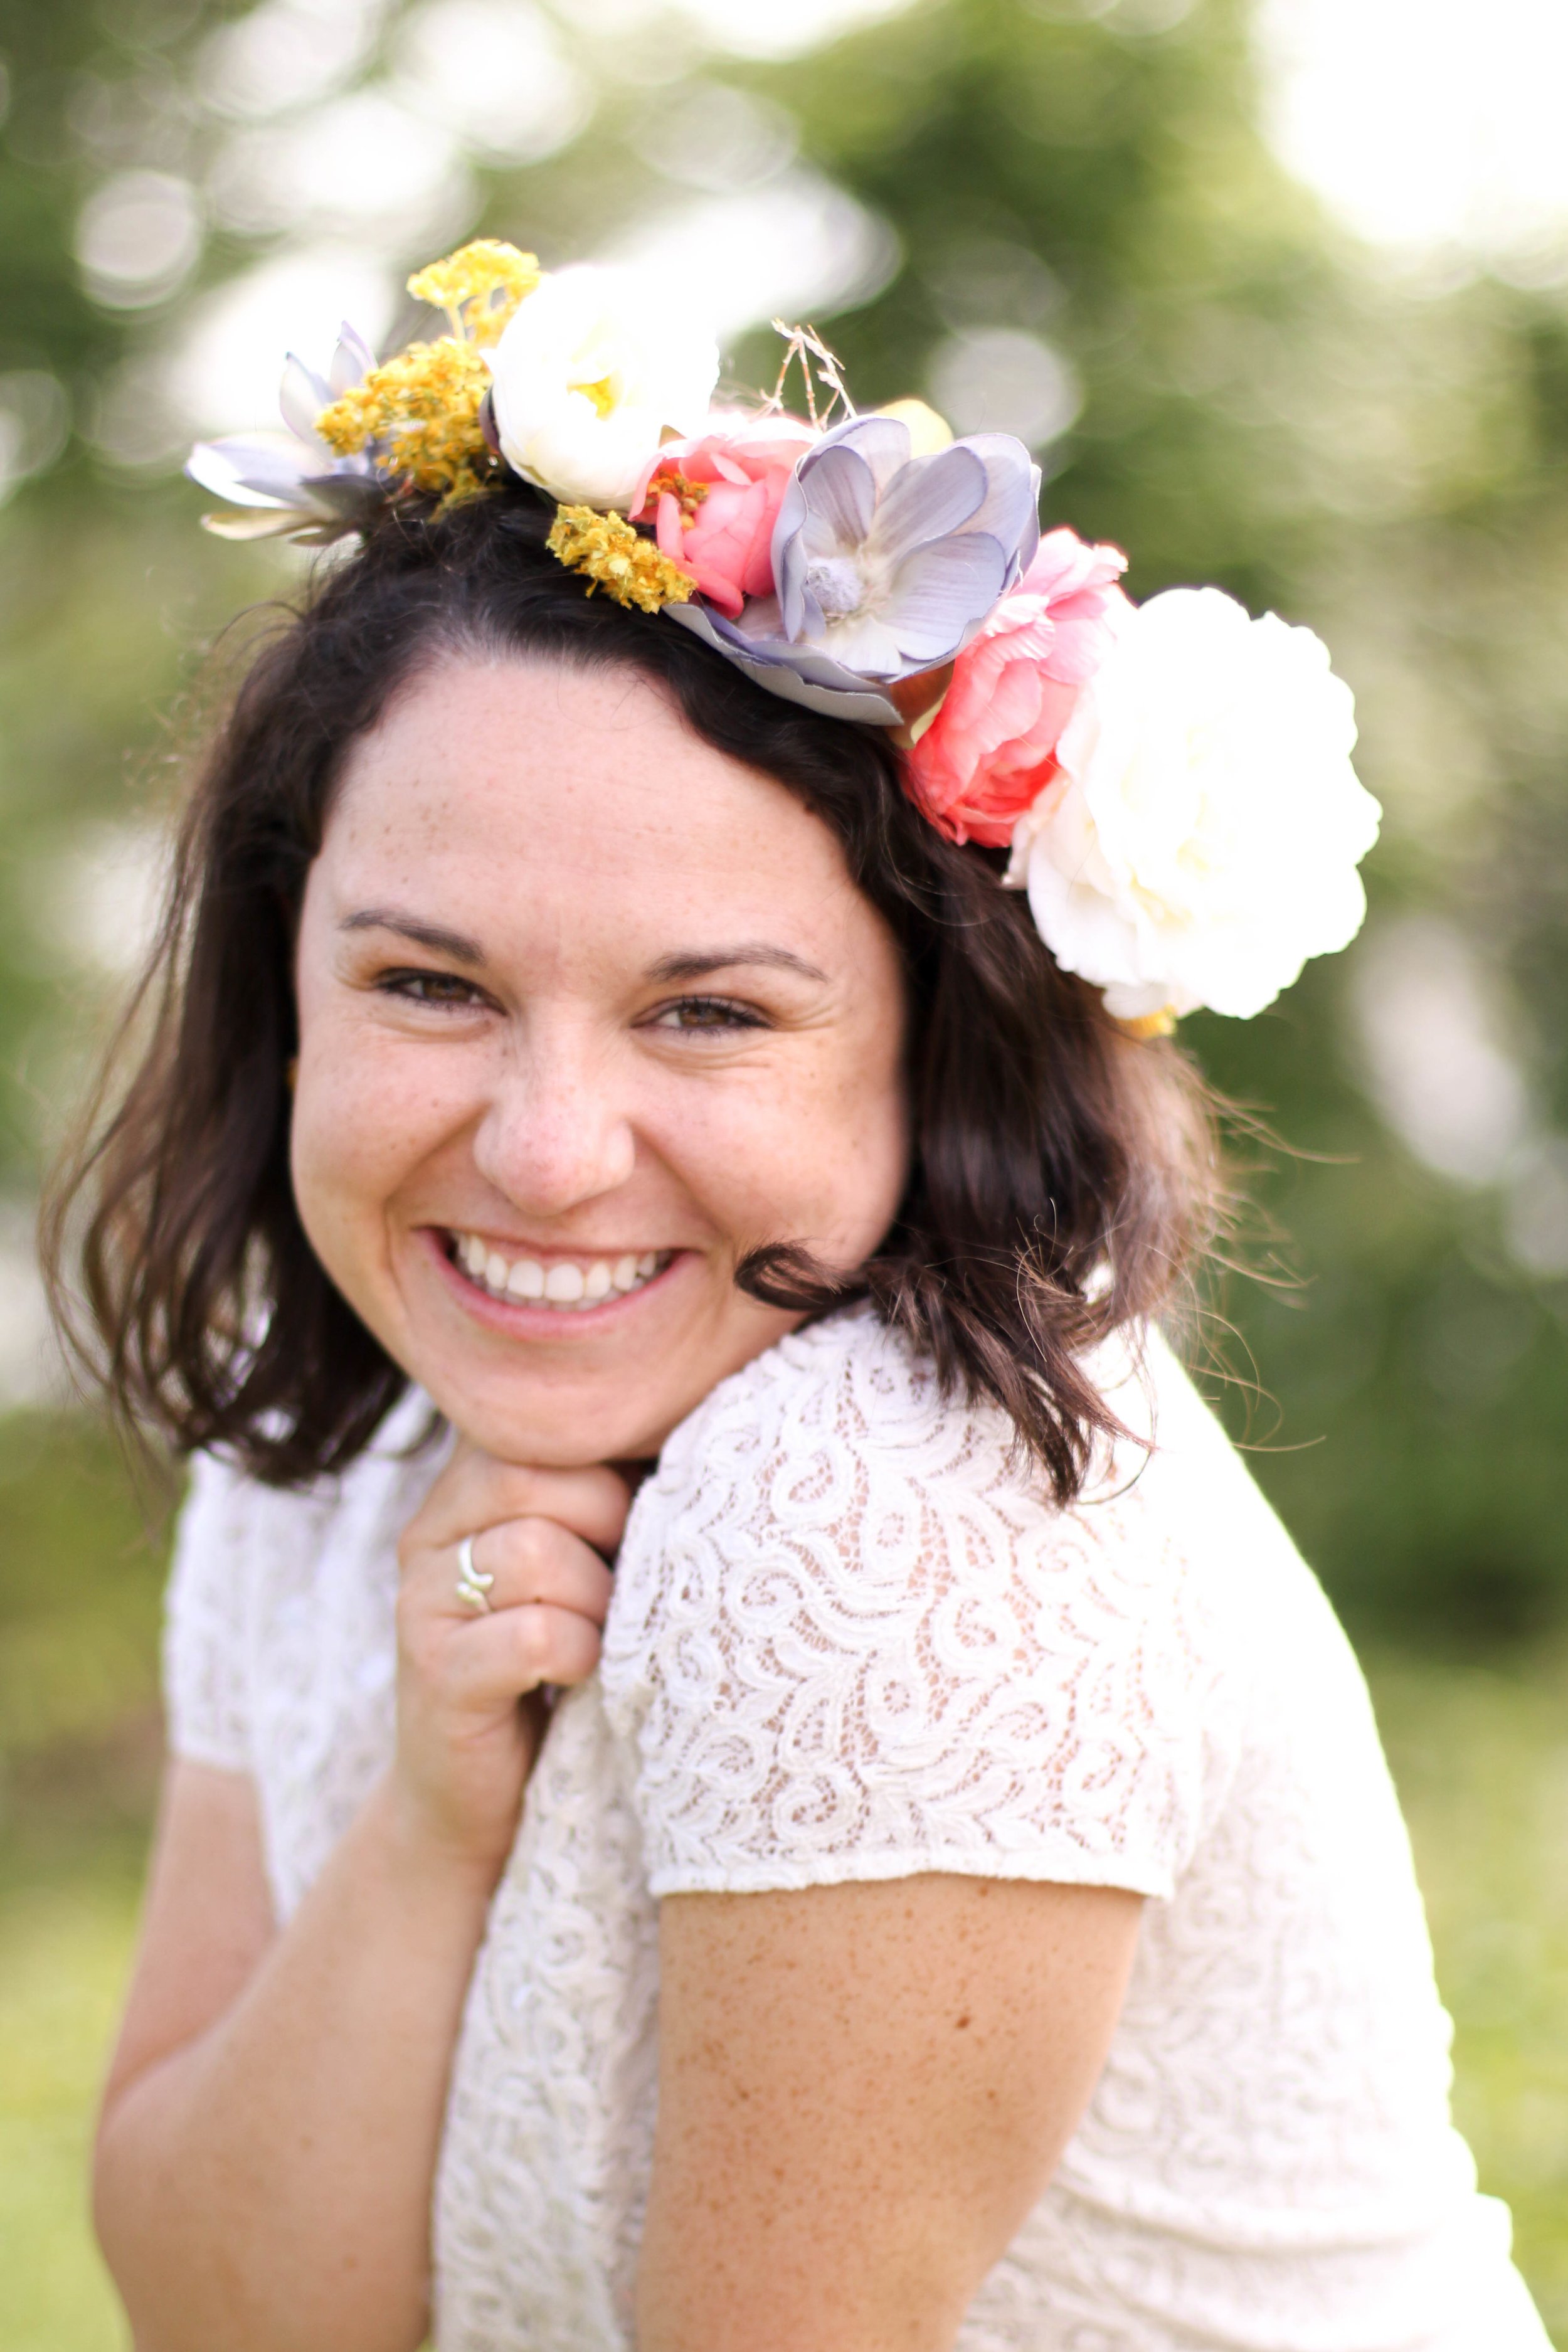
Step 10: Photoshoot time!